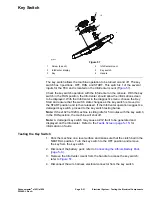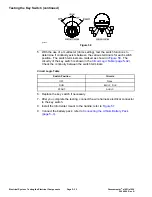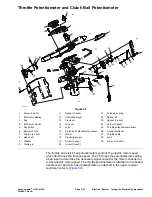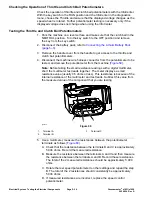
Servicing the Electric Motor
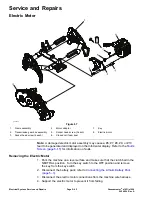
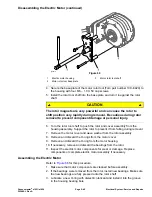
g293229
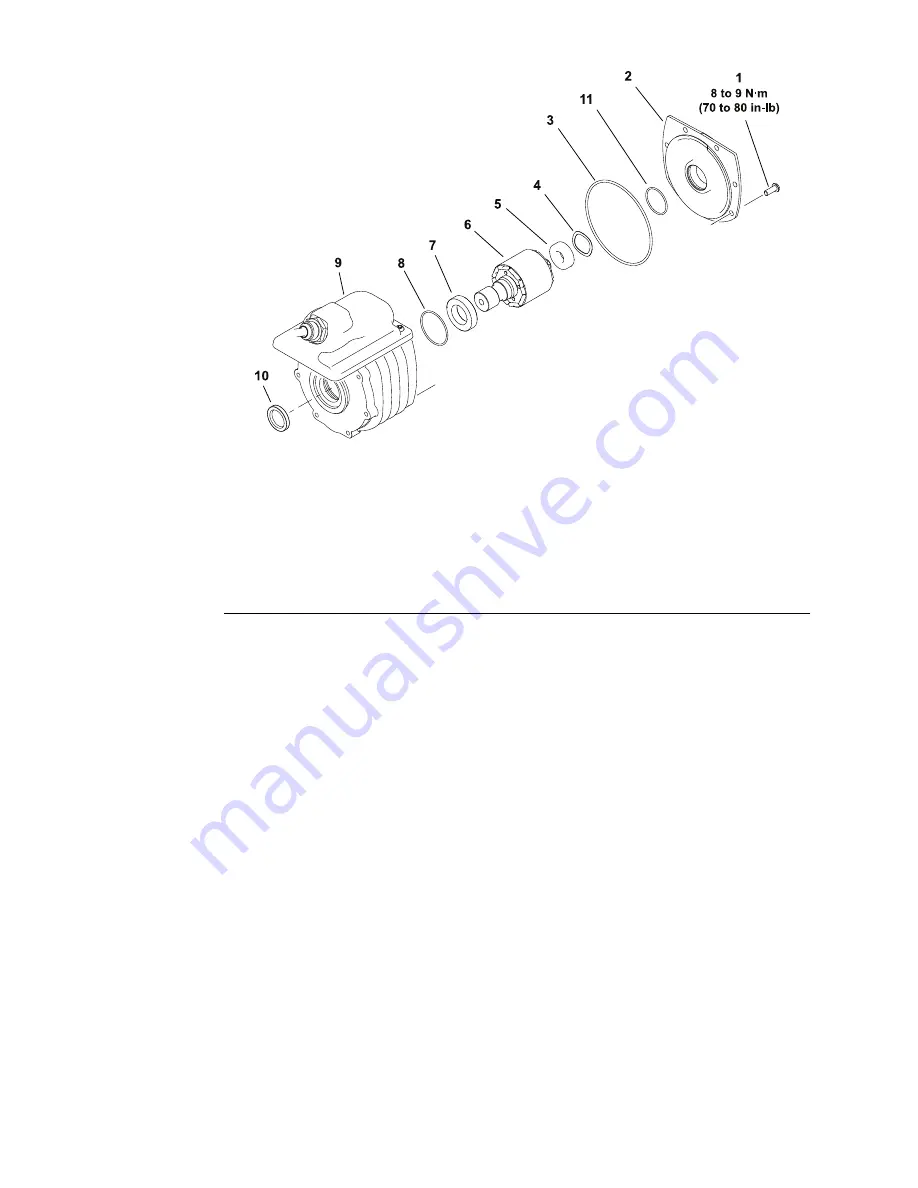
Figure 68
1.
Cap screw (6 each)
7.
Bearing
2.
Motor cover
8.
O-ring
3.
O-ring
9.
Housing assembly
4.
Wave washer
10.
Lip seal
5.
Bearing
11.
O-ring
6.
Rotor
Note:
If the motor housing, controller, or cable damage occurs, the electric motor
replacement is necessary. These components are not available separately.
Note:
If problems with electric motor exist, an advisory or fault may be identified
on the InfoCenter display. Refer to the
InfoCenter Display (page 5–10)
for
information on advisories and faults.
Use of the motor rotor tool part number TOR6028 is recommended for this
procedure: refer to
Special Tools (page 2–13)
.
Note:
When servicing the electric motor, use a clean work space with a non-metal
surface. The motor rotor includes very powerful magnets that can cause the rotor
to move unexpectedly if working on a metal surface. Also, any metallic debris
that gets attracted to the rotor can damage the motor after assembly.
Disassembling the Electric Motor
Refer to
for this procedure.
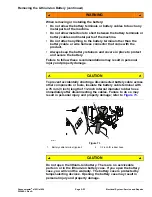
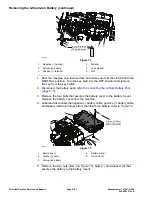
1. Inspect the electric motor cable for wear or damage. Replace cable
components or complete electric motor assembly if necessary.
2. Carefully remove and discard the lip seal from the housing assembly.
3. Remove the six cap screws that secure the motor cover to rear of motor
housing. Do not remove the motor cover at this time.
Electrical System: Service and Repairs
Page 5–44
Greensmaster
®
e1021/e1026
20246SL Rev A
Summary of Contents for 04831
Page 4: ...NOTES NOTES Page 4 Greensmaster e1021 e1026 20246SL Rev A ...
Page 6: ...g340650 Figure 1 Model 04831 shown Preface Page 6 Greensmaster e1021 e1026 20246SL Rev A ...
Page 14: ...Safety Safety and Instructional Decals Page 1 6 Greensmaster e1021 e1026 20246SL Rev A ...
Page 136: ...Electrical System Service and Repairs Page 5 56 Greensmaster e1021 e1026 20246SL Rev A ...
Page 216: ......


