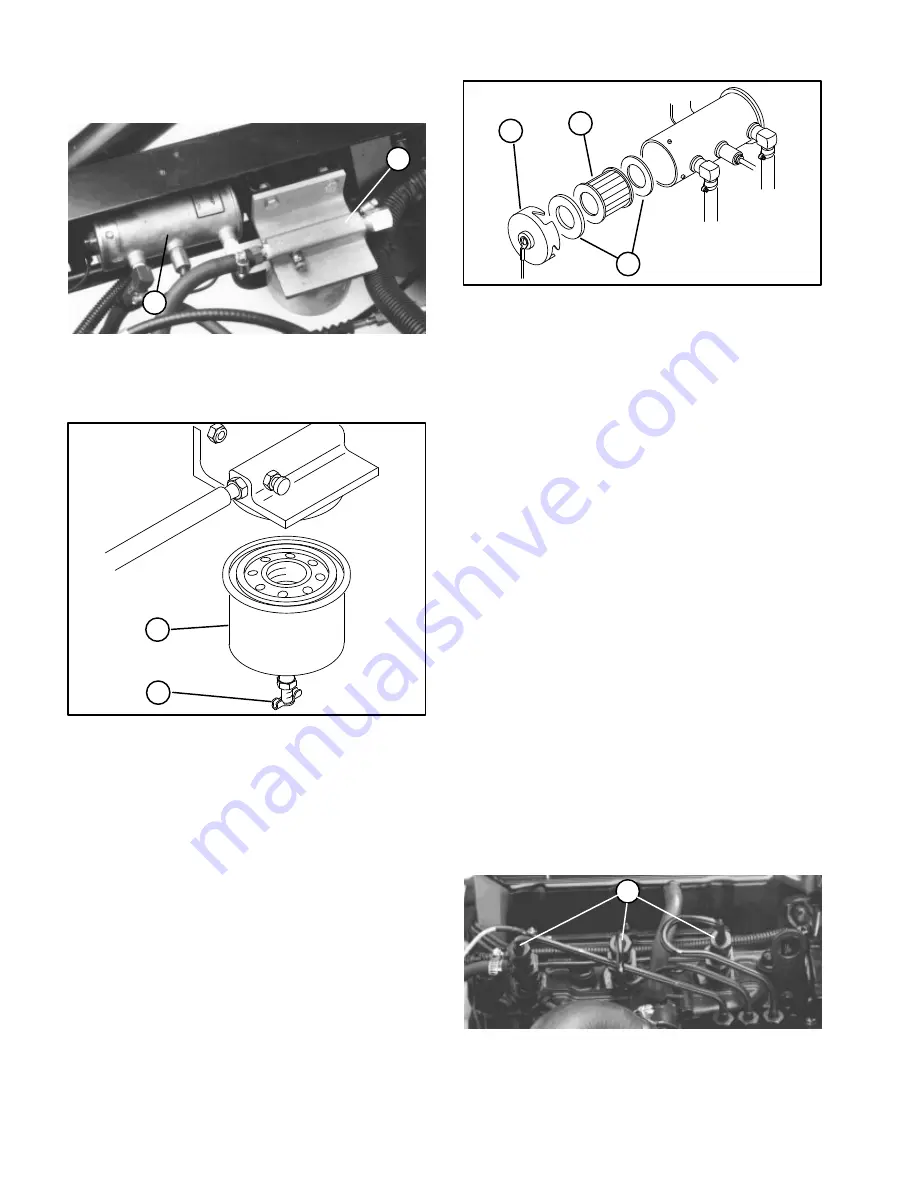
Fuel filter/water separator is mounted on inner side
of right frame rail (Fig. 35).
&%1.#
1#) $&)0#.3!0#. /#-!.!0,.
1#) -1*-
Clean area around filter canister mounting surface.
&%1.#
.!&+ -)1%
&)0#. "!+&/0#.
Remove filter canister and clean mounting surface.
Lubricate gasket on filter canister with clean
engine oil.
Install filter canister by hand until gasket contacts
mounting surface, then rotate an additional 1/2 turn.
1#) 1*- &)0#.
Remove and replace the filter after every 400 hours
operation.
Raise bed (if so equipped) and place a safety
support under it to hold up bed.
Fuel pump is mounted on inner side of right frame
rail (Fig. 35).
Thoroughly clean outside of assembly.
Place a drain pan under fuel pump and remove
cover from fuel pump (Fig. 37). Take care not to
damage wire while removing cover.
&%1.#
1#) -1*- ",2#.
&)0#.
!/(#0
Pull filter out of pump body (Fig. 37).
If filter is to be cleaned, wash thoroughly in
cleaning solvent and blow compressed air from inside
toward outside of element. Hold air nozzle at least one
inch (25 mm) from filter and move up and down while
rotating filter. Do not exceed 100 psi (689 kPa) to avoid
filter damage.
,0#
Replace the filter if there is any visible dirt which
cannot be washed out.
Inspect the two rubber gaskets; replace them if
damaged.
Clean cover of any residue (Fig. 37), insert filter into
body and install cover.
Bleed the fuel system; refer to Bleeding Fuel
System.
&%
,0#
This procedure should be used only if fuel
system has been purged of air through normal priming
procedures and engine still will not start; refer to
Bleeding Fuel System.
Raise bed (if so equipped) and place a safety
support under it to hold up bed.
Loosen the pipe connection to the No. 1 nozzle
and holder assembly (Fig. 38).
&%1.#
1#) &+'#"0,./
Slowly depress accelerator pedal to full FAST
position.


