While operating on slopes and uneven terrain, always
reduce speed and use extreme caution before turning to
reduce risk of tipping or losing control. Watch carefully
and avoid holes in the terrain, sudden drop-offs and other
hazards. To prevent costly damage and down time,
familiarize yourself with the width of the Grounds Pro
2000-D. Do not attempt to pass between immovable
objects placed close together.
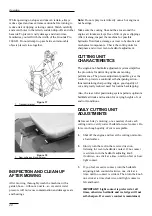
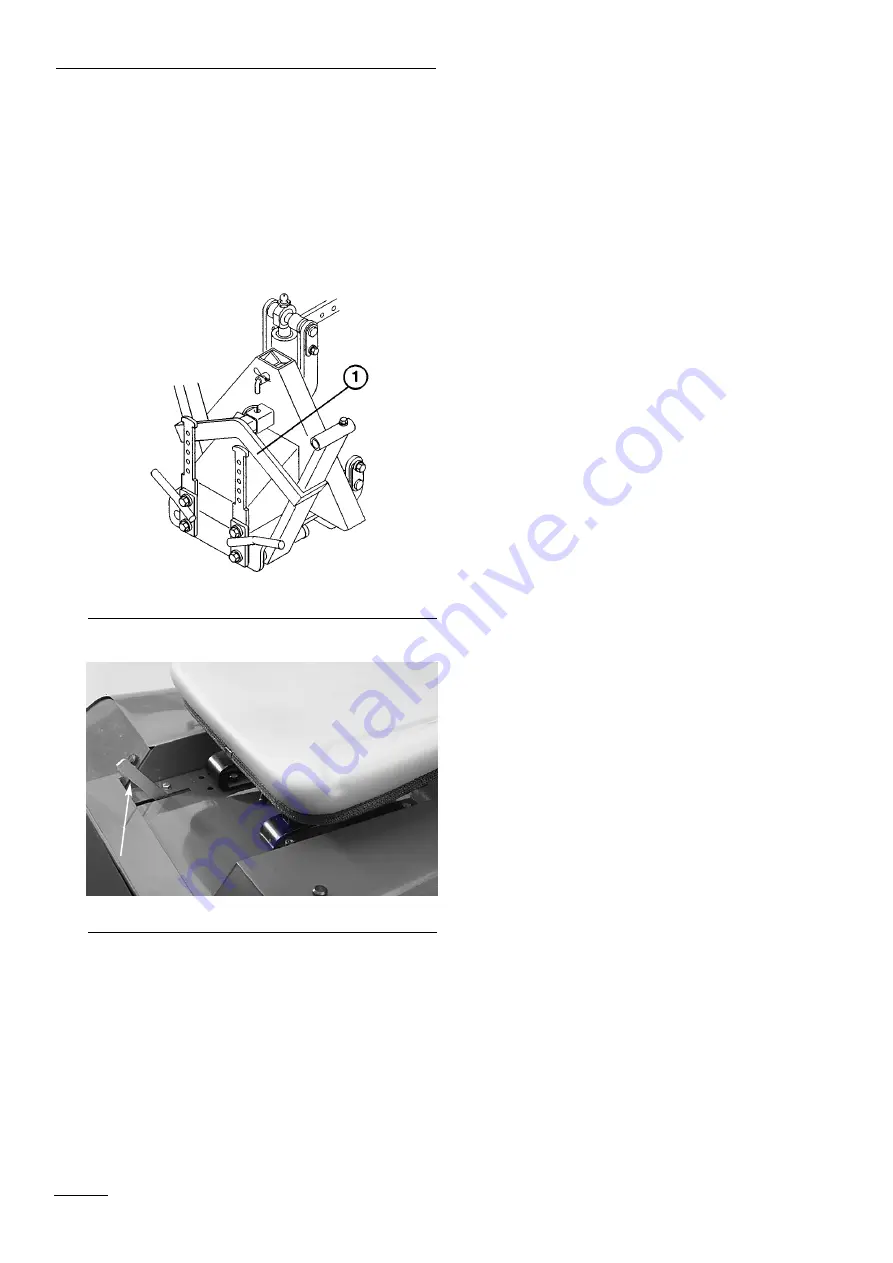
Figure 17
1. Transport
bracket
Figure 18
1. Rear cutting unit lock-up lover
INSPECTION AND CLEAN-UP
AFTER MOWING
After mowing, thoroughly wash the machine with a
garden hose—without a nozzle—so excessive water
pressure will not cause contamination and damage seals
and bearings.
Note:
Do not spray water directly onto a hot engine or
hot bearings.
Make sure the cooling fins and the area around the
engine air intake are kept free of dirt or grass clippings.
After cleaning, inspect the machine for possible
hydraulic fluid leaks, damage or wear to hydraulic and
mechanical components. Check the cutting units for
sharpness and correct reel-to-bedknife adjustment.
CUTTING UNIT
CHARACTERISTICS
The single-knob bedknife adjustment system simplifies
the procedure for delivering optimum mowing
performance. The precise adjustment possible gives the
control to provide a continual self-sharpening action—
thus maintaining sharp cutting edges, good quality of
cut, and greatly reduced need for routine backlapping.
Also, the rear roller positioning system permits optimum
bedknife attitude and location for varying heights of cut
and turf conditions.
DAILY CUTTING UNIT
ADJUSTMENTS
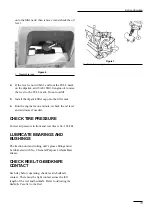
Before each day’s mowing, or as needed, check each
cutting unit to verify correct bedknife-to-reel contact. Do
this even though quality of cut is acceptable.
1.
Shut off the engine and lower the cutting units onto
a hard surface.
2.
Slowly turn the reel in the reverse direction,
listening for reel-to-bedknife contact. If no contact
is evident, turn the bedknife adjusting knob
clockwise, one click at a time, until you feel or hear
light contact.
3.
If you feel excessive contact, turn the bedknife
adjusting knob counterclockwise, one click at a
time, until no contact is evident. Then turn the knob
one click at a time clockwise, until light contact is
felt and heard.
IMPORTANT
: Light contact is preferred at all
times, otherwise bedknife and reel edges will not
self-sharpen. If excessive contact is maintained,
Operation
20
1
Summary of Contents for 2003
Page 16: ...Figure 15 1 Fuel valve Controls 16 1 ...
Page 24: ...Figure 25 Figure 26 Figure 27 Figure 28 Figure 29 Figure 30 Figure 31 24 Maintenance ...
Page 34: ......
Page 35: ......
Page 36: ......

