30
position and start the engine. Run the engine at the
lowest possible RPM to purge air from the system.
8.
Run the engine until the lift cylinder extends and
retracts and forward and reverse wheel motion is
achieved.
9.
Stop the engine and check the oil level; add oil if
necessary.
10. Check all connections for leaks.
CHANGING THE HYDRAULIC OIL
FILTER (Fig. 41)
The hydraulic oil filter must be serviced at regular
intervals. The intervals are: initially, after the first 8
hours of operation, and thereafter every 200 hours of
operation or yearly, whichever comes first. Use a
genuine TORO oil filter for replacement.
1.
Remove the hydraulic oil filter from the mounting
head.
2.
Apply a film of oil on the gasket. Install the filter by
hand until the gasket contacts the mounting head;
then tighten the filter an additional 3/4 turn.
3.
Start the engine and check for oil leaks. Allow the
engine to run for about two minutes to purge air
from the system. Then shut off the engine.
4.
Check the level of oil; refer to Check the Hydraulic
System Fluid.
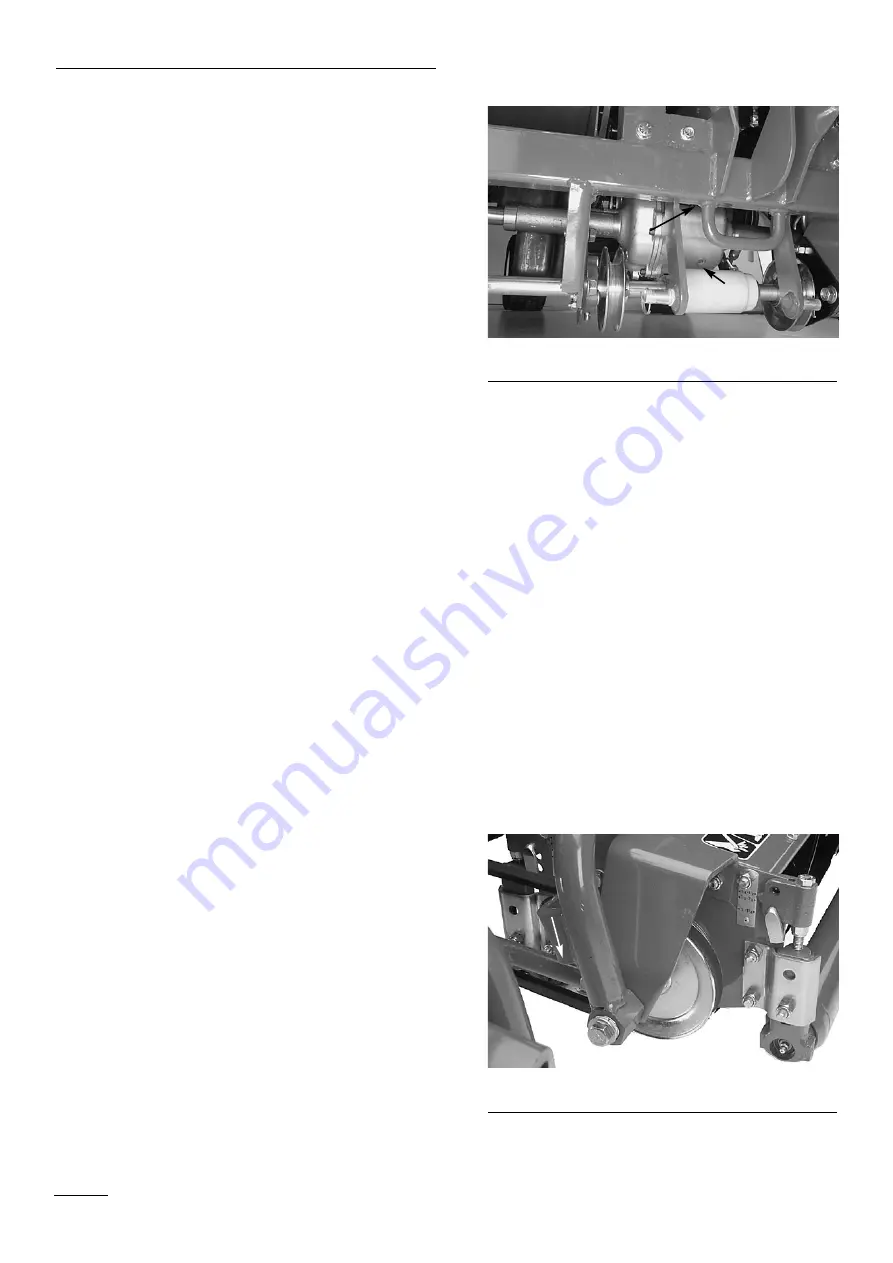
CHANGING FRONT AXLE OIL
(Fig. 43)
After every 400 hours of operation, change the oil in the
front axle.
1.
Drive the machine for five minutes before changing
oil to warm the axle oil. Warm oil flows more freely
and carries more contaminants than cold oil.
2.
Clean the area around the drain plug and place a
drain pan below the drain plug on axle.
Figure 43
1. Drain
plug
2. Fill
plug
Remove the drain plug and allow the oil to flow into
drain pan. After the oil is drained, reinstall drain plug.
Remove the fill plug and fill to plug level with ISO
150/220 (SAE EP-90) oil.
ADJUSTING THE CUTTING UNIT
BELTS (Fig. 44)
Make sure cutting unit belts are properly tensioned to
assure correct operation and prevent unnecessary wear.
Check all belts often.
1.
The cutting unit drive belts should have a maximum
deflection of 12 mm with a 3.7 kg load applied.
2.
Loosen the jam nut on the front end of the belt
tension rod. Turn the rod to lengthen or shorten the
rod to the desired length. Then tighten the jam nut.
Figure 44
1. Belt tension rod
Maintenance
1
2
1
Summary of Contents for 2003
Page 16: ...Figure 15 1 Fuel valve Controls 16 1 ...
Page 24: ...Figure 25 Figure 26 Figure 27 Figure 28 Figure 29 Figure 30 Figure 31 24 Maintenance ...
Page 34: ......
Page 35: ......
Page 36: ......


