22
9.
Install the blade, the accelerator, the anti-scalp cup,
and the 2 blade nuts.
10.
Turn the lawn mower upright.
11.
Connect the wire to the spark plug.
Cleaning under the Belt Cover
Keep the area under the belt cover free of debris.
1.
Stop the engine and wait for all moving parts to stop.
2.
Disconnect the wire from the spark plug (Fig. 7).
3.
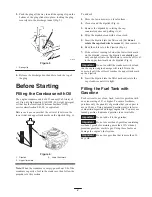
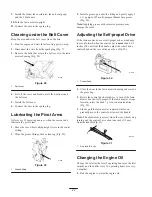
Remove the bolts that secure the belt cover to the lawn
mower housing (Fig. 28).
m-224
1
Figure 28
1. Belt cover
4.
Lift off the cover and brush out all the debris around
the belt area.
5.
Install the belt cover.
6.
Connect the wire to the spark plug.
Lubricating the Pivot Arms
After every 25 operating hours or when the season ends,
lubricate the pivot arms.
1.
Move the rear wheel cutting height levers to the center
setting.
2.
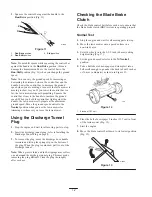
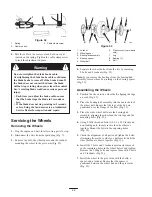
Wipe the grease fittings with a clean rag (Fig. 29).
m-232
1
Figure 29
1. Grease fitting
3.
Install a grease gun onto the fitting and gently apply 2
or 3 pumps of #2 multi-purpose lithium base grease
(Fig. 29).
Note:
Applying grease with excessive pressure may
damage the seals.
Adjusting the Self-propel Drive
If the lawn mower does not self-propel or has a tendency
to creep forward when the control bar is
more
than 1-1/2
inches (3.8 cm) from the handle, adjust the wheel drive
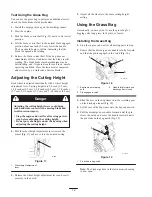
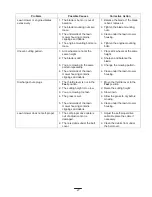
control knob on the rear of the gear box (Fig. 30).
m-228
1
Figure 30
1. Control knob
1.
Close the door in the lawn mower housing and remove
the grass bag.
2.
Rotate the control knob clockwise
!
/
2
turn if the lawn
mower does not self-propel. If the lawn mower creeps
forward, rotate the knob
!
/
2
turn counterclockwise
(Fig. 30).
3.
Slowly pull the lawn mower rearward while you
gradually move the control bar toward the handle.
Note:
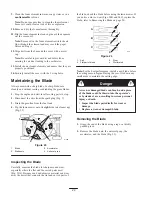
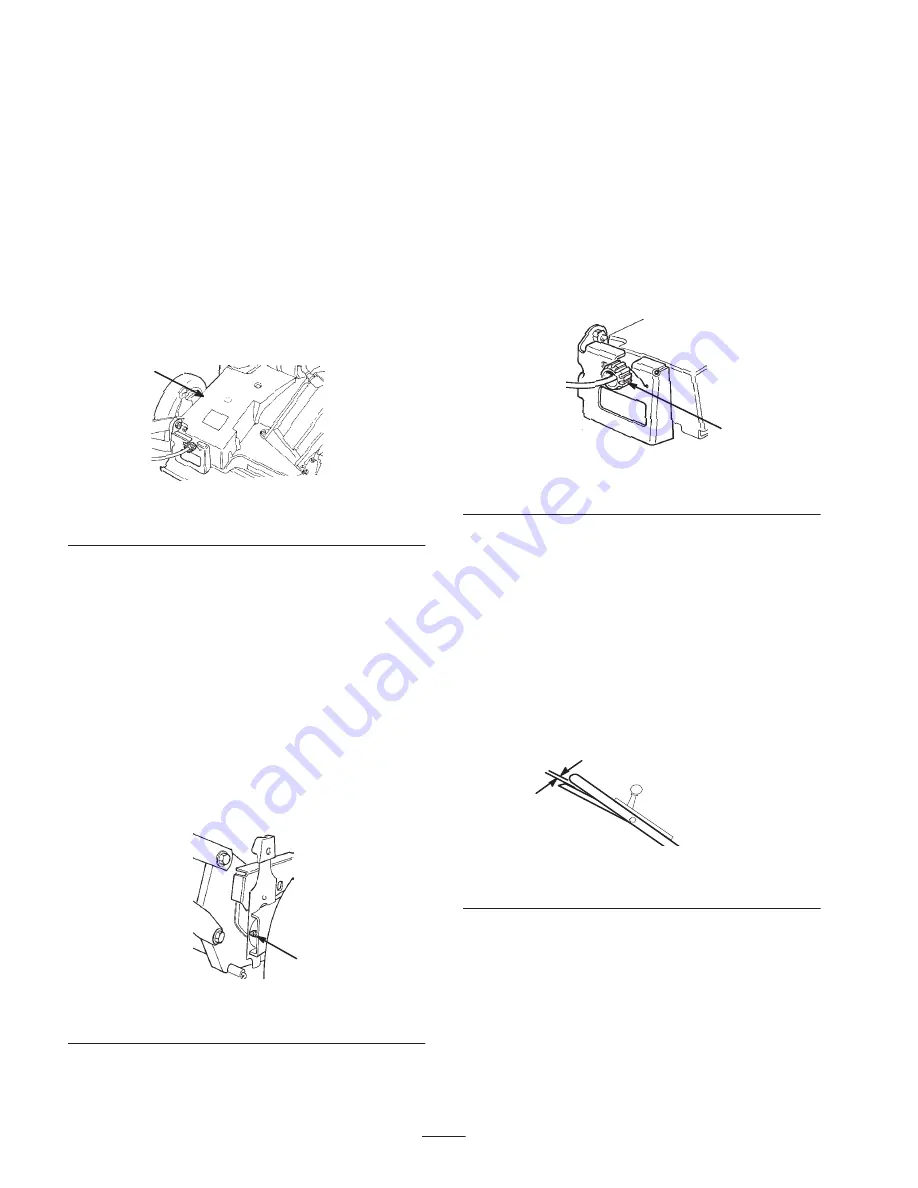
The adjustment is correct when the rear wheels stop
turning and the control bar is about one inch (2.5 cm)
from the handle (Fig. 31).
m-513a
1
Figure 31
1. One inch (2.5 cm)
Changing the Engine Oil
Change the oil after the first 5 operating hours (or the first
month); and then after every 50 operating hours (or every
6 months).
1.
Run the engine to warm the engine oil.
Summary of Contents for 22168TE
Page 28: ......


