30
Note:
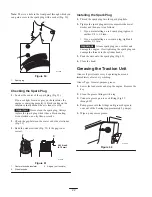
There is a hole in the front panel through which you
can gain access to the spark plug with a socket (Fig. 50).
m–7478
1
Figure 50
1. Spark plug
Checking the Spark Plug
1.
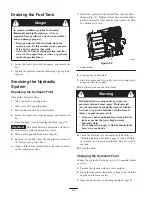
Look at the center of the spark plug (Fig. 51).
If you see light brown or gray on the insulator, the
engine is operating properly. A black coating on the
insulator usually means the air cleaner is dirty.
Important
Never clean the spark plug. Always
replace the spark plug when it has a black coating,
worn electrode, an oily film, or cracks.
2.
Check the gap between the center and side electrodes
(Fig. 51).
3.
Bend the side electrode (Fig. 51) if the gap is not
correct.
0.030 inch
(0.76 mm)
2
3
1
m–3215
Figure 51
1. Center electrode insulator
2. Side electrode
3. Air gap (not to scale)
Installing the Spark Plug
1.
Thread the spark plug into the spark plug hole.
2.
Tighten the spark plug until it compresses the metal
washer and then seat it as follows:
•
If you are installing a used spark plug, tighten it
another 1/8 to 1/4 turn.
•
If you are installing a new spark plug, tighten it
another 1/2 turn.
Important
A loose spark plug can overheat and
damage the engine. Overtightening the spark plug can
damage the threads in the cylinder heads.
3.
Push the wire onto the spark plug (Fig. 49).
4.
Close the hood.
Greasing the Traction Unit
Grease all pivot joints every 8 operating hours and
immediately after every washing.
Grease Type: General-purpose grease.
1.
Lower the loader arm and stop the engine. Remove the
key.
2.
Clean the grease fittings with a rag.
3.
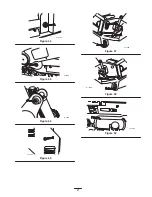
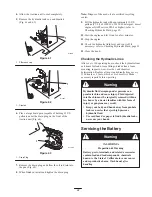
Connect a grease gun to each fitting (Fig 52
through 59).
4.
Pump grease into the fittings until grease begins to
ooze out of the bearings (approximately 3 pumps).
5.
Wipe up any excess grease.
m–7480
Figure 52


