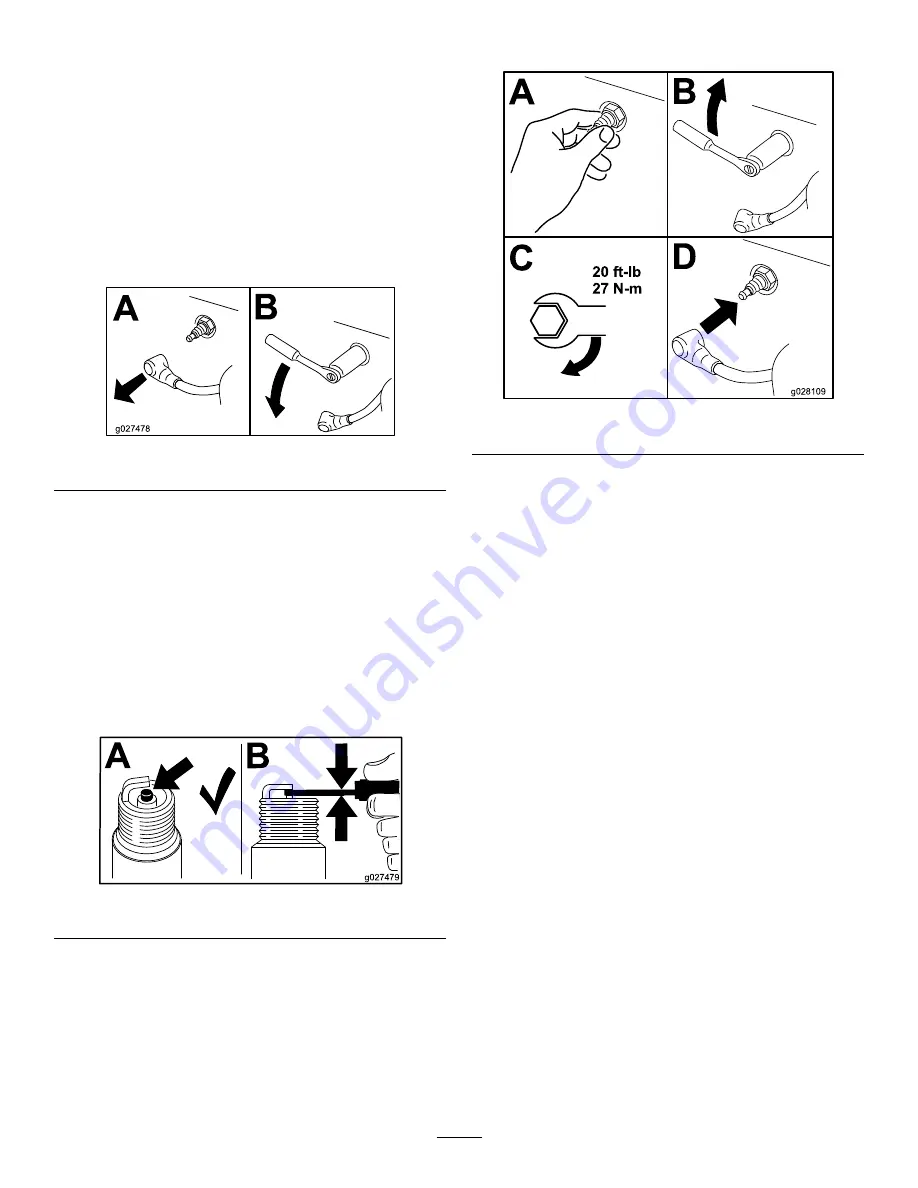
Removing the Spark Plug
1.
Park the machine on a level surface, move
the motion-control levers to the N
EUTRAL
-
LOCK
position, engage the parking brake, and lower
the hopper.
2.
Shut off the engine and remove the key. Allow
the engine to cool.
3.
Before removing the spark plug(s), clean the
area around the base of the plug to keep dirt
and debris out of the engine.
4.
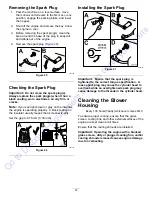
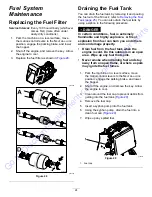
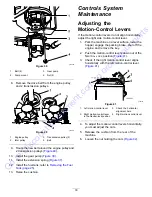
Remove the spark plug (
).
g027478
Figure 25
Checking the Spark Plug
Important:
Do not clean the spark plug(s).
Always replace the spark plug(s) when it has: a
black coating, worn electrodes, an oily film, or
cracks.
Note:
If you see light brown or gray on the insulator,
the engine is operating properly. A black coating on
the insulator usually means the air cleaner is dirty.
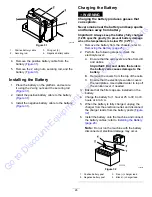
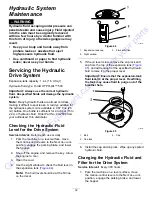
Set the gap to 0.76 mm (0.03 inch).
g027479
Figure 26
Installing the Spark Plug
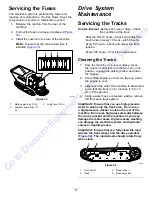
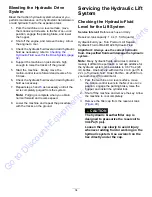
g028109
Figure 27
Important:
Ensure that the spark plug is
tightened to the correct torque specification. A
loose spark plug may cause the cylinder head to
overheat, while an overtightened spark plug may
cause damage to the threads in the cylinder head.
Cleaning the Blower
Housing
Every 100 hours/Yearly (whichever comes first)
To ensure proper cooling, ensure that the grass
screen, cooling fins, and other external surfaces of the
engine are kept clean at all times.
Ensure that the cooling shrouds are installed.
Important:
Operating the engine with a blocked
grass screen, dirty or plugged cooling fins, and/or
cooling shrouds removed causes engine damage
due to overheating.
23
Go
to
Discount-Equipment.com
to
order
your
parts


