g185906
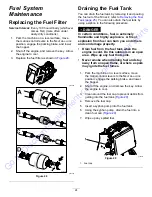
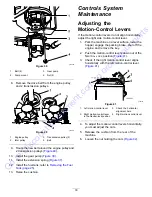
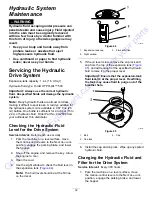
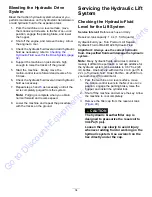
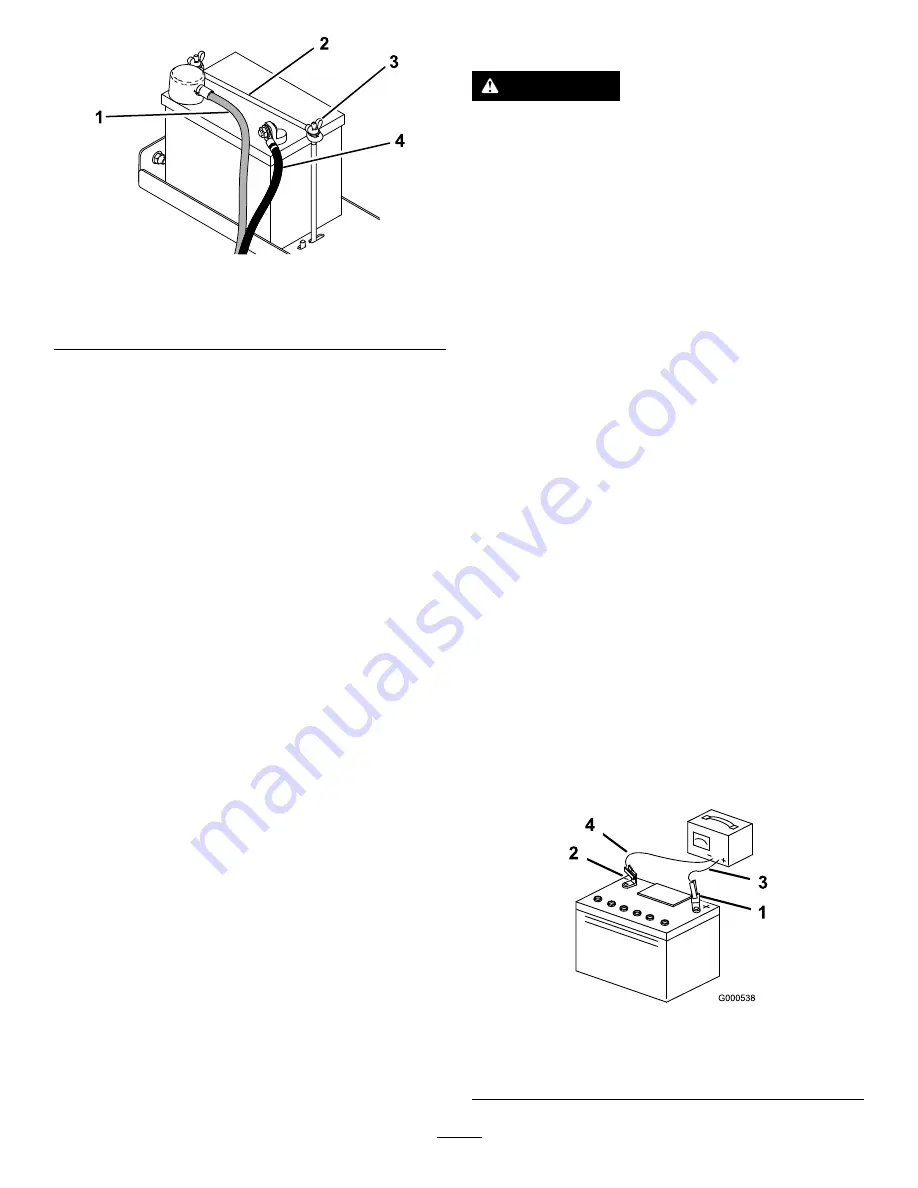
Figure 31
1.
Positive battery cable
3.
Wing nut (2)
2.
Securing rod
4.
Negative battery cable
4.
Remove the positive battery cable from the
battery (
).
5.
Remove the 2 wing nuts, securing rod, and the
battery (
).
Installing the Battery
1.
Place the battery on the platform and secure
it using the 2 wing nuts and the securing rod
(
).
2.
Install the positive battery cable to the battery
(
).
3.
Install the negative battery cable to the battery
(
).
Charging the Battery
WARNING
Charging the battery produces gasses that
can explode.
Never smoke near the battery and keep sparks
and flames away from battery.
Important:
Always keep the battery fully charged
(1.265 specific gravity) to prevent battery damage
when the temperature is below 0°C (32°F).
1.
Remove the battery from the chassis; refer to
Removing the Battery (page 25)
.
2.
Perform the following steps to check the
electrolyte level:
A.
Ensure that the cell covers are free from dirt
and debris.
Important:
Dirt and debris that enters
the battery cells causes damage to the
battery.
B.
Remove the covers from the top of the cells.
C.
Ensure that the electrolyte solution covers
the lead plates. Use distilled water to top off
the solution level, if needed.
3.
Ensure that the filler caps are installed on the
battery.
4.
Charge the battery for 1 hour at 25 to 30 A or 6
hours at 4 to 6 A.
5.
When the battery is fully charged, unplug the
charger from the electrical outlet, and disconnect
the charger leads from the battery posts (
6.
Install the battery onto the machine and connect
the battery cables; refer to
(page 26)
.
Note:
Do not run the machine with the battery
disconnected; electrical damage may occur.
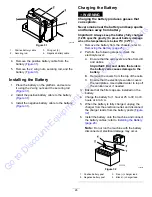
g000538
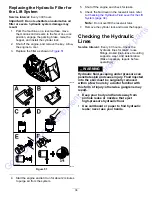
Figure 32
1.
Positive battery post
3.
Red (+) charger lead
2.
Negative battery post
4.
Black (-) charger lead
26
Go
to
Discount-Equipment.com
to
order
your
parts


