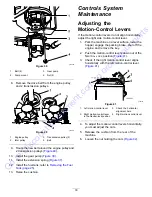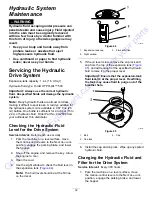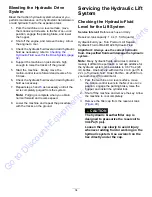
g189389
Figure 42
1.
Cam
2.
Nut
7.
Adjust the cam until it aligns with the left
motion-control lever and tighten the nut for the
cam.
Note:
Moving the cam clockwise (in the vertical
position) lowers the handle; moving the cam
counterclockwise (in the vertical position) raises
the handle.
Important:
Ensure that the flat portion of the
cam does not go above a vertical position
(right or left); otherwise you may damage the
switch.
8.
Repeat steps
through
for the left
motion-control lever.
Brake Maintenance
WARNING
If the brakes are not properly adjusted,
serious injury, or death, may occur.
Check your brakes daily. If you encounter any
problems with the brakes while operating the
machine, stop the machine immediately and
bring it to an Authorized Service Dealer for
repair.
Checking the Parking Brake
Service Interval:
Before each use or daily
1.
Park the machine on a level surface, lower the
hopper, and engage the parking brake.
2.
Start the engine and move the throttle lever to
the F
AST
position.
3.
Move the motion-control levers forward.
Note:
The machine should not move forward.
Note:
If the machine moves forward, refer to
Adjusting the Parking Brake (page 31)
.
4.
Release the parking brake.
5.
Move the motion-control levers forward.
Note:
The machine should move forward.
Note:
If the machine does not move forward,
refer to
Adjusting the Parking Brake (page 31)
.
6.
Engage the parking brake and shut off the
machine.
Adjusting the Parking Brake
1.
Remove the fuel tank; refer to
Cushion for Rear Access (page 18)
.
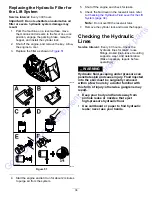
2.
Inside the left side of the control tower, adjust
the nuts until the cables are taught (
).
g186011
Figure 43
1.
Cable
2.
Nuts
3.
Install the fuel tank, cross bracket, and cushion.
31
Go
to
Discount-Equipment.com
to
order
your
parts

