Operation
11
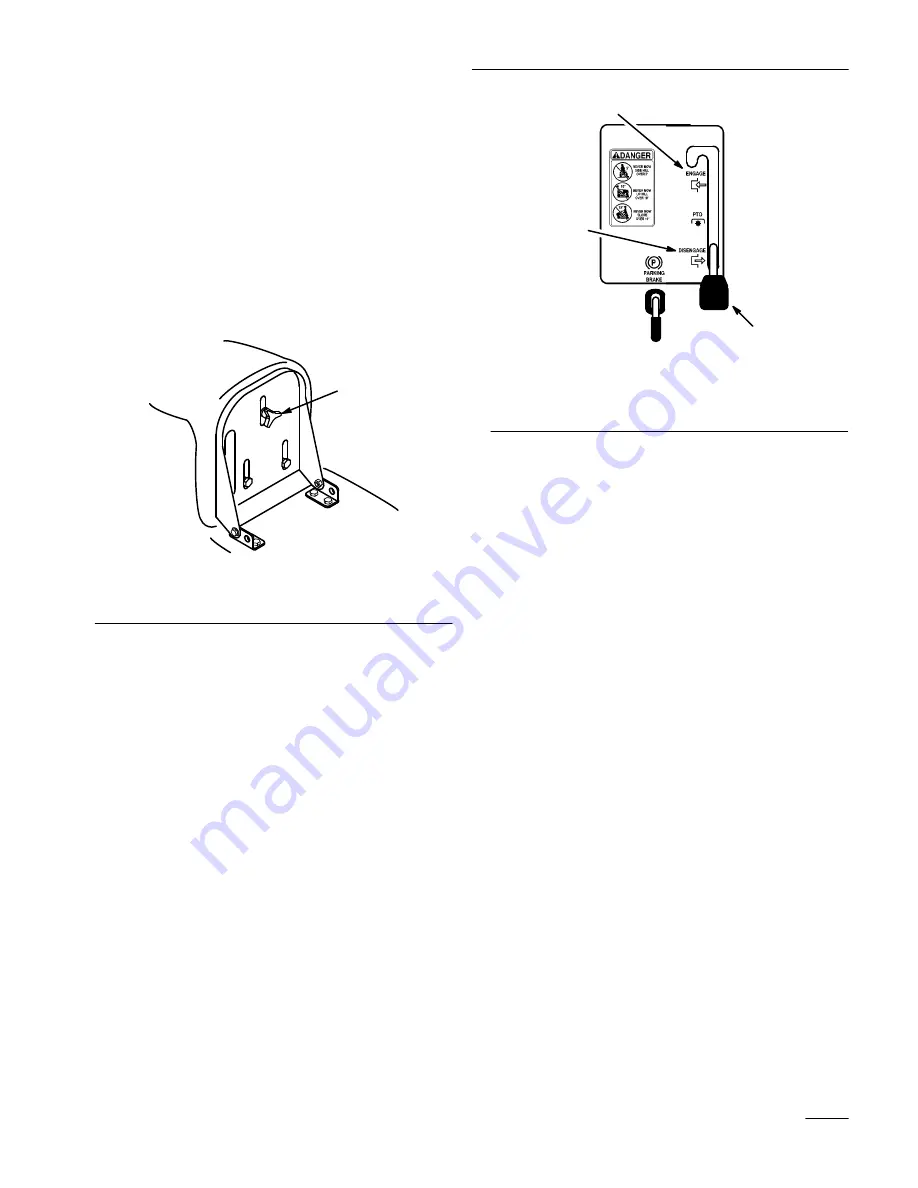
Positioning the Seat
The seat can move forward and backward. Position
the seat where you have the best control of the
machine and are most comfortable.
1.
Raise the seat and loosen the adjustment knob
(Fig. 3).
2.
Move the seat to the desired position and tighten
the knob.
m–1862
1
Figure 3
1.
Adjustment knob
Headlights
A dash-mounted “ON/OFF” switch (Fig. 1) controls
the headlights. The lights only shine while the engine
is running and the switch is “ON.”
Using the Blade Control (PTO)
The blade control (PTO) engages and disengages
power to the blade(s).
Engaging the Blade(s)
1.
Depress the clutch/brake pedal to stop the
machine.
2.
Move the blade control (PTO) to “ENGAGED”
(Fig. 4).
m–1852
1
3
2
Figure 4
1.
Disengaged
2.
Engaged
3.
Blade control (PTO)
Disengaging the Blade(s)
1.
Depress the clutch/brake pedal to stop the
machine.
2.
Move the blade control (PTO) to
“DISENGAGED” (Fig. 4).
Setting the Height-of-Cut
The height-of-cut lever (deck lift) is used to raise and
lower the mower to the desired cutting height.
1.
The cutting height may be set in one of seven
positions from approximately 1 to 4 inches
(25 to 102 mm).
2.
Pull on the height-of-cut lever (deck lift) and
move it to the desired position (Fig. 5).
Summary of Contents for 71198
Page 7: ...Safety 5 Slope Chart Read all safety instructions on pages 2 4...
Page 8: ...6...
Page 46: ......
Page 47: ......


