Note:
You can use the fuel window to verify the
presence of gasoline before filling the tank (Figure 10).
2.
Slowly
add regular, unleaded gasoline until the fuel
reaches the base of the filler neck (Figure 10).
G014474
1
2
3
4
5
6
Figure 10
1.
Fuel tank cap
4.
Base of filler neck,
DO
NOT FILL PAST HERE
2.
Fill opening
5.
Fuel window
3.
Filler neck
6.
Fuel tank
G014895
1
2
3
4
Figure 11
1.
Fill opening
3.
Fuel
2.
Base of filler neck,
DO
NOT FILL PAST HERE
4.
Empty space for fuel
expansion.
3.
Install the fuel tank cap securely and tighten until it
“clicks”. Wipe up any gasoline that may have spilled.
Starting the Engine
1.
Sit down on the seat and move the motion controls
outward to the park position.
2.
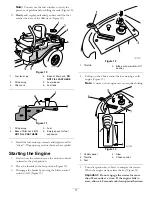
Move the throttle to the fast position (Figure 12).
3.
Disengage the blades by moving the blade control
switch to Off (Figure 12).
Figure 12
1.
Throttle
2.
Blade control switch—Off
position
4.
Pull up on the Choke control before starting a cold
engine (Figure 13).
Note:
A warm or hot engine may not require choking.
g017699
4
5
Figure 13
1.
Control panel
4.
Slow
2.
Throttle
5.
Choke control
3.
Fast
5.
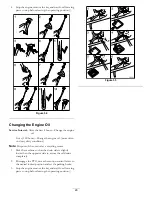
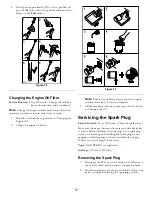
Turn the ignition key to Start to energize the starter.
When the engine starts, release the key (Figure 14).
Important:
Do not engage the starter for more
than 10 seconds at a time. If the engine fails to
start, allow a 60 second cool-down period between
17
Summary of Contents for 74395
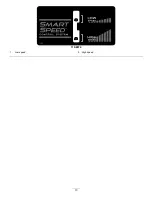
Page 10: ...119 8874 1 Low speed 2 High speed 10 ...
Page 50: ...Schematics g017655 Electrical Diagram Rev A 50 ...
Page 51: ...Notes 51 ...

