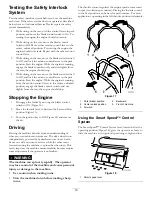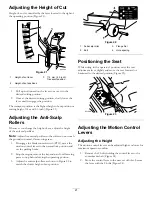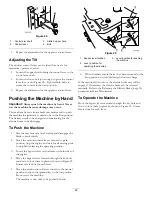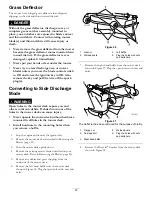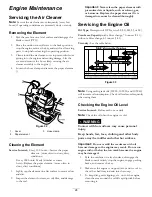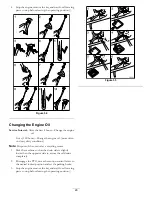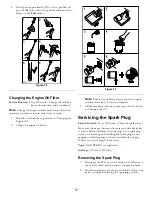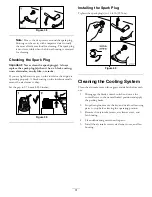
To change speeds:
1.
Move the motion control levers to neutral and outward
to the park position; disengage the blade control switch.
WARNING
Removing your hands from the motion control
levers while the machine is in motion can
result in a loss of control causing harm to you
or bystanders.
Always stop the machine and move the motion
control levers to the park position before
adjusting the Smart Speed™ Control System.
2.
Adjust the lever to the desired position.
Forward
1.
Move the levers to the center, unlocked position.
2.
To go forward, slowly push the motion control levers
forward (Figure 17).
G008952
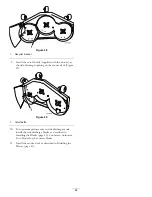
Figure 19
To go straight, apply equal pressure to both motion
control levers (Figure 19).
To turn, release pressure on the motion control lever
toward the direction you want to turn (Figure 19).
The farther you move the motion control levers in
either direction, the faster the machine will move in
that direction.
To stop, pull the motion control levers to neutral.
Backward
1.
Move the levers to the center, unlocked position.
2.
To go backward, look behind you and down as you
slowly pull the motion control levers rearward (Figure
20).
G008953
Figure 20
To go straight, apply equal pressure to both motion
control levers (Figure 20).
To turn, release the pressure on the motion control
lever toward the direction you want to turn.
To stop, push the motion control levers to neutral.
Stopping the Machine
To stop the machine, move the motion control levers to
neutral and outward to the park position, disengage the blade
control switch, ensure the throttle is in the fast position, and
turn the ignition key to Off. Remember to remove the key
from the ignition switch.
WARNING
Children or bystanders may be injured if they
move or attempt to operate the mower while it is
unattended.
Always remove the ignition key and move the
motion control levers outward to the park position
when leaving the machine unattended, even if just
for a few minutes.
20
Summary of Contents for 74395
Page 10: ...119 8874 1 Low speed 2 High speed 10 ...
Page 50: ...Schematics g017655 Electrical Diagram Rev A 50 ...
Page 51: ...Notes 51 ...

