Maintenance
20
2.
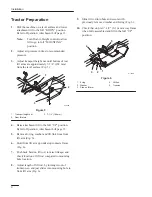
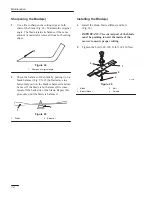
Adjust idler spring tension until length between
hooks is 5-1/2” (140 mm) (Fig. 29).
2
1
2417
Figure 29
Top View
1.
Idler spring
2.
5-1/2” (140 mm)
3.
Install left and right pulley covers with
previously removed mounting screws.
4.
Install the mower; refer to Installing the Mower,
page 8.
Power Take Off (PTO) Belt
Removing PTO Belt
1.
Remove the mower; refer to Removing the
Mower, page 11.
2.
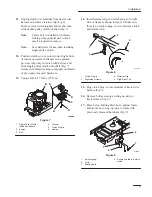
Remove left pulley cover mounting screws and
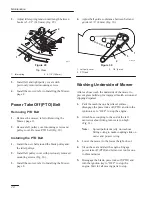
pulley cover. Remove PTO belt (Fig. 30).
Installing the PTO Belt
1.
Install the new belt around the blade pulley and
the idler pulleys.
2.
Install left pulley cover with previously removed
mounting screws (Fig. 30).
3.
Install the mower; refer to Installing the Mower,
page 8.
4.
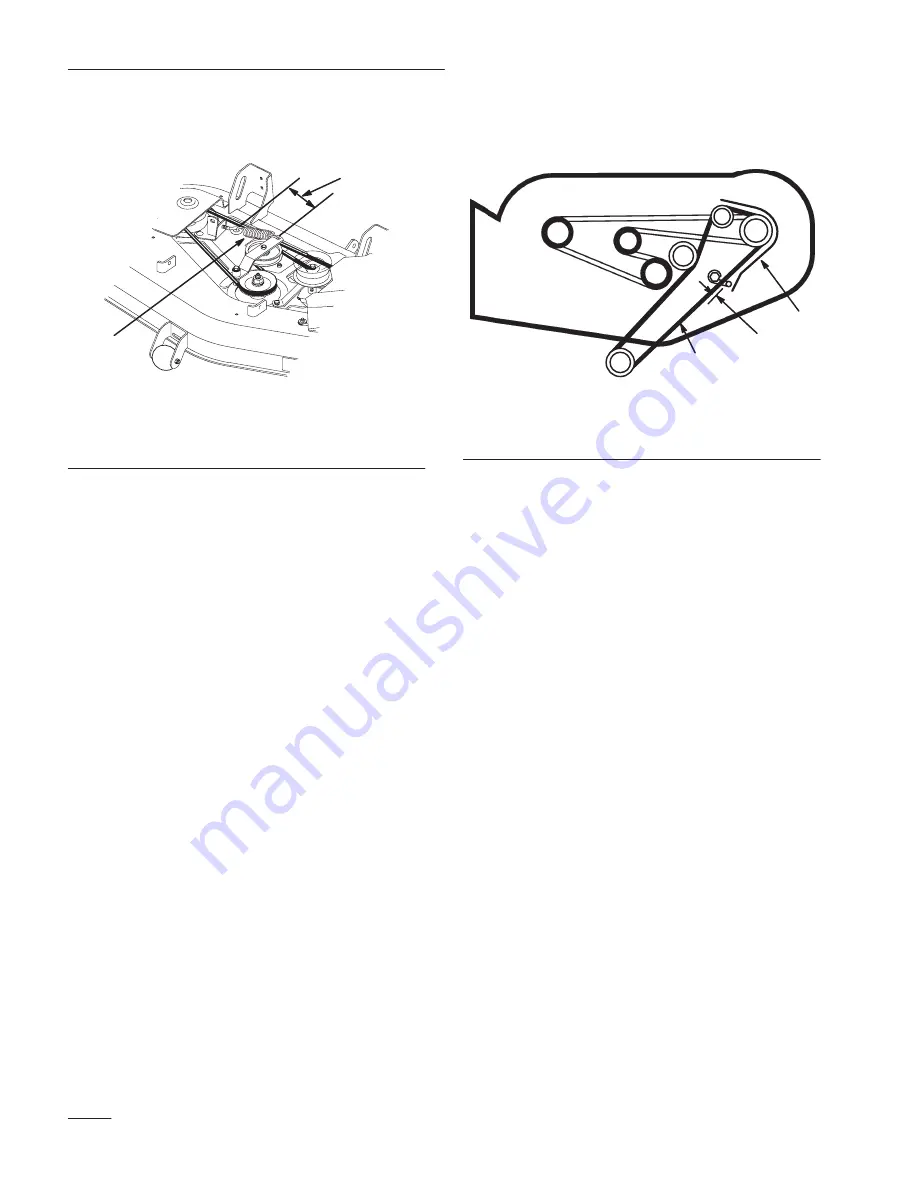
Adjust belt guide so distance between belt and
guide is 1/8” (4 mm) (Fig. 30).
m–2418
3
2
1
Figure 30
1.
Left pully cover
2.
PTO belt
3.
1/8” (4 mm)
Washing Underside of Mower
After each use wash the underside of the mower to
prevent grass build-up for improved mulch action and
clipping dispersal.
1.
Park the machine on a hard level surface,
disengage the power take off (PTO) and turn the
ignition key to “OFF” to stop the engine.
2.
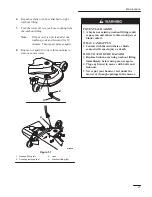
Attach hose coupling to the end of the left
mower washout fitting, turn water on high
(Fig. 31).
Note:
Spread petroleum jelly on washout
fitting o-ring to make coupling slide on
easier and protect o-ring.
3.
Lower the mower to the lowest height-of-cut.
4.
Sit on the seat and start the engine. Engage
power take off (PTO) and let mower run for one
to three minutes.
5.
Disengage the blade, power take off (PTO) and
turn the ignition key to “OFF” to stop the
engine. Wait for all moving parts to stop.
Summary of Contents for 78253
Page 26: ...Troubleshooting 24 ...
Page 27: ...Troubleshooting 25 ...
Page 28: ...Troubleshooting 26 ...

