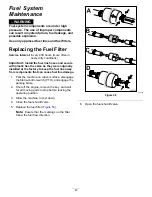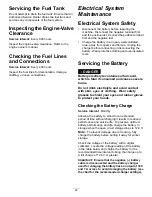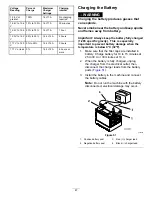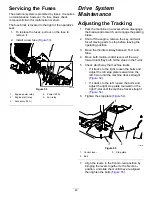
g012996
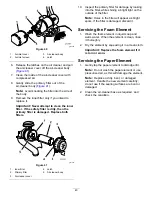
Figure 40
1.
Air-inlet cover
3.
Air-cleaner body
2.
Air-inlet screen
4.
Latch
6.
Release the latches on the air cleaner and pull
the air-cleaner cover off the air-cleaner body
(
).
7.
Clean the inside of the air-cleaner cover with
compressed air.
8.
Gently slide the primary filter out of the
air-cleaner body (
).
Note:
Avoid knocking the filter into the side of
the body.
9.
Remove the inner filter only if you intend to
replace it.
Important:
Never attempt to clean the inner
filter. If the safety filter is dirty, then the
primary filter is damaged. Replace both
filters.
g001883
Figure 41
1.
Inner filter
4.
Latch
2.
Primary filter
5.
Air-cleaner body
3.
Air-cleaner cover
10.
Inspect the primary filter for damage by looking
into the filter, while shining a bright light on the
outside of the filter.
Note:
Holes in the filter will appear as bright
spots. If the filter is damaged, discard it.
Servicing the Foam Element
1.
Wash the foam element in liquid soap and
warm water. When the element is clean, rinse
it thoroughly.
2.
Dry the element by squeezing it in a clean cloth.
Important:
Replace the foam element if it
is torn or worn.
Servicing the Paper Element
1.
Gently tap the paper element to dislodge dirt.
Note:
Do not wash the paper element or use
pressurized air, as this will damage the element.
Note:
Replace a dirty, bent, or damaged
element. Handle the new element carefully;
do not use if the sealing surfaces are bent or
damaged.
2.
Clean the air-cleaner base as required, and
check the condition.
40
Summary of Contents for Air Cool Z Master 74090
Page 69: ...g008623 Hydraulic Schematic Rev A 69 ...
Page 72: ......

