ENGINE
4-3
TX525 Service Manual
Rev. 000
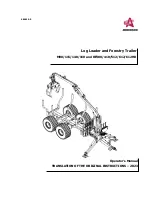
11. Place an absorbent towel under the oil cooler inlet
fitting located on the lower left hand corner of the oil
cooler.
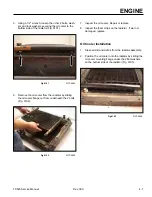
12. Using a 1-1/16” and a 1-1/8” wrench, remove the oil
cooler inlet line from the oil cooler inlet fitting (Fig.
0087).
14. Place an absorbent towel under the oil cooler outlet
fitting located on the upper right hand corner of the
oil cooler.
15. Using a 1-1/16” and a 1-1/8” wrench, remove the oil
cooler outlet line from the oil cooler outlet fitting (Fig.
0088).
Fig 0088
PICT-4968a
Fig 0087
PICT-4965
16. Cap the hydraulic line and fitting so debris does not
enter the system.
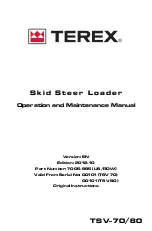
17. Using a 1/2” socket, remove the 3 bolts securing the
radiator mount to the frame (Fig. 0089).
Fig 0089
PICT-4969
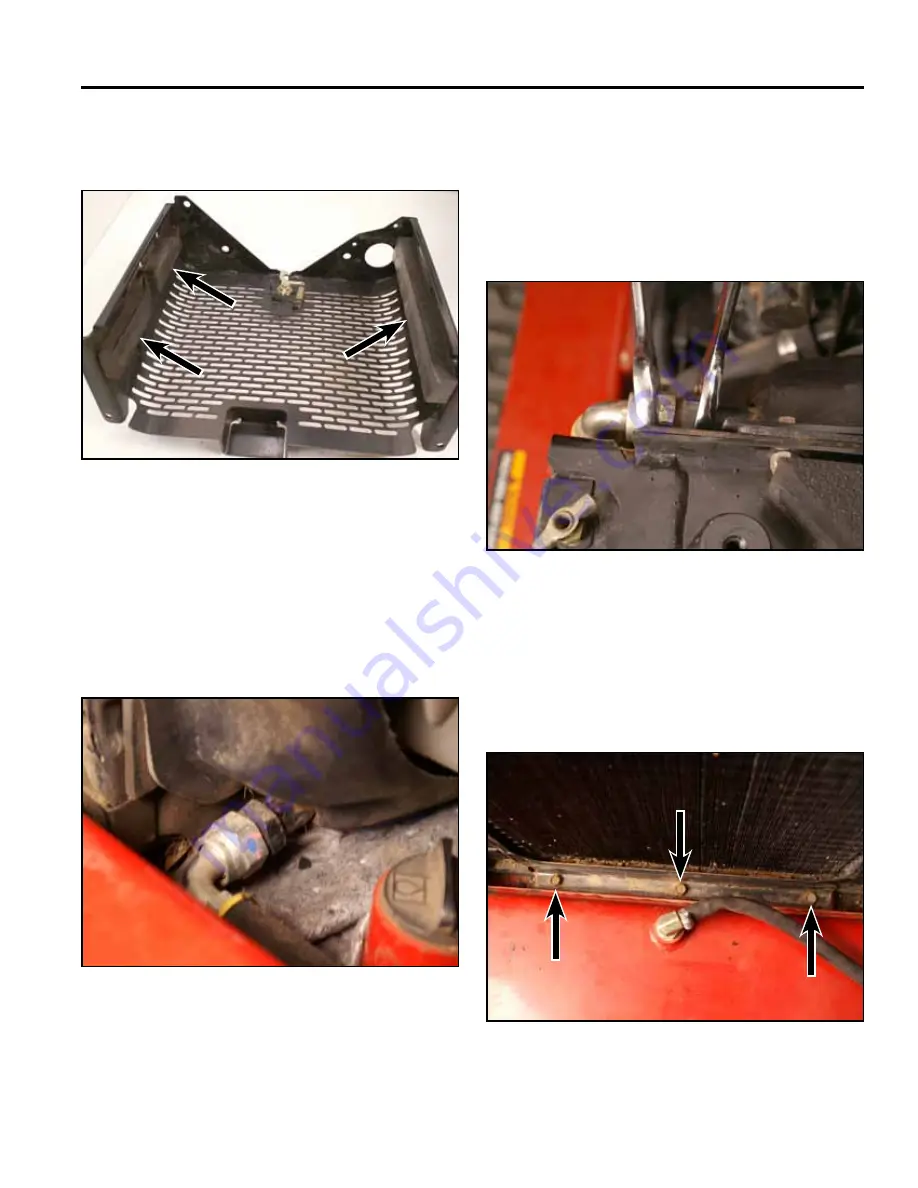
10. Inspect the foam seals on the inside of the grill as-
sembly. Replace if worn or damaged (Fig. 0086).
13. Cap the hydraulic line and fitting so debris does not
enter the system.
Fig 0086
PICT-5138a
Summary of Contents for Dingo TX 525
Page 1: ...TX525 Service Manual Sitework Systems Form No 492 9195...
Page 3: ...ii Rev 000 TX525 Service Manual 8 01 10 Revision 000 REVISIONS...
Page 11: ...x Rev 000 TX525 Service Manual TABLE OF CONTENTS THIS PAGE INTENTIONALLY LEFT BLANK...
Page 243: ...ENGINE 4 190 Rev 000 TX525 Service Manual THIS PAGE INTENTIONALLY LEFT BLANK...
Page 263: ...ELECTRICAL 5 20 Rev 000 TX525 Service Manual THIS PAGE INTENTIONALLY LEFT BLANK...
Page 377: ...HYDRAULIC SYSTEM 6 114 Rev 000 TX525 Service Manual THIS PAGE INTENTIONALLY LEFT BLANK...
Page 479: ...DRIVE SYSTEM 7 102 Rev 000 TX525 Service Manual THIS PAGE INTENTIONALLY LEFT BLANK...
Page 553: ...HYDRAULIC TESTING 9 20 Rev 000 TX525 Service Manual THIS PAGE INTENTIONALLY LEFT BLANK...


