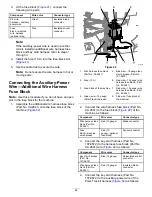
g030478
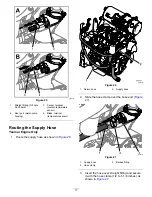
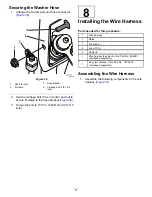
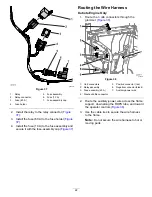
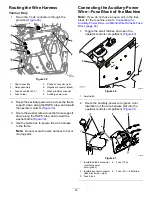
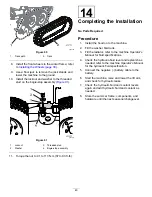
Figure 60
1.
Window seal
3.
25 mm (1 inch)
2.
Safety decal
Installing the Cab Seals
Note:
Ensure that the application area is clean before
you apply the foam seals.
1.
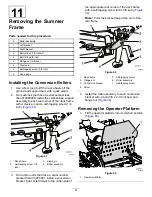
Apply the rear foam onto the angled tab at the
rear of the cab as shown in
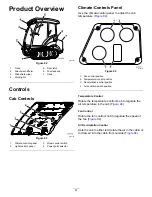
g028726
Figure 61
1.
Left, middle-foam seal
4.
Right, rear-foam seal
2.
Left, rear-foam seal
5.
Right, middle-foam seal
3.
Rear-foam seal
2.
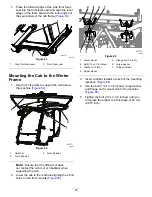
Install the left rear and right, rear foam seal to
the inner corners of the rear, lower edge of the
cab frame as shown in (
).
Note:
The inner edge of the forward legs of the
foam pieces should be approximately 3 mm (1/8
inch) away from the inner edge of the side seal
panels of the cab frame.
3.
Align the innermost edges of the left middle and
right middle foam seals with the left, rear and
right, rear foam seal and interlock the tabs (
Note:
The inner edge of the forward legs of the
foam seals should be approximately 3 mm (1/8
inch) away from the inner edge of the side seal
panels of the cab frame.
4.
Align the innermost edges of the left tank and
right tank foam seals with the left and right
middle foam seal and interlock the tabs (
Note:
The inner edge of the forward legs of the
foam seals should be approximately 3 mm (1/8
inch) away from the inner edge of the side seal
panels of the cab frame.
5.
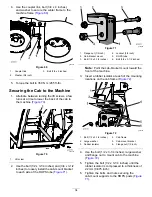
Press the forward edge of the left, side and right,
side foam seal against the channel and interlock
the angled rear edge of the foam seal with the
tank foam seal (
Note:
There may be a small gap between the
tank-foam seals and the angled edge of the side
foam seals.
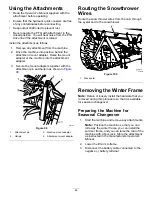
g028740
Figure 62
1.
Middle-foam seal
4.
Left, side foam seal
2.
Left, tank foam seal
5.
Right, side foam seal
3.
Channel
6.
Right, tank foam seal
6.
Center the front-foam seal on to front panel
(
).
Note:
Ensure that the back edge of the front
foam seal is aligned to the rear-most edge of the
front panel of the cab frame.
31

