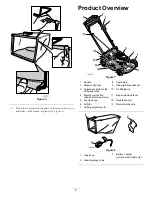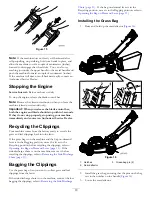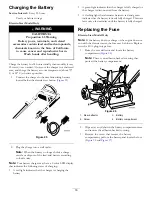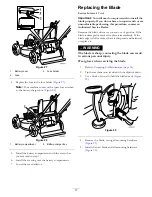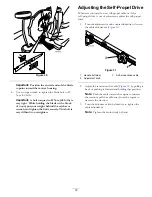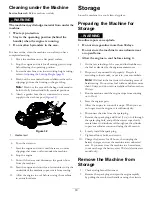
Figure 10
1.
Dipstick
3.
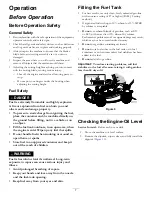
Remove the dipstick and check the oil level (
).
If the oil level is below the
Add
mark on the dipstick,
slowly pour oil into the oil fill tube to raise the oil level
to the
Full
mark on the dipstick.
Do not overfill.
4.
Install the dipstick securely.
Adjusting the Cutting Height
WARNING
Adjusting the cutting height may bring you into
contact with the moving blade, causing serious
injury.
•
Stop the engine and wait for all moving parts
to stop.
•
Do not put your fingers under the housing when
adjusting the cutting height.
CAUTION
If the engine has been running, the muffler will be
hot and can severely burn you. Keep away from the
hot muffler.
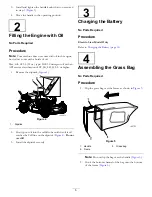
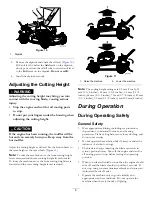
Adjust the cutting height as desired. Set the front wheels to
the same height as the rear wheels (
Note:
To raise the machine, move the front cutting-height
levers rearward and the rear cutting-height levers forward.
To lower the machine, move the front cutting-height levers
forward and the rear cutting-height levers rearward.
Figure 11
1.
Raise the machine
2.
Lower the machine
Note:
The cutting-height settings are 25 mm (1 inch); 35
mm (1-3/8 inches); 44 mm (1-3/4 inches); 54 mm (2-1/8
inches); 64 mm (2-1/2 inches); 73 mm (2-7/8 inches); 83 mm
(3-1/4 inches); 92 mm (3-5/8 inches); and 102 mm (4 inches).
During Operation
During Operating Safety
General Safety
•
Wear appropriate clothing, including eye protection;
slip-resistant, substantial footwear; and hearing
protection. Tie back long hair, secure loose clothing, and
do not wear jewelry.
•
Do not operate the machine while ill, tired, or under the
influence of alcohol or drugs.
•
The blade is sharp; contacting the blade can result in
serious personal injury. Shut off the engine and wait for
all moving parts to stop before leaving the operating
position.
•
When you release the blade-control bar, the engine should
shut off and the blade should stop within 3 seconds. If
not, stop using your machine immediately and contact an
Authorized Service Dealer.
•
Operate the machine only in good visibility and
appropriate weather conditions. Do not operate the
machine when there is the risk of lighting.
8
Summary of Contents for Recycler 20332
Page 13: ...Figure 20 4 To unfold the handle reverse the steps above 13 ...
Page 21: ...Notes 21 ...
Page 22: ...Notes 22 ...
Page 23: ...Notes 23 ...
Page 71: ...Remarques 23 ...


