background image

Maintenance

Remove the electric-start button and battery pack
from the machine before maintaining or cleaning the
machine.

Use only the manufacturer’s recommended
replacement parts and accessories.

Inspect and maintain the machine regularly. Have
the machine repaired only by an Authorized Service
Dealer.

Lubricating the Machine

You do not need to lubricate the machine; all the
bearings have been lubricated at the factory for the
life of the machine.

Replacing the Blade

Service Interval:

Yearly

Important:

You will need a torque wrench to

install the blade properly

. If you do not have a

torque wrench or are uncomfortable performing
this procedure, contact an Authorized Service
Dealer.

If the blade is damaged or cracked, replace it
immediately. If the blade edge is dull or nicked, have
it sharpened and balanced, or replace it.

WARNING

When servicing the blade, be aware that the
blade can still move even though the power
source is off. The blade is sharp; contacting
the blade can result in serious personal injury.

Wear gloves when servicing the blade.

1.

Remove the electric-start button and battery
pack from the machine.

2.

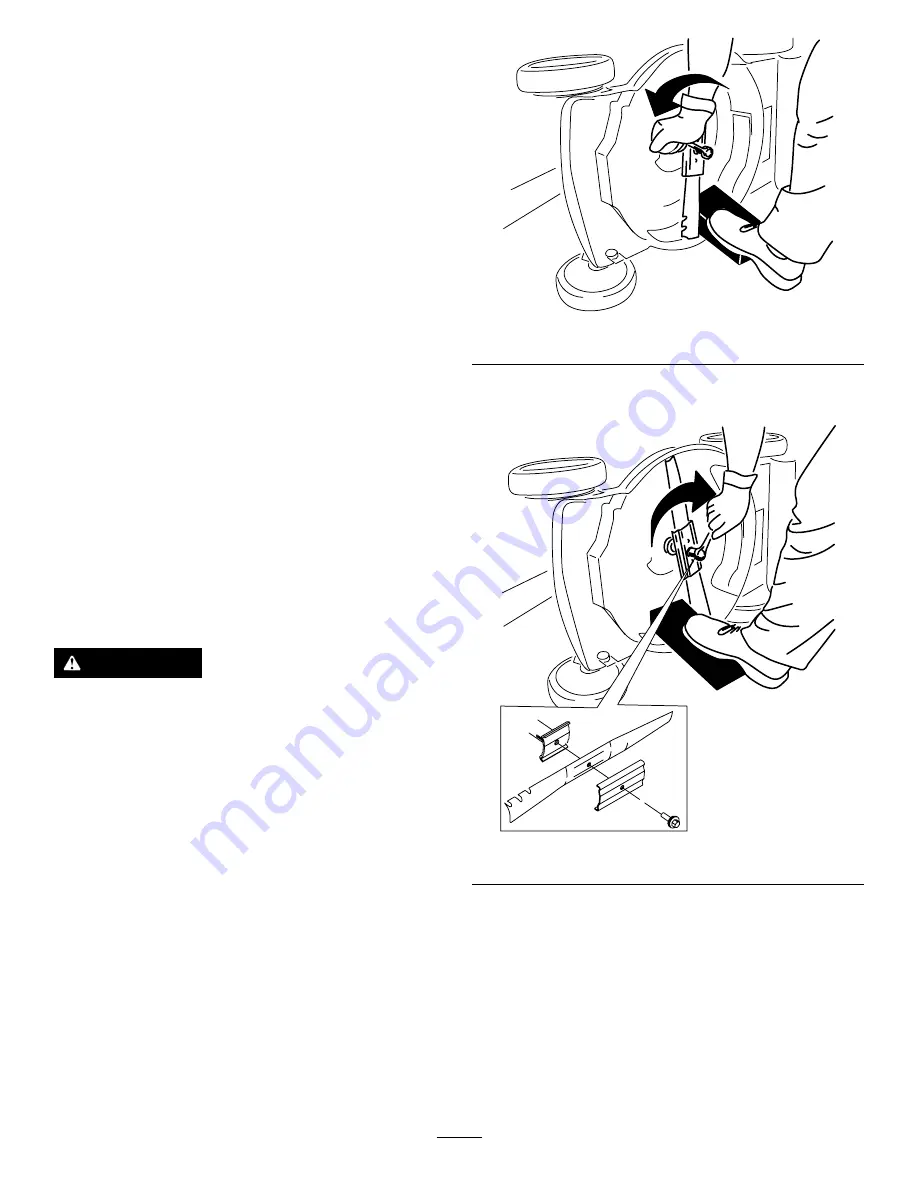
Use a block of wood to hold the blade steady
(

Figure 17

).

3.

Remove the blade bolt, bracket, and blade; save
the bracket and blade bolt (

Figure 17

).

g231389

Figure 17

4.

Install the new blade, bracket, and blade bolt
(

Figure 18

).

g231390

Figure 18

Important:

Position the curved ends of the

blade facing up toward the machine housing.

5.

Use a torque wrench to tighten the blade bolt
to 68 N∙m (50 ft-lb).

16


Summary of Contents for Recycler 20367

Page 1: ...Form No 3434 488 Rev A 21in Recycler Lawn Mower Model No 20367 Serial No 400000000 and Up Model No 20367T Serial No 400000000 and Up Register at www Toro com Original Instructions EN 3434 488 A ...

Page 2: ...ials accessory information help finding a dealer or to register your product Whenever you need service genuine Toro parts or additional information contact an Authorized Service Dealer or Toro Customer Service and have the model and serial numbers of your product ready Figure 1 identifies the location of the model and serial numbers on the product Write the numbers in the space provided Important ...

Page 3: ...erent style of connection use an attachment plug adapter of the proper configuration for the power outlet if needed 7 Do not use a damaged or modified battery pack or battery charger which may exhibit unpredictable behavior that results in fire explosion or risk of injury 8 If the supply cord to the battery charger is damaged contact an Authorized Service Dealer to replace it 9 Do not use non rech...

Page 4: ...liquid contacts your eyes seek medical help Liquid ejected from the battery pack may cause irritation or burns IV Maintenance and Storage 1 Stop the machine remove the electric start button remove the battery pack from the machine and wait for all movement to stop before adjusting servicing cleaning or storing the machine 2 Do not attempt to repair the machine except as indicated in the instructio...

Page 5: ...the operator and are located near any area of potential danger Replace any decal that is damaged or missing decal140 3811 140 3811 1 Warning read the Operator s Manual 4 Cutting dismember hazard mower blade stay away from moving parts keep all guards and shields in place 2 Thrown object hazard keep bystanders away 5 Cutting dismember hazard mower blade do not mow up or down slopes only mow across ...

Page 6: ...battery pack is charging 2 The battery pack is fully charged 3 The battery pack is over or under the appropriate temperature range 4 Battery pack charging fault decal94 8072 94 8072 decal137 9461 137 9461 1 Battery charge status decal139 8986 139 8986 6 ...

Page 7: ...esired mount the battery charger securely on a wall using the wall mount key holes on the back of the charger Mount it indoors such as a garage or other dry place near a power outlet and out of the reach of children Refer to Figure 2 for assistance in mounting the charger Slide the charger over the appropriately positioned hardware to secure the charger in place hardware not included g290534 Figur...

Page 8: ...damaged contact an Authorized Service Dealer Important Remove and discard the protective plastic sheet that covers the motor and any other plastic or wrapping on the machine 1 Unlock the handle locks A of Figure 4 2 Move the handle rearward to the operating position B of Figure 4 3 Hold the handle while engaging the handle locks to avoid pinching your hands 4 Engage the handle lock until the pin c...

Page 9: ...odel 20367 2 Battery pack model 88640 included with Model 20367 Specifications Appropriate Temperature Ranges Charge store the battery pack at 5 C 41 F to 40 C 104 F Use the battery pack at 30 C 22 F to 49 C 120 F Use the machine at 0 C 32 F to 49 C 120 F Charging time will increase if you do not charge the battery pack within this range Store the machine battery pack and battery charger in an enc...

Page 10: ...tions page 9 1 Make sure that the vents on the battery are clear of any dust and debris 2 Lift up the battery compartment lid A of Figure 7 3 Line up the cavity in the battery pack with the tongue on the machine and slide the battery pack into the compartment until it locks into place B of Figure 7 4 Close the battery compartment lid C of Figure 7 g251221 Figure 7 10 ...

Page 11: ...nsure that the battery pack is charged and installed in the machine refer to Installing the Battery Pack page 10 2 Insert the electric start button into the electric starter switch A of Figure 9 3 Squeeze the blade control bar and hold it to the handle B of Figure 9 4 Press the electric start button and keep it pressed until the motor starts C of Figure 9 g296941 Figure 9 11 ...

Page 12: ...f Figure 10 3 Allow the rear deflector to rest on the bag g240796 Figure 10 Removing the Grass Bag To remove the bag reverse the steps in Installing the Grass Bag page 12 Shutting Off the Machine 1 Release the blade control bar A of Figure 11 2 Remove the electric start button from the electric starter B of Figure 11 3 Remove the battery pack refer to Removing the Battery Pack from the Machine pag...

Page 13: ...tting Leaves After cutting the lawn ensure that half of the lawn shows through the cut leaf cover You may need to make more than a single pass over the leaves If there are more than 13 cm 5 inches of leaves on the lawn mow at a higher cutting height and then again at the desired cutting height Slow down your mowing speed if the machine does not cut the leaves finely enough After Operation Charging...

Page 14: ... the machine in the vertical stow position refer to Storing the Machine in the Vertical Stow Position page 14 2 Wash out the clippings from under the machine Folding the Handle WARNING Folding or unfolding the handle improperly can damage the cables causing an unsafe operating condition Do not damage the cables when folding or unfolding the handle If a cable is damaged contact an Authorized Servic...

Page 15: ... raise it refer to Adjusting the Cutting Height page 11 3 Disengage the handle locks Figure 15 g297000 Figure 15 4 Fold the handle fully forward Important Route the cables to the outside of the handle locks as you fold the handle 5 Engage the handle locks 6 Lift the front of the machine by the handle and move it into a storage space Figure 16 g297023 Figure 16 15 ...

Page 16: ...ct an Authorized Service Dealer If the blade is damaged or cracked replace it immediately If the blade edge is dull or nicked have it sharpened and balanced or replace it WARNING When servicing the blade be aware that the blade can still move even though the power source is off The blade is sharp contacting the blade can result in serious personal injury Wear gloves when servicing the blade 1 Remo...

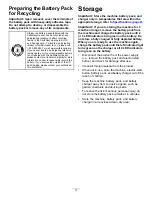
Page 17: ...and charger only in temperatures that are within the appropriate range refer to Specifications page 9 Important If you are storing the machine for 3 months or longer remove the battery pack from the machine and charge the battery pack until 2 or 3 LED indicators turn green on the battery Do not store a fully charged or fully depleted battery When you are ready to use the machine again charge the b...

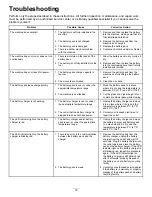
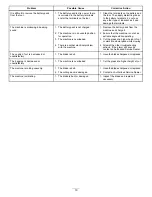
Page 18: ...C 104 F The battery pack loses charge quickly 2 The machine is overloaded 2 Cut the grass at a higher height of cut or walk at a slower pace while mowing 1 The battery charger is over or under the appropriate temperature range 1 Unplug the battery charger and move it to a place where it is dry and the temperature is between 5 C 41 F and 40 C 104 F The battery charger is not working 2 The outlet th...

Page 19: ... 3 The machine is overloaded 3 Cut the grass at a higher height of cut or walk at a slower pace while mowing The machine is producing a beeping sound 4 There is another electrical problem with the machine 4 Attempt the other troubleshooting actions if the alarm still sounds contact an Authorized Service Dealer The quality of cut is decreased or unsatisfactory 1 The blade is dull 1 Have the blade s...

Page 20: ...to restaurants grocery stores hotels schools and hospitals and on a wide variety of products Additionally some online and mail order retailers provide Prop 65 warnings on their websites or in catalogs How do the California warnings compare to federal limits Prop 65 standards are often more stringent than federal and international standards There are various substances that require a Prop 65 warnin...

Reviews: