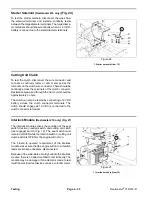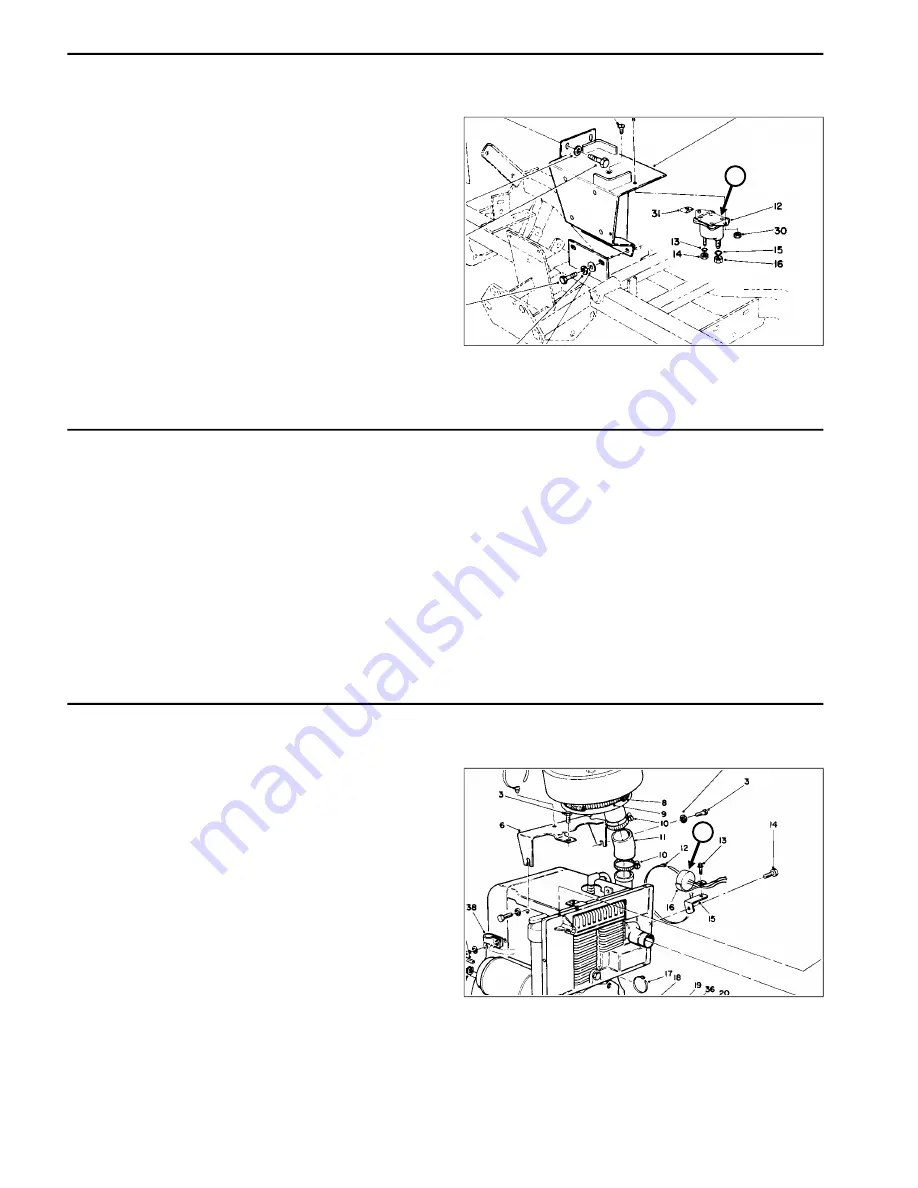
Starter Solenoid
(Reelmaster 216 only)
(Fig. 24)
To test the starter solenoid, disconnect the wires from
the solenoid terminals and install a continuity tester
between the large diameter terminals. The large diame
ter terminals should show continuity when a 12 V.D.C.
battery is connected to the small diameter terminals.
Cutting Unit Clutch
To test the clutch, disconnect the wire connector and
connect a continuity tester or ohm meter across the
terminals on the clutch wire connector. There should be
continuity across the terminals of the clutch connector.
Resistance measured through the clutch coil should be
approximately 3 ohms.
The clutch can also be tested by connecting a 12 VDC
battery across the clutch connector terminals. The
clutch should engage as 12 VDC is connected to the
clutch connector terminals.
Interlock Module
(Reelmaster 216 only) (Fig. 27)
The interlock module senses the condition of the seat
switch, traction (neutral) switch, and cutting unit clutch
(reel engage) switch (Fig. 12). The seat switch must
remain CLOSED while the traction switch or cutting unit
clutch switch is OPEN or the engine will not run.
The “closed to operate” requirement of the interlock
module makes sure that the engine will not run if switch
leads are broken or become disconnected.
Because of the solid-state circuitry built into the interlock
module, there is no direct method to test it directly. The
module may be damaged if an attempt is made to test
it with an electrical test device such as a volt-ohm meter.
1
Figure 24
1. Starter solenoid (Item 12)
1
Figure 27
1. Interlock module (Item 16)
Testing
Page 6 - 30
Reelmaster
®
216/216-D
Summary of Contents for reelmaster 216
Page 2: ...This page is blank ...
Page 4: ...This page is blank ...
Page 8: ...Safety Instructions Page 1 4 Reelmaster 216 216 D ...
Page 12: ...Torque Specifications Page 2 4 Rev B Reelmaster 216 216 D ...
Page 26: ...Adjustments Page 4 4 Reelmaster 216 216 D ...
Page 40: ...Troubleshooting Page 5 14 Reelmaster 216 216 D ...
Page 42: ...Troubleshooting Page 5 16 Reelmaster 216 216 D ...
Page 72: ...Repairs Page 5 46 Reelmaster 216 216 D ...
Page 75: ...Reelmaster 216 S N 10001 19999 Reelmaster 216 216 D Page 6 3 Wiring Schematics ...
Page 76: ...Reelmaster 216 S N 20001 Up Wiring Schematics Page 6 4 Reelmaster 216 216 D ...
Page 77: ...Reelmaster 216 D Reelmaster 216 216 D Page 6 5 Wiring Schematics ...
Page 114: ...Repairs Page 7 8 Reelmaster 216 216 D ...
Page 124: ...Repairs Page 8 10 Reelmaster 216 216 D ...
Page 143: ...This page is blank ...


