Repairs
IMPORTANT: Before welding on the machine, dis
connect both battery cables from the battery and
disconnect the terminal connector from the alter
nator to prevent damage to the electrical system.
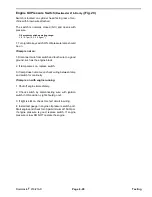
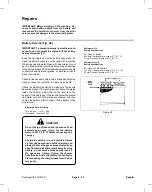
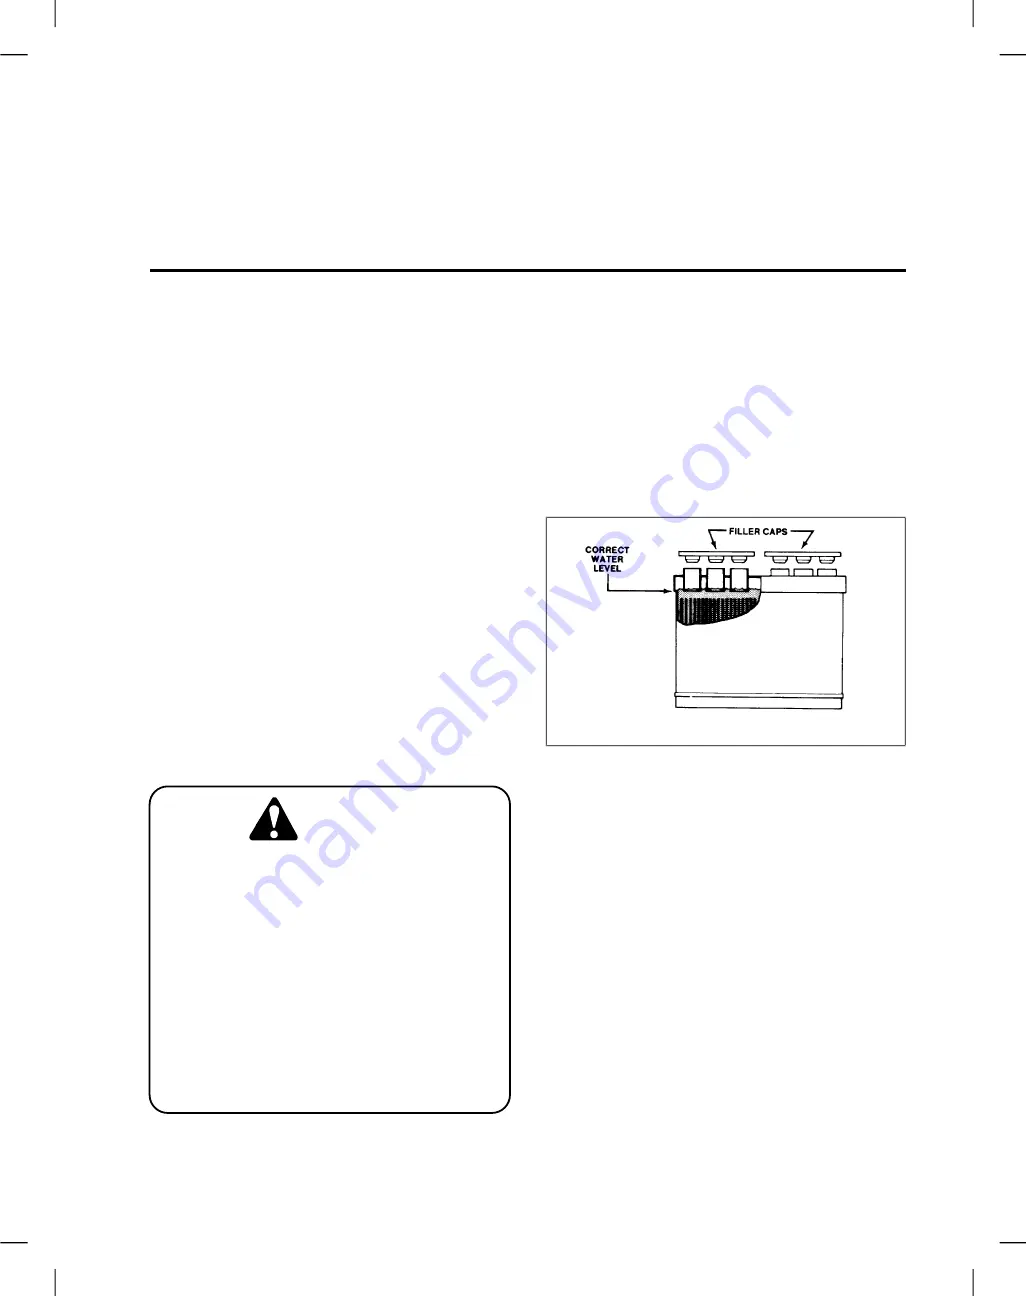
Battery Service (Fig. 28)
IMPORTANT: To prevent damage to electrical com
ponents, do not operate the engine with the battery
cables disconnected.
Keep the terminals and entire battery case clean. To
clean the battery, wash the entire case with a solution
of baking soda and water. Rinse with clear water. Do not
get the soda solution into the battery because damage
to the battery will result. Coat the battery posts and cable
connectors with skin-over grease, or petroleum jelly to
prevent corrosion.
Check for loose battery hold-downs. A loose battery may
crack or cause the container to wear and leak acid.
Check the electrolyte solution to make sure the level is
above the plates. If the level is low (but above the plates
inside the battery), add water so the level is to the
bottom of the cap tubes. If the level is below the plates,
add water only until the plates are covered and then
charge the battery. After charging, fill the battery to the
proper level.
Electrolyte Specific Gravity
Reelmaster 216
Battery Specifications
BCI Group U1 Battery
200 Amp Cranking Performance at 0
o
F (17
o
C)
32 min. Reserve Capacity at 80
o
F (27
o
C)
Reelmaster 216-D
Battery Specifications
BCI Group 26 SMF-5 Battery
530 Amp Cranking Performance at 0
o
F (–17
o
C)
85 min. Reserve Capacity at 80
o
F (27
o
C)
Fully charged: 1.250 - 1.280
Figure 28
Discharged: less than 1.240
o
o
Do not charge a frozen battery because it can
explode and cause injury. Let the battery
warm to 60 F (16 C) before connecting to a
charger.
Charge the battery in a well-ventilated place
so that gases produced while charging can
dissipate. Since the gases are explosive, keep
open flame and electrical spark away from the
battery; do not smoke. Nausea may result if
the gases are inhaled. Unplug the charger
from the electrical outlet before connecting or
disconnecting the charger leads from the bat
tery posts.
CAUTION
Reelmaster
®
216/216-D
Page 6 - 31
Repairs
Summary of Contents for reelmaster 216
Page 2: ...This page is blank ...
Page 4: ...This page is blank ...
Page 8: ...Safety Instructions Page 1 4 Reelmaster 216 216 D ...
Page 12: ...Torque Specifications Page 2 4 Rev B Reelmaster 216 216 D ...
Page 26: ...Adjustments Page 4 4 Reelmaster 216 216 D ...
Page 40: ...Troubleshooting Page 5 14 Reelmaster 216 216 D ...
Page 42: ...Troubleshooting Page 5 16 Reelmaster 216 216 D ...
Page 72: ...Repairs Page 5 46 Reelmaster 216 216 D ...
Page 75: ...Reelmaster 216 S N 10001 19999 Reelmaster 216 216 D Page 6 3 Wiring Schematics ...
Page 76: ...Reelmaster 216 S N 20001 Up Wiring Schematics Page 6 4 Reelmaster 216 216 D ...
Page 77: ...Reelmaster 216 D Reelmaster 216 216 D Page 6 5 Wiring Schematics ...
Page 114: ...Repairs Page 7 8 Reelmaster 216 216 D ...
Page 124: ...Repairs Page 8 10 Reelmaster 216 216 D ...
Page 143: ...This page is blank ...

