Cutting Unit Characteristics
The single knob bedknife-to-reel adjustment system
incorporated in this cutting unit simplifies the adjustment
procedure needed to deliver optimum mowing perform
ance. The precise adjustment possible with the single
knob/bedbar design gives the necessary control to pro
vide a continual self-sharpening action — thus maintain
ing sharp cutting edges, assuring good quality-of-cut,
and greatly reducing the need for routine backlapping.
In addition, the rear roller positioning system permits
optimum bedknife attitude and location for varying
height-of-cuts and turf conditions.
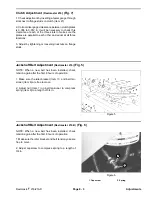
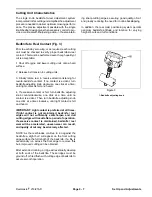
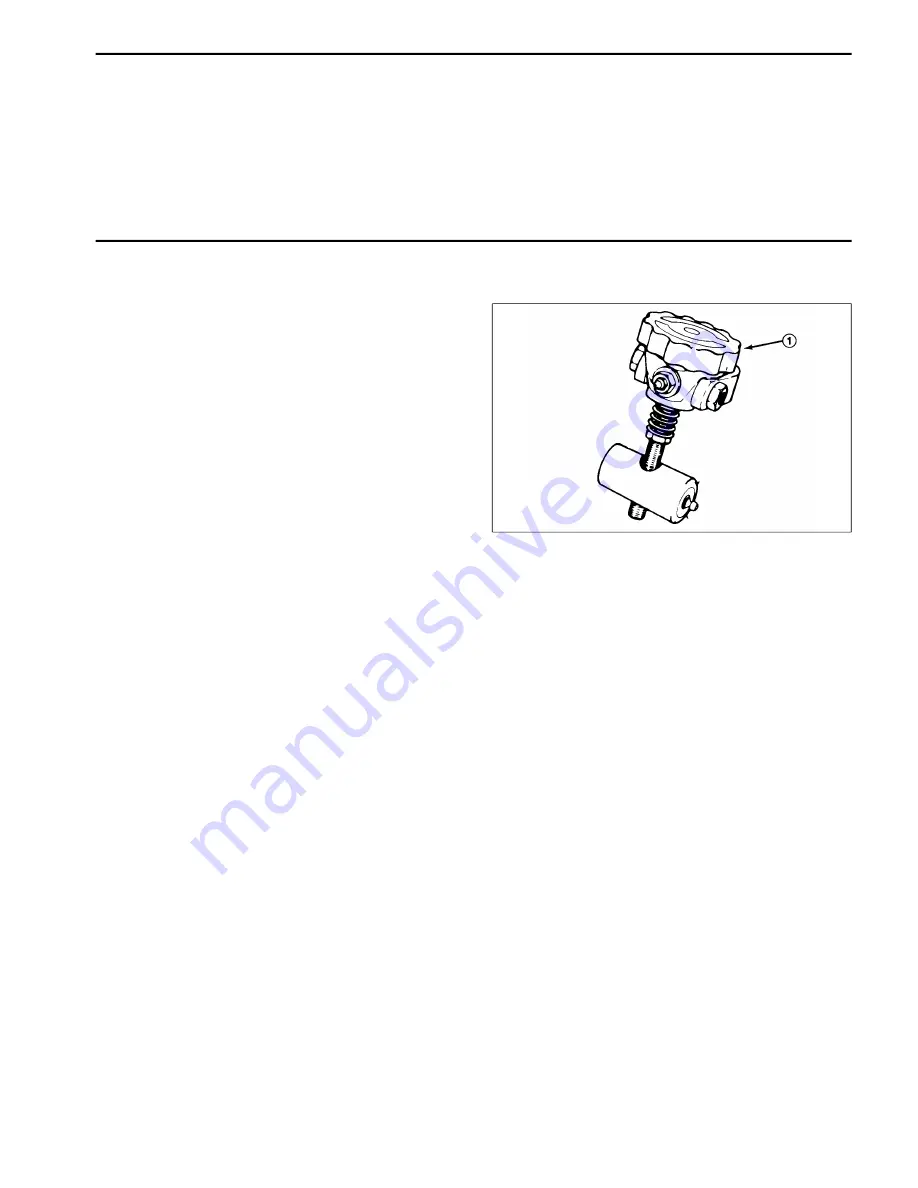
Bedknife to Reel Contact (Fig. 3)
Prior to each day’s mowing, or as required, each cutting
unit must be checked to verify proper bedknife-to-reel
contact. This must be performed even though quality of
cut is acceptable.
1. Shut off engine and lower cutting units onto a hard
surface.
2. Release belt tension to cutting units.
3. Slowly rotate reel in reverse direction listening for
reel-to-bedknife contact. If no contact is evident, turn
bedknife adjusting knob clockwise, one click at a time,
until light contact is felt and heard.
4. If excessive contact is felt, turn bedknife adjusting
knob counterclockwise, one click at a time until no
contact is evident. Then turn bedknife adjusting knob
one click at a time clockwise, until light contact is felt
and heard.
IMPORTANT: Light contact is preferred at all times.
If light contact is not maintained, bedknife / reel
edges will not sufficiently self-sharpen and dull
cutting edges will result after a period of operation.
If excessive contact is maintained, bedknife / reel
wear will be accelerated, uneven wear can result,
and quality of cut may be adversely affected.
NOTE: As the reel blades continue to run against the
bedknife a slight burr will appear on the front cutting
edge surface the full length of the bedknife. If a file is
occasionally run across the front edge to remove this
burr, improved cutting can be obtained.
After extended running, a ridge will eventually develop
at both ends of the bedknife. These ridges must be
ground off or filed flush with cutting edge of bedknife to
assure smooth operation.
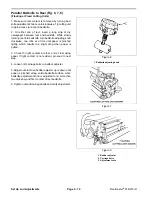
Figure 3
1. Bedknife adjusting knob
Reelmaster
®
216/216-D
Page 9 - 7
Set Up and Adjustments
Summary of Contents for reelmaster 216
Page 2: ...This page is blank ...
Page 4: ...This page is blank ...
Page 8: ...Safety Instructions Page 1 4 Reelmaster 216 216 D ...
Page 12: ...Torque Specifications Page 2 4 Rev B Reelmaster 216 216 D ...
Page 26: ...Adjustments Page 4 4 Reelmaster 216 216 D ...
Page 40: ...Troubleshooting Page 5 14 Reelmaster 216 216 D ...
Page 42: ...Troubleshooting Page 5 16 Reelmaster 216 216 D ...
Page 72: ...Repairs Page 5 46 Reelmaster 216 216 D ...
Page 75: ...Reelmaster 216 S N 10001 19999 Reelmaster 216 216 D Page 6 3 Wiring Schematics ...
Page 76: ...Reelmaster 216 S N 20001 Up Wiring Schematics Page 6 4 Reelmaster 216 216 D ...
Page 77: ...Reelmaster 216 D Reelmaster 216 216 D Page 6 5 Wiring Schematics ...
Page 114: ...Repairs Page 7 8 Reelmaster 216 216 D ...
Page 124: ...Repairs Page 8 10 Reelmaster 216 216 D ...
Page 143: ...This page is blank ...

