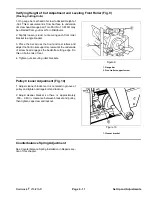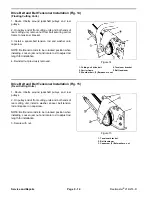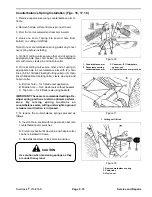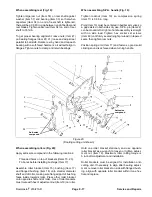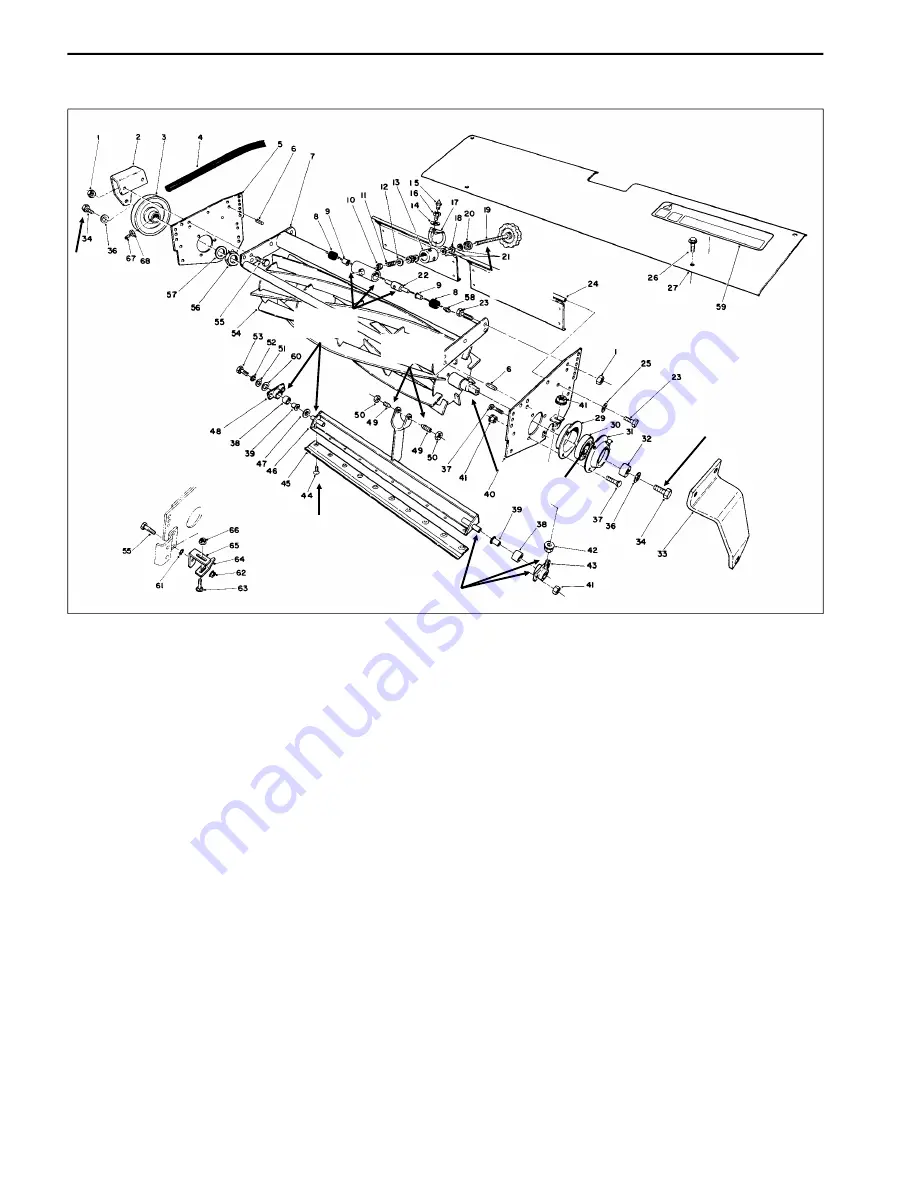
Cutting Unit Overhaul (Fig. 19, 20)
Loctite
Anti-seize
compound
Anti-seize
compound
Torque to
35 ft-lb
Anti-seize
compound
Anti-seize
compound
both ends
Torque to
200 in-lb
Anti-seize
compound
Figure 19
(8 blade floating cutting unit shown)
It is recommended that the following new parts be
When assembling cutting unit, apply anti-seize com
installed when overhauling a cutting unit. These parts
pound in the following locations (Fig. 19):
are available in an overhaul kit (Fig. 19):
Pivot pins on both ends of bedbar (Item 46).
Rubber bushings (Item 8)
Tapered end of setscrew (Item 49).
Nylon flanged bushings (Item 9)
Stud on bedbar housing (Item 43).
Thrust bearings (Item 18)
Both ends of reel shaft (Item 54).
Seals (Item 20)
Handle threads (Item 19).
Bearings (Item 30)
Threaded hole in S.P.A. pin (Item 22).
Bushing assemblies (Item 38)
To bores before installing bushings (Item 8, 38)
Flanged bushings (Item 39)
Bore of reel bearings (Item 30).
Special screws (Item 44)
Use Loctite on capscrew (Item 34) that retains pulley
and spacer.
Service and Repairs
Page 9 - 16
Reelmaster
®
216/216-D
Summary of Contents for reelmaster 216
Page 2: ...This page is blank ...
Page 4: ...This page is blank ...
Page 8: ...Safety Instructions Page 1 4 Reelmaster 216 216 D ...
Page 12: ...Torque Specifications Page 2 4 Rev B Reelmaster 216 216 D ...
Page 26: ...Adjustments Page 4 4 Reelmaster 216 216 D ...
Page 40: ...Troubleshooting Page 5 14 Reelmaster 216 216 D ...
Page 42: ...Troubleshooting Page 5 16 Reelmaster 216 216 D ...
Page 72: ...Repairs Page 5 46 Reelmaster 216 216 D ...
Page 75: ...Reelmaster 216 S N 10001 19999 Reelmaster 216 216 D Page 6 3 Wiring Schematics ...
Page 76: ...Reelmaster 216 S N 20001 Up Wiring Schematics Page 6 4 Reelmaster 216 216 D ...
Page 77: ...Reelmaster 216 D Reelmaster 216 216 D Page 6 5 Wiring Schematics ...
Page 114: ...Repairs Page 7 8 Reelmaster 216 216 D ...
Page 124: ...Repairs Page 8 10 Reelmaster 216 216 D ...
Page 143: ...This page is blank ...


