37
6
34
36
38
12
8
35
28
9
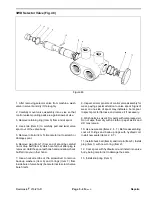
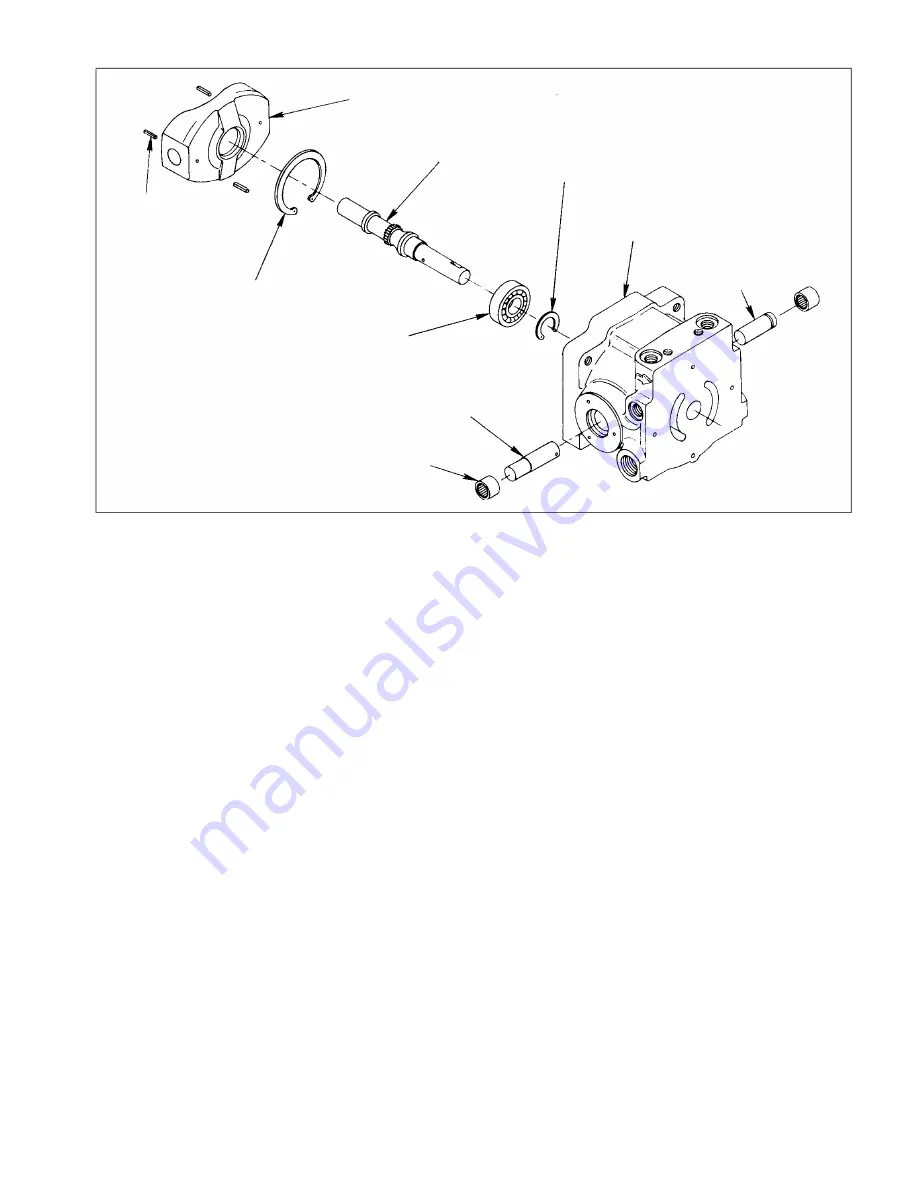
Figure 38
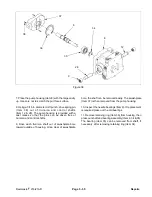
7. Place the pump housing (Item 8) with the large cavity
up. Use care not to scratch the port face surface.
8. Using a 3/16 in. diameter drift punch, drive spring pin
( It em 38) ou
t o f tr
u
nnion and control sh
afts
(Item 12 & 28). The pump housing is provided with a
cast recess so that the pins can be driven free of
trunnion and control shafts.
9. Drive each trunnion shaft out of swashplate bore
toward outside of housing. Once clear of swashplate
bore, the shaft can be removed easily. The swashplate
(Item 37) is then removed from the pump housing.
10. Inspect the needle bearings (Item 9). If replacement
is required press out the old bearings.
11. Remove retaining ring (Item 36) from housing, then
press out shaft and bearing assembly (Item 6, 34 & 35).
The bearing (Item 35) can be removed from shaft, if
necessary, after removing retaining ring (Item 34).
Reelmaster
®
216/216-D
Page 5 - 35
Repairs
Summary of Contents for reelmaster 216
Page 2: ...This page is blank ...
Page 4: ...This page is blank ...
Page 8: ...Safety Instructions Page 1 4 Reelmaster 216 216 D ...
Page 12: ...Torque Specifications Page 2 4 Rev B Reelmaster 216 216 D ...
Page 26: ...Adjustments Page 4 4 Reelmaster 216 216 D ...
Page 40: ...Troubleshooting Page 5 14 Reelmaster 216 216 D ...
Page 42: ...Troubleshooting Page 5 16 Reelmaster 216 216 D ...
Page 72: ...Repairs Page 5 46 Reelmaster 216 216 D ...
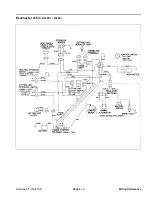
Page 75: ...Reelmaster 216 S N 10001 19999 Reelmaster 216 216 D Page 6 3 Wiring Schematics ...
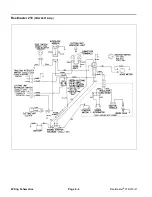
Page 76: ...Reelmaster 216 S N 20001 Up Wiring Schematics Page 6 4 Reelmaster 216 216 D ...
Page 77: ...Reelmaster 216 D Reelmaster 216 216 D Page 6 5 Wiring Schematics ...
Page 114: ...Repairs Page 7 8 Reelmaster 216 216 D ...
Page 124: ...Repairs Page 8 10 Reelmaster 216 216 D ...
Page 143: ...This page is blank ...


