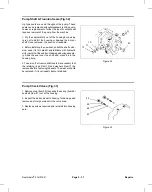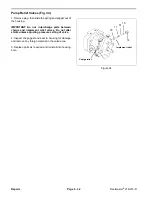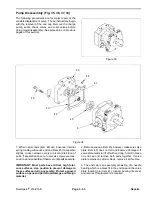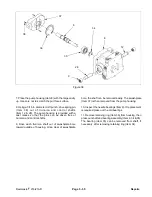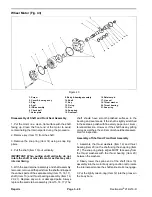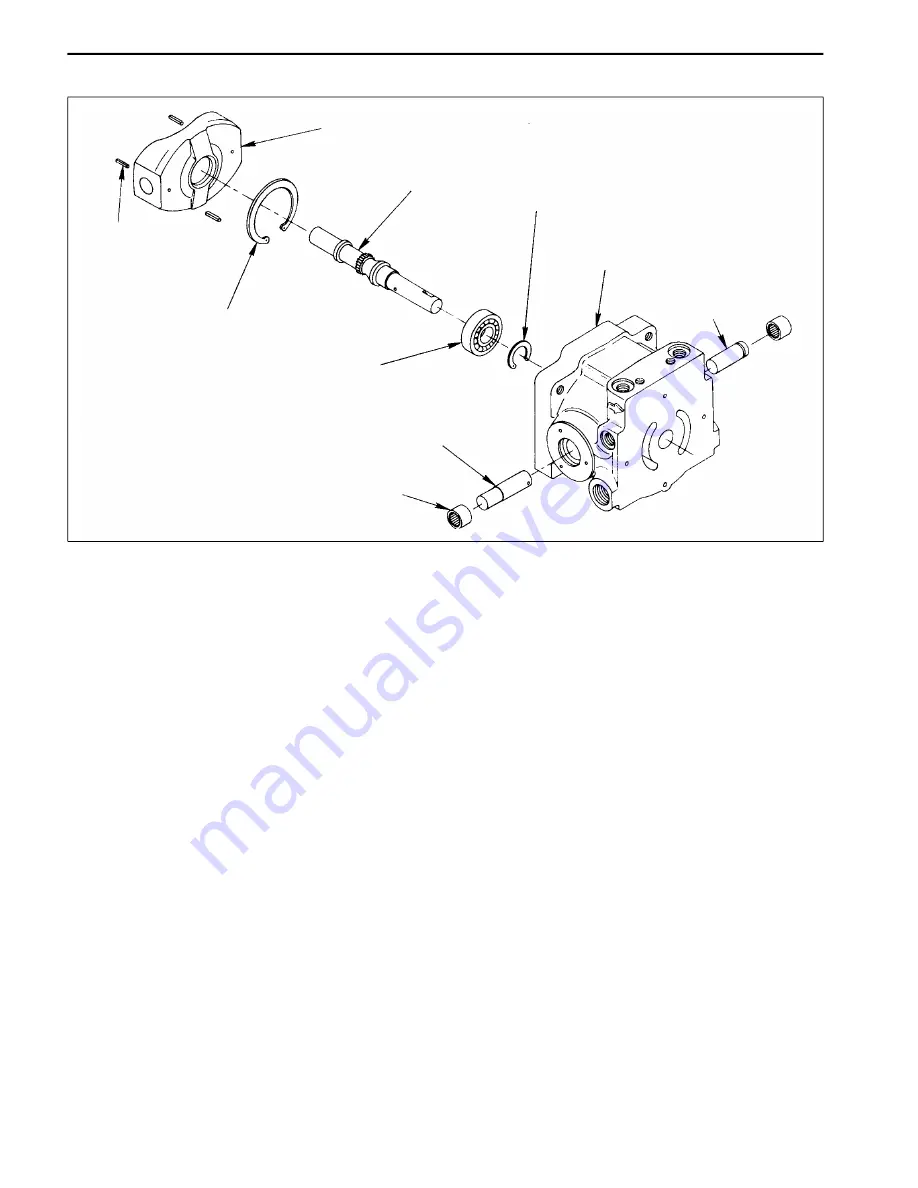
Assembly of Pump (Fig. 39, 40, 41, 42)
37
6
34
36
38
12
8
35
28
9
Figure 39
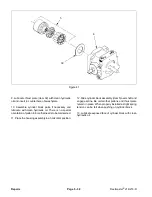
1. Before assembling, wash parts in solvent. Dry parts
with compressed air. Do not wipe them dry with a cloth
or paper as lint and dirt may remain. Apply a light coating
of hydraulic oil to parts before assembling.
IMPORTANT: Most parts have critical, high toler
ance surfaces. Use caution to prevent damage to
these surfaces during assembly. Protect exposed
surfaces, opens and ports from damage and foreign
material.
2. Assemble shaft (Item 6), bearing (Item 35) and retain
ing ring (Item 34) then press into housing (Item 8). Install
retaining ring (Item 36) in groove in housing.
3. Place housing (Item 8) with large cavity up. Use care
not to scratch the port face surface.
4. Press needle bearings (Item 9) into each side of
housing until flush to 1/64 inch below counterbore for lip
seals.
5. Place swashplate (Item 37) into housing with coun
terbore for thrust plate up. Install control shaft (Item 28)
and trunnion shaft (Item 12) being certain control shaft
is on proper side. Align holes in swashplate and shafts.
Repairs
Page 5 - 36
Reelmaster
®
216/216-D
Summary of Contents for reelmaster 216
Page 2: ...This page is blank ...
Page 4: ...This page is blank ...
Page 8: ...Safety Instructions Page 1 4 Reelmaster 216 216 D ...
Page 12: ...Torque Specifications Page 2 4 Rev B Reelmaster 216 216 D ...
Page 26: ...Adjustments Page 4 4 Reelmaster 216 216 D ...
Page 40: ...Troubleshooting Page 5 14 Reelmaster 216 216 D ...
Page 42: ...Troubleshooting Page 5 16 Reelmaster 216 216 D ...
Page 72: ...Repairs Page 5 46 Reelmaster 216 216 D ...
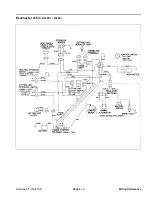
Page 75: ...Reelmaster 216 S N 10001 19999 Reelmaster 216 216 D Page 6 3 Wiring Schematics ...
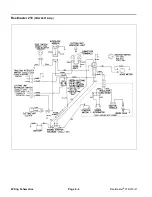
Page 76: ...Reelmaster 216 S N 20001 Up Wiring Schematics Page 6 4 Reelmaster 216 216 D ...
Page 77: ...Reelmaster 216 D Reelmaster 216 216 D Page 6 5 Wiring Schematics ...
Page 114: ...Repairs Page 7 8 Reelmaster 216 216 D ...
Page 124: ...Repairs Page 8 10 Reelmaster 216 216 D ...
Page 143: ...This page is blank ...

