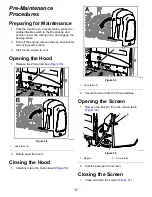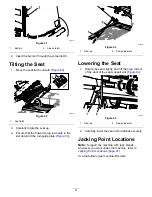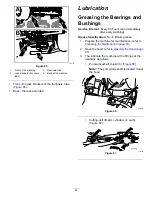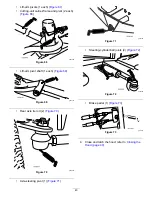
g375696
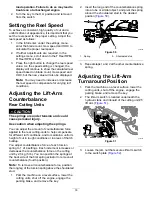
Figure 52
1.
Switch
2.
Lift-arm sensing device
4.
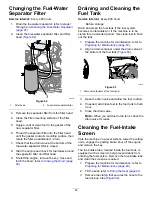
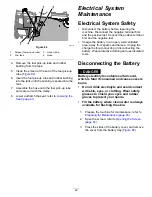
Adjust the lift-arm switch as follows:
•
To increase the lift-arm turnaround height,
move the switch down.
•
To decrease the lift-arm turnaround height,
move the switch up.
5.
Tighten the jam nut.
Adjusting the
Turf-Compensation Spring
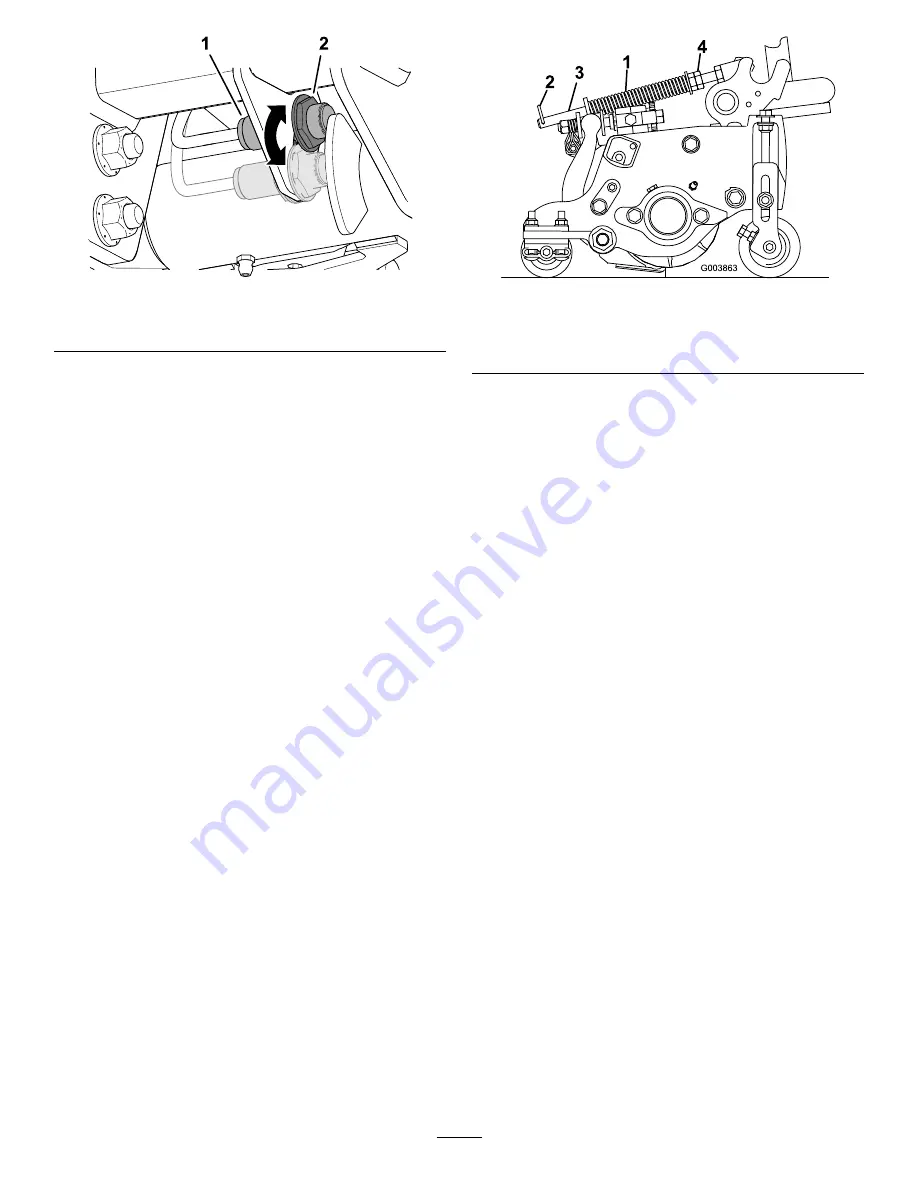
The turf-compensation spring (
) transfers
the weight from the front roller to the rear roller. This
helps to reduce a wave pattern in the turf, also known
as marcelling or bobbing.
Important:
Make spring adjustments with the
cutting unit mounted to the traction unit, pointing
straight ahead, and lowered to the shop floor.
1.
Make sure that the hairpin is installed in the rear
hole in the spring rod (
).
Note:
When servicing the cutting unit, move
the hairpin to the spring-rod hole next to the
turf-compensation spring.
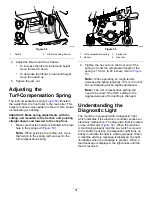
g003863
Figure 53
1.
Turf-compensation spring
3.
Spring rod
2.
Hairpin
4.
Hex nuts
2.
Tighten the hex nuts on the front end of the
spring rod until the compressed length of the
spring is 15.9 cm (6.25 inches); refer to
Note:
When operating on rough terrain
decrease the spring length by 13 mm (1/2 inch).
Ground following will be slightly decreased.
Note:
The turf compensation setting will
need to be reset if the HOC setting or the
Aggressiveness of Cut setting is changed.
Understanding the
Diagnostic Light
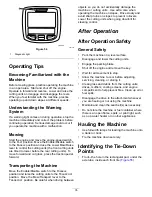
The machine is equipped with a diagnostic light
which indicates if the electronic controller senses an
electronic malfunction. The diagnostic light is located
on the control arm (
). When the machine
is functioning properly and the key switch is moved
to the O
N
/R
UN
position, the diagnostic light turns on
briefly to indicate the light is working properly. When
a machine advisory message is displayed, the light
illuminates when the message is present. When a
fault message is displayed, the light blinks until the
fault is resolved.
34
Summary of Contents for Reelmaster 5610
Page 68: ......

