Changing the Fuel-Water
Separator Filter
Service Interval:
Every 400 hours
1.
Drain the fuel-water separator; refer to steps
through
in
Draining the Fuel-Water Separator
(page 47)
.
2.
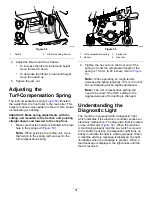
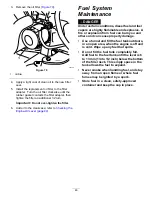
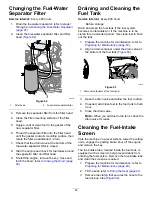
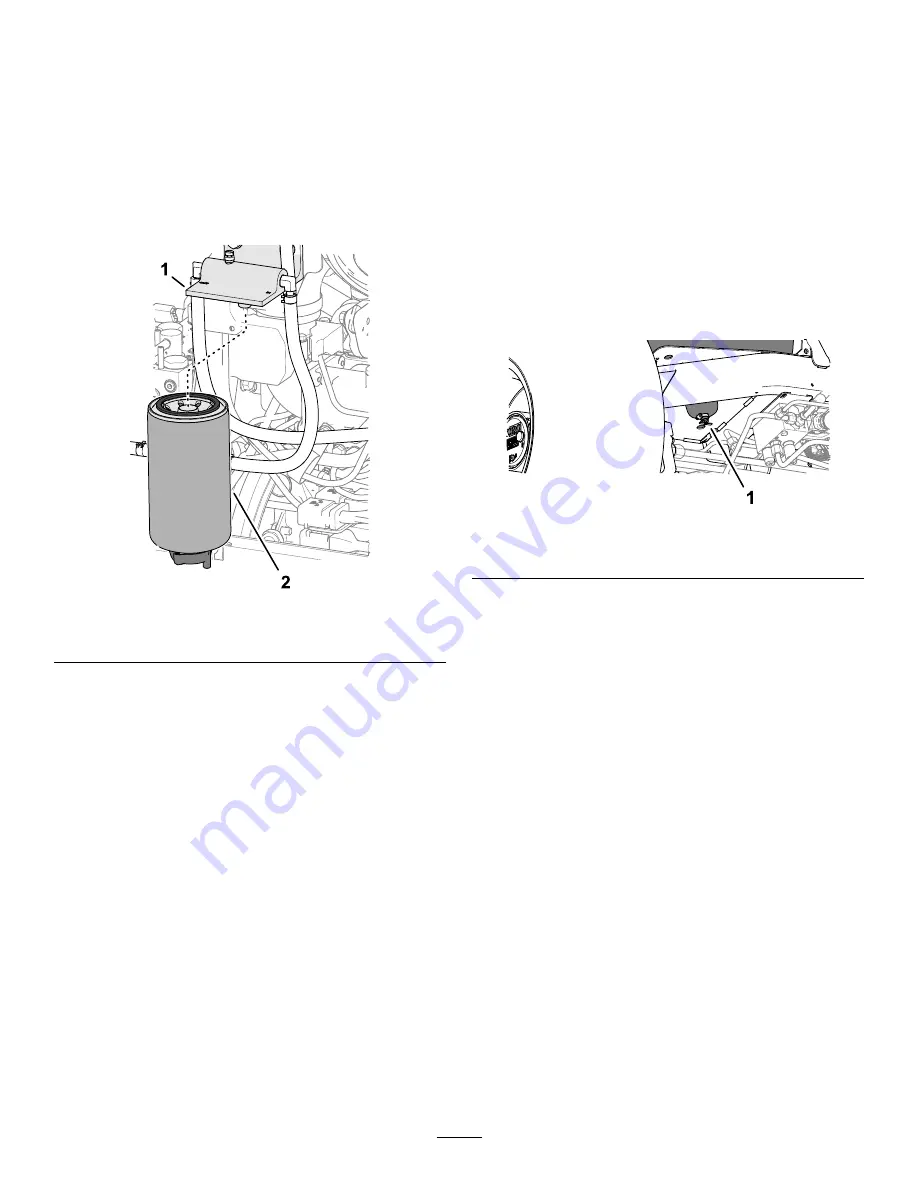
Clean the fuel-water separator filter and filter
head (
g369850
Figure 82
1.
Filter head
2.
Fuel-water separator filter
3.
Remove the separator filter from the filter head.
4.
Clean the filter-mounting surface of the filter
head.
5.
Apply a coat of clean fuel to the gasket of the
new separator filter.
6.
Thread the separator filter into the filter head
until the gasket contacts mounting surface, then
rotate the filter an additional 1/2 turn.
7.
Check that the drain valve at the bottom of the
fuel-water separator filter is closed.
8.
Start the engine and check for fuel leaks around
the separator filter and filter head.
9.
Shutoff the engine, remove the key, close and
latch the hood; refer to
Closing the Hood (page
.
Draining and Cleaning the
Fuel Tank
Service Interval:
Every 800 hours
Before storage
Drain and clean the fuel tank if the fuel system
becomes contaminated or if the machine is to be
stored for an extended period. Use clean fuel to flush
out the tank.
1.
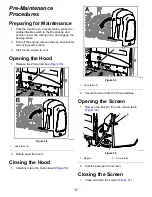
Prepare the machine for maintenance; refer to
Preparing for Maintenance (page 40)
.
2.
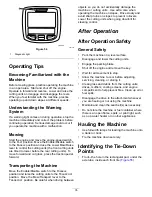
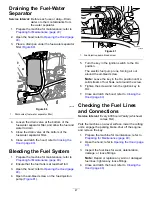
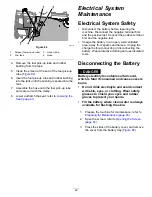
Align a drain container under the drain valve at
the bottom of the fuel tank (
).
g369818
Figure 83
1.
Drain valve (bottom of the fuel tank)
3.
Open the drain valve and allow the fuel to drain.
4.
If needed, add clean fuel to the fuel tank to flush
it out.
5.
Close the drain valve.
Note:
When you add fuel to the tank, check the
drain valve for leaks.
Cleaning the Fuel-Intake
Screen
Park the machine on a level surface, lower the cutting
units, engage the parking brake, shut off the engine,
and remove the key.
The fuel-intake tube, located inside the fuel tank, is
equipped with a screen to help prevent debris from
entering the fuel system. Remove the fuel-intake tube
and clean the screen as required.
1.
Prepare the machine for maintenance; refer to
Preparing for Maintenance (page 40)
.
2.
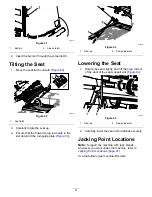
Tilt the seat; refer to
Tilting the Seat (page 41)
.
3.
Remove the clamp that secures the hose to the
fuel pick-up tube (
).
48
Summary of Contents for Reelmaster 5610
Page 68: ......

