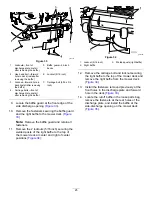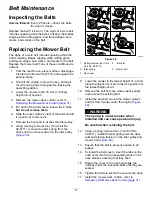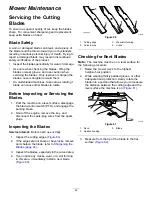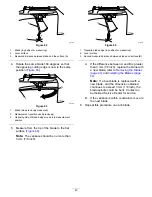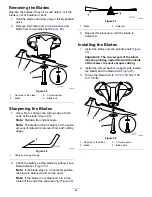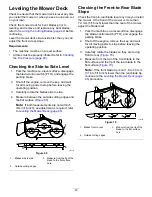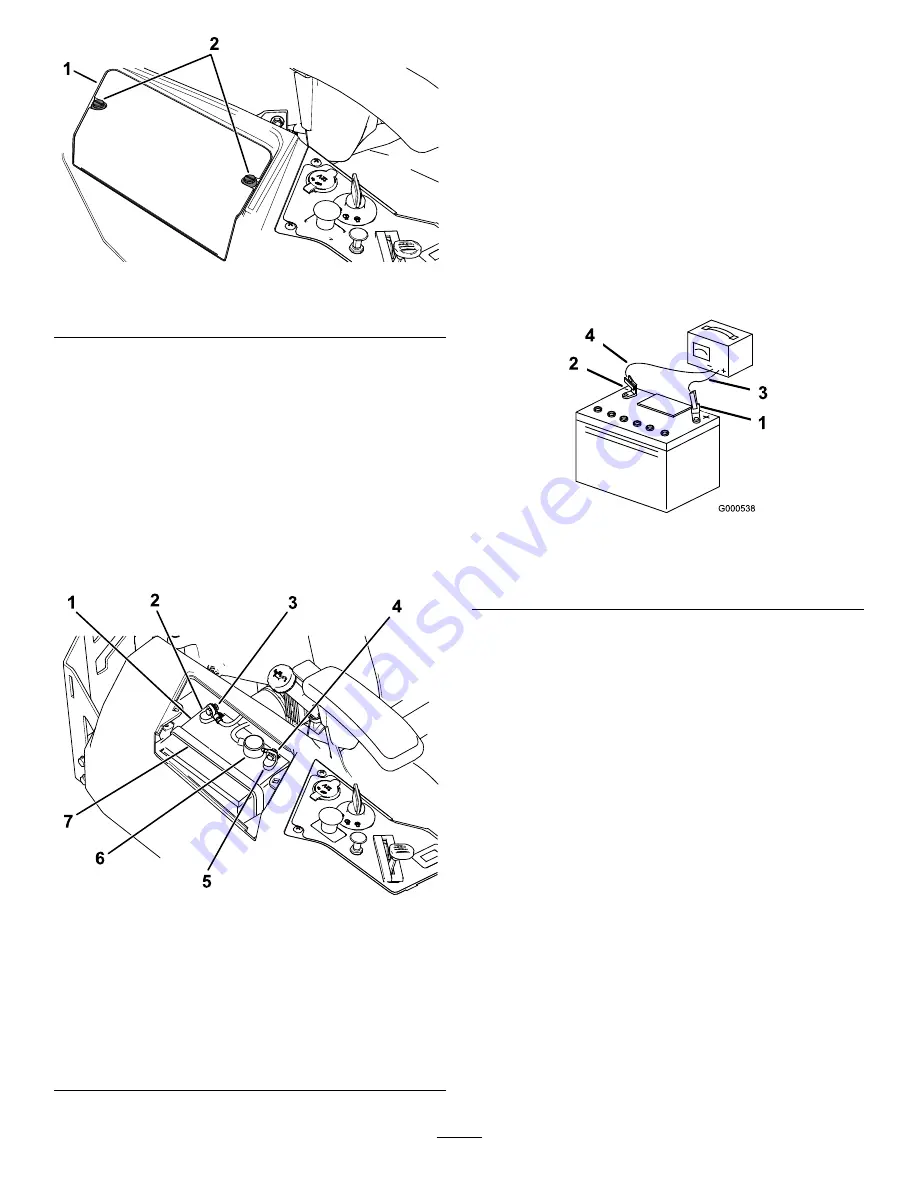
g190587
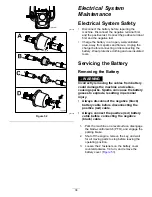
Figure 53
1.
Battery cover
2.
Fasteners
4.
Disconnect the negative (black) ground cable
from the battery post (
).
Note:
Retain all fasteners.
5.
Slide the rubber cover up the positive (red)
cable.
6.
Disconnect the positive (red) cable from the
battery post (
).
Note:
Retain all fasteners.
7.
Remove the battery hold-down (
), and
lift the battery from the battery tray.
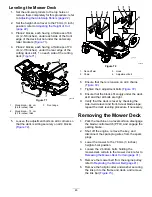
g188903
Figure 54
1.
Battery
5.
Positive (+) battery post
2.
Negative (–) battery post
6.
Terminal boot
3.
Bolt, washer, and nut for
the negative (–) battery
post
7.
Battery hold-down
4.
Bolt, washer, and nut for
the positive (+) battery
post
Charging the Battery
Service Interval:
Before storage—Charge the battery
and disconnect the battery cables.
1.
Remove the battery from the chassis; refer to
Removing the Battery (page 38)
.
2.
Charge the battery for a minimum of 1 hour at
6 to 10 A.
Note:
Do not overcharge the battery.
3.
When the battery is fully charged, unplug
the charger from the electrical outlet, then
disconnect the charger leads from the battery
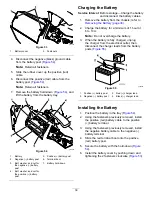
posts (
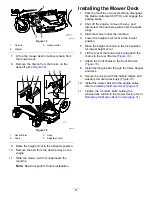
g000538
Figure 55
1.
Positive (+) battery post
3.
Red (+) charger lead
2.
Negative (–) battery post
4.
Black (–) charger lead
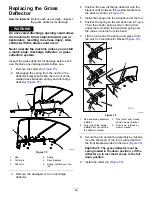
Installing the Battery
1.
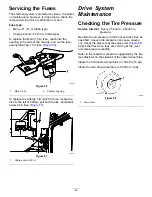
Position the battery in the tray (
).
2.
Using the fasteners previously removed, install
the positive (red) battery cable to the positive
(+) battery terminal.
3.
Using the fasteners previously removed, install
the negative battery cable to the negative (-)
battery terminal.
4.
Slide the red terminal boot onto the positive
(red) battery post.
5.
Secure the battery with the hold-down (
6.
Install the battery cover by pushing down and
tightening the 2 fasteners clockwise (
).
39
Summary of Contents for TimeCutter HD X4850
Page 54: ...Schematics g203461 Electrical Diagram Rev A 54 ...
Page 55: ...Notes ...

