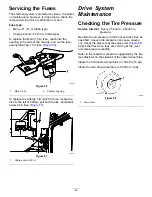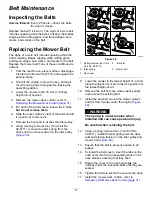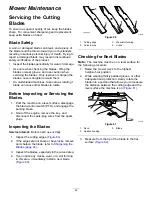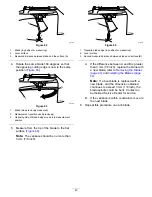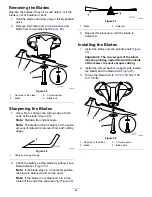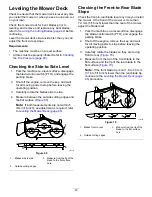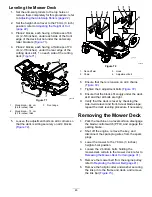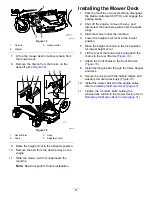
Cleaning
Washing the Underside of
the Mower
Service Interval:
After each use—Clean the
mower-deck housing.
Important:
You can wash the machine with a mild
detergent and water. Do not pressure wash the
machine. Avoid excessive use of water, especially
near the control panel, under the seat, around the
engine, hydraulic pumps, and motors.
Wash the underside of the mower deck after each use
to prevent grass buildup for improved mulch action
and clipping dispersal.
1.
Park the machine on a level surface, disengage
the blade-control switch (PTO), and engage the
parking brake.
2.
Shut off the engine, remove the key, and wait
for all moving parts to stop before leaving the
operating position.
3.
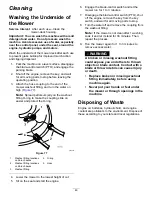
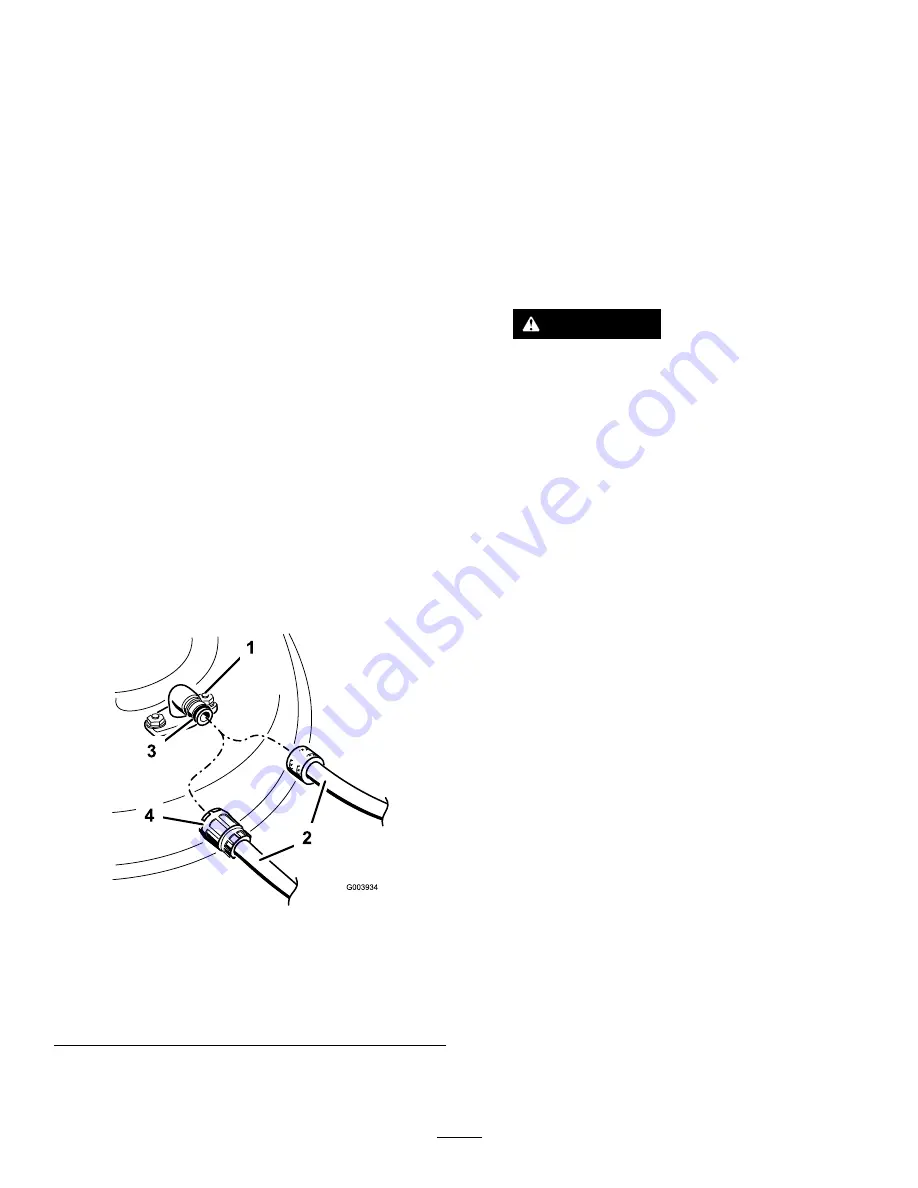
Attach the hose coupling to the end of the
mower washout fitting, and turn the water on
high (
).
Note:
Spread petroleum jelly on the washout
fitting O-ring to make the coupling slide on
easier and protect the O-ring.
g003934
Figure 77
1.
Washout fitting locations
on 54-inch decks
4.
O-ring
2.
Washout fitting locations
on 48-inch decks
5.
Hose
3.
Washout fitting
4.
Lower the mower to the lowest height of cut.
5.
Sit on the seat and start the engine.
6.
Engage the blade-control switch and let the
mower run for 1 to 3 minutes.
7.
Disengage the blade-control switch (PTO), shut
off the engine, remove the key from the key
switch, and wait for all moving parts to stop.
8.
Turn the water off and remove the coupling from
the washout fitting.
Note:
If the mower is not clean after 1 washing,
soak it and let it stand for 30 minutes. Then,
repeat the process.
9.
Run the mower again for 1 to 3 minutes to
remove excess water.
WARNING
A broken or missing washout fitting
could expose you and others to thrown
objects or blade contact. Contact with a
blade or thrown debris can cause injury
or death.
•
Replace broken or missing washout
fitting immediately, before using
machine again.
•
Never put your hands or feet under
the mower or through openings in the
machine.
Disposing of Waste
Engine oil, batteries, hydraulic fluid, and engine
coolant are pollutants to the environment. Dispose of
these according to your state and local regulations.
49
Summary of Contents for TimeCutter HD X4850
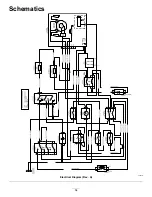
Page 54: ...Schematics g203461 Electrical Diagram Rev A 54 ...
Page 55: ...Notes ...

