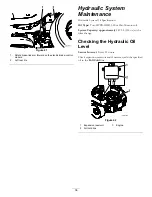
g027751
B
A
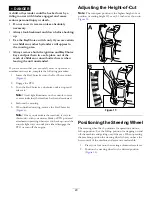
Figure 16
Adjusting the Anti-Scalp
Rollers
Whenever you change the height-of-cut, adjust the height
of the anti-scalp rollers.
Note:
Adjust the anti-scalp rollers so the rollers do not touch
the ground in normal, flat mowing areas.
1.
Disengage the blade-control switch (PTO), ensure the
parking brake is engaged.
2.
Stop the engine, remove the key, and wait for all moving
parts to stop before leaving the operating position.
3.
Adjust the anti-scalp rollers as shown in
to
match the closest height-of-cut position.
G010233
1
2
3
4
Figure 17
1.
Anti-scalp roller
3.
Flange Nut
2.
Bolt
4.
Hole spacing
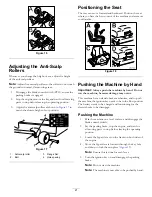
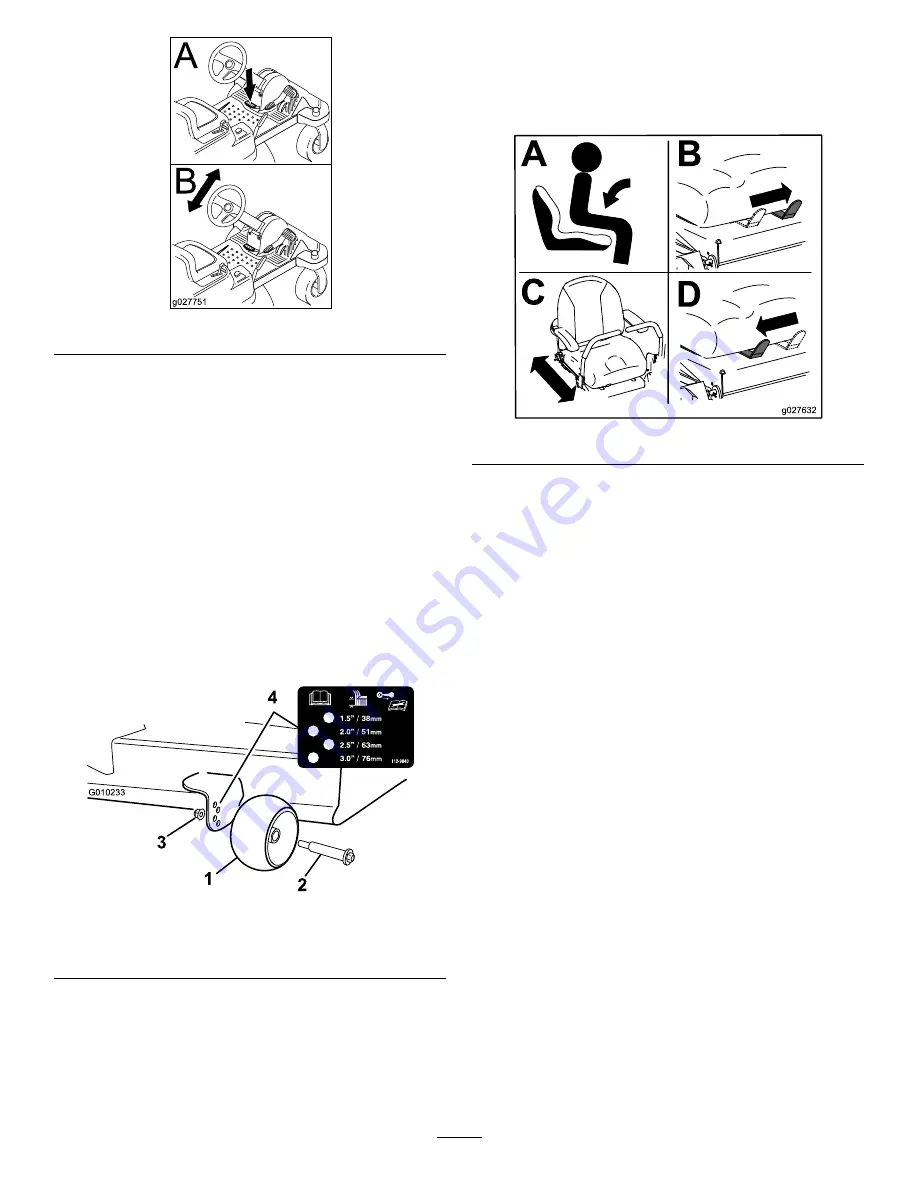
Positioning the Seat
The seat can move forward and backward. Position the seat
where you have the best control of the machine and are most
comfortable.
Figure 18
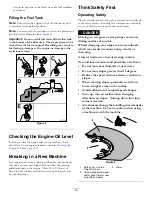
Pushing the Machine by Hand
Important:
Always push the machine by hand. Do not
tow the machine, because damage may occur.
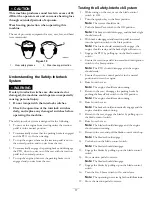
This machine has an electric-brake mechanism, and to push
the machine, the ignition key needs to be in the Run position.
The battery needs to be charged and functioning for the
electric brake to be disengage.
Pushing the Machine
1.
Park the machine on a level surface, and disengage the
blade-control switch.
2.
Set the parking brake, stop the engine, and wait for
all moving parts to stop before leaving the operating
position.
3.
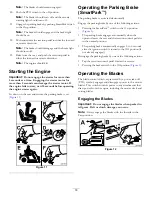
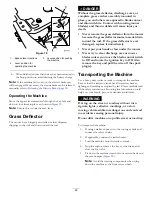
Locate the bypass levers on the frame on both sides of
the engine.
4.
Move the bypass levers forward through the key hole
and down to lock them in place (
Note:
Ensure this is done for each lever.
5.
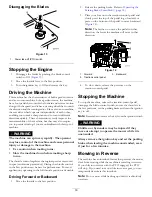
Turn the ignition key on and disengage the parking
brake.
Note:
Do not start the machine.
Note:
The machine is now able to be pushed by hand.
21
Summary of Contents for TimeCutter SWX 5050
Page 50: ...Schematics Electrical Diagram Rev A 50 ...
Page 51: ...Notes 51 ...

