8
m–6616
1
3
2
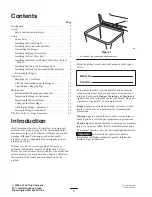
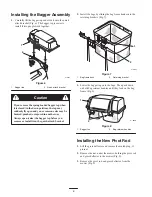
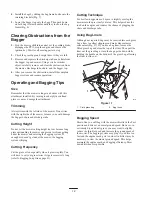
Figure 13
1. Discharge tube
2. Chute
3. Tab
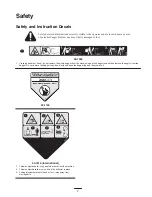
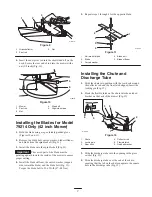
Installing the Decal on
International Models Only
Note:
The decal included with this bagger is for
international mowers only.
Place the international decal directly over the English
decal.
1.
Thoroughly clean the area where you will install the
decal.
2.
Dampen the area with water or mildly soapy water.
3.
Peel the decal from the backing and install it in place.
4.
Squeegee across the surface of the decal, starting at the
center of the decal and working toward the edges, using
overlapping strokes.
Removing the Bagger
An uncovered discharge opening could allow the
lawn mower to throw objects in the operator’s or
bystander’s direction and result in serious injury.
Also, contact with the blade could occur.
Never operate the lawn mower unless you install a
cover plate, a mulch plate, or a grass chute and
catcher.
Warning
1.
Push on the tab on the chute and pull the discharge tube
free from the chute and grass catcher (Fig. 13)
2.
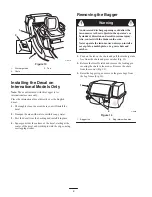
Release the flexible latch and remove the locking pin
securing the chute to the mower. Remove the chute
from the mower (Fig. 12).
3.
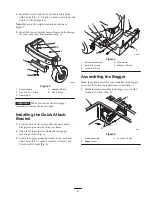
Raise the bagger top and remove the grass bags from
the bag frame (Fig. 14).
2
1
m–6628
Figure 14
1. Bagger top
2. Bag retainer handles


