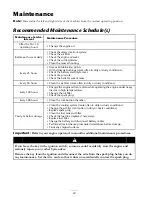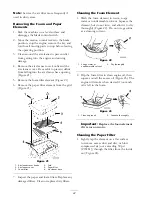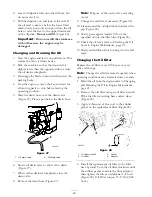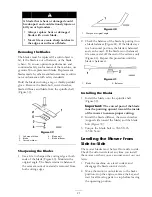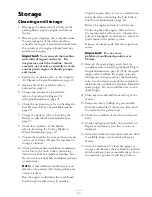
Figure 24
1. Paper element
2. Compressed air at 30 psi or
lower.
Important:
Never try to brush dirt from
the paper filter; brushing will force dirt into
the fibers. Replace the paper element if it is
damaged or cannot be cleaned thoroughly.
2. Carefully clean the rubber seal on the paper
filter to prevent debris from entering the
engine.
3. Inspect the filter for tears, an oily film, and
damage to the rubber seal. Replace if necessary.
Installing the Foam and Paper
Elements
Important:
To prevent engine damage,
always operate the engine with the complete
foam and paper air cleaner assembly installed.
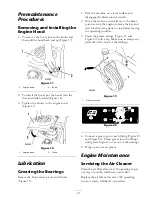
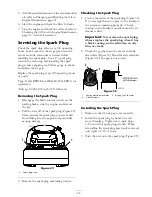
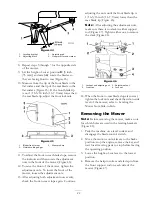
1. Install the grid over the paper element and
install the assembly into the air cleaner base
(Figure 21).
Note:
Make sure that the rubber seal is flat
against the air cleaner base.
2. Install the foam element over the grid
(Figure 21). The grid must be placed between
the foam element and paper element to prevent
oil from contaminating the paper element.
3. Install the air cleaner cover over the filter. Use
the cover knobs to secure the cover in place
(Figure 21).
Servicing the Engine Oil
Check the oil level before each use or after every
8 hours.
Change the oil after the first 20 operating hours
and every 100 operating hours thereafter.
Oil Type: Detergent oil (API service SJ or higher)
Crankcase Capacity:
•
0.95 qt (0.9 l) when the filter
is not changed
;
•
1.11 qt (1.05 l) when the filter
is changed
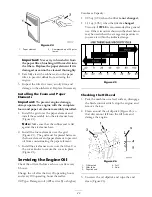
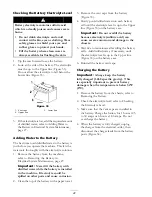
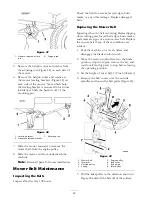
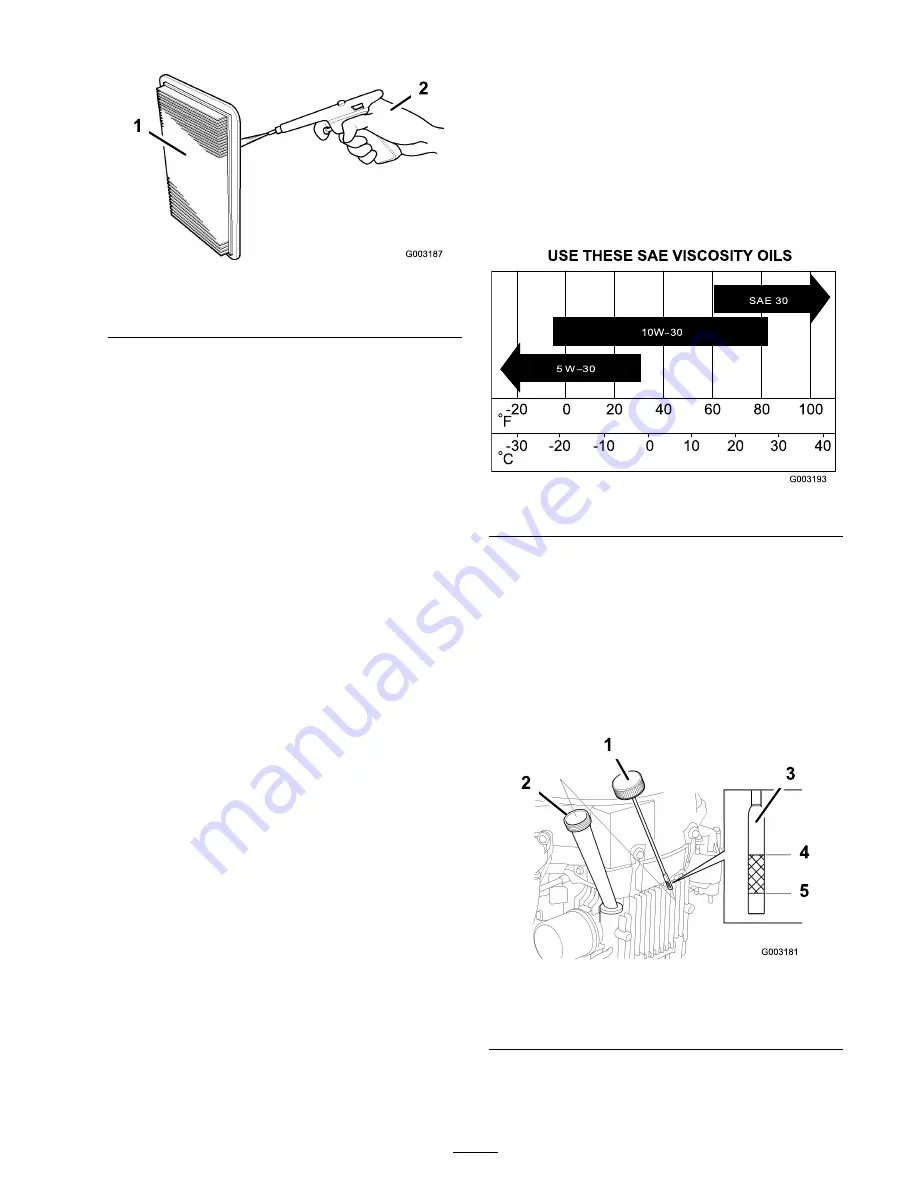
Viscosity:
10W-30
is recommended for general
use. Other viscosities shown in the chart below
may be used when the average temperature in
you area is within the indicated range.
Figure 25
Checking the Oil Level
1. Park the machine on a level surface, disengage
the blade control switch, stop the engine, and
remove the key.
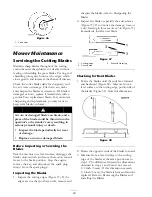
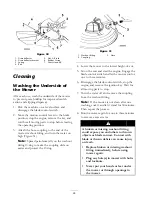
2. Clean around the oil dipstick (Figure 26) so
that dirt cannot fall into the fill hole and
damage the engine.
Figure 26
1. Oil dipstick
4. Full
2. Filler tube
5. Add
3. Dipstick end
3. Unscrew the oil dipstick and wipe the end
clean (Figure 26).
23
Summary of Contents for TimeCutter Z530
Page 41: ...Schematics Electrical Diagram Rev B 41 ...
Page 42: ......
Page 43: ......
Page 44: ......

