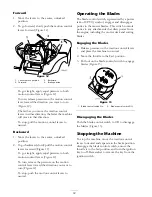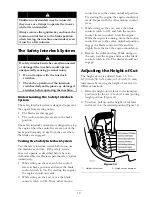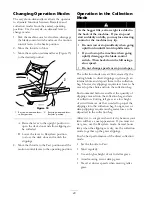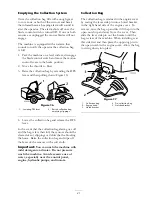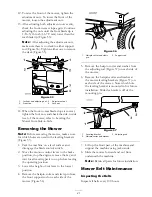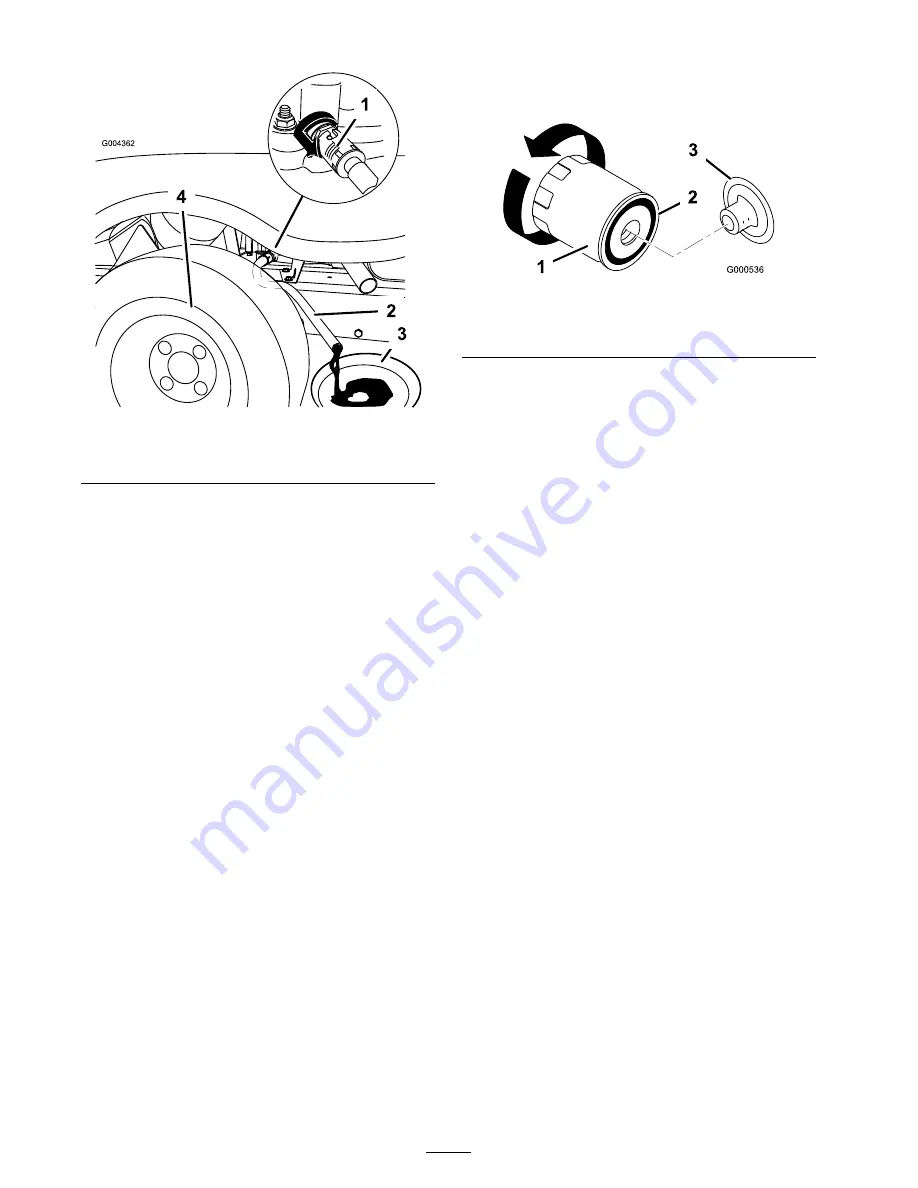
Figure 35
1. Oil drain valve
3. Oil pan
2. Oil drain tube
4. Rear, ldrive wheel
7. When oil has drained completely, close the
drain valve.
8. Remove the drain hose (Figure 35).
Note:
Dispose of the used oil at a recycling
center.
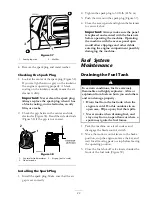
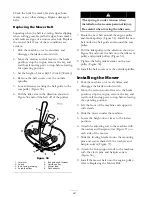
9. Change the oil filter, if necessary (Figure 36).
10. Clean around the oil dipstick and unscrew the
cap (Figure 33).
11. Slowly pour approximately 80% of the
specified oil into the filler tube (Figure 33).
12. Check the oil level; refer to Checking the Oil
Level in Engine Maintenance, page 29.
13. Slowly add additional oil to bring it to the full
mark.
Changing the Oil Filter (For Model
74433 only)
Replace the oil filter every 100 hours or every
other oil change.
Note:
Change the oil filter more often in dusty,
dirty conditions.
1. Drain the oil from the engine; refer to Changing
and Draining the Oil in Engine Maintenance,
page 29.
2. Remove the old filter and wipe the filter
adapter gasket surface (Figure 36).
3. Apply a thin coat of clean oil to the rubber
gasket on the replacement filter (Figure 36).
Figure 36
1. Oil lter
3. Adapter
2. Gasket
4. Install the replacement oil filter to the filter
adapter. Turn the oil filter clockwise until the
rubber gasket contacts the filter adapter; then
tighten the filter an additional 1/2 to 3/4 turn
(Figure 36).
5. Fill the crankcase with the proper type of new
oil; refer to Changing and Draining the Oil in
Engine Maintenance, page 29.
Servicing the Spark Plug
Replace the spark plug after every 100 operating
hours. Make sure that the air gap between the
center and side electrodes is correct before
installing the spark plug. Use a spark plug wrench
for removing and installing the spark plug(s) and a
gapping tool/feeler gauge to check and adjust the
air gap. Install a new spark plug if necessary.
Type: Champion RC12YC (or equivalent)
Air Gap: 0.030 inch (0.76 mm)
Removing the Spark Plug
1. Disengage the blade control switch, set the
parking brake, stop the engine, and remove
the key.
2. Remove the collection bag and open the access
panel (Figure 26).
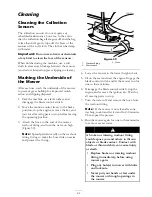
3. Pull the wire off of the spark plug (Figure 37).
Clean around the spark plug to prevent dirt
from falling into the engine and potentially
causing damage.
32
Summary of Contents for TimeCutter ZD420
Page 8: ...Slope Chart 8 ...
Page 49: ...Schematics Electrical Diagram Rev A 49 ...
Page 50: ......
Page 51: ......
Page 52: ......

