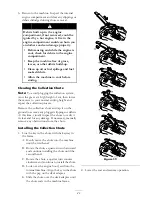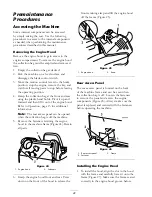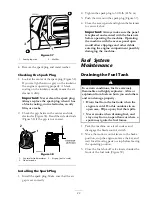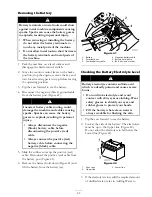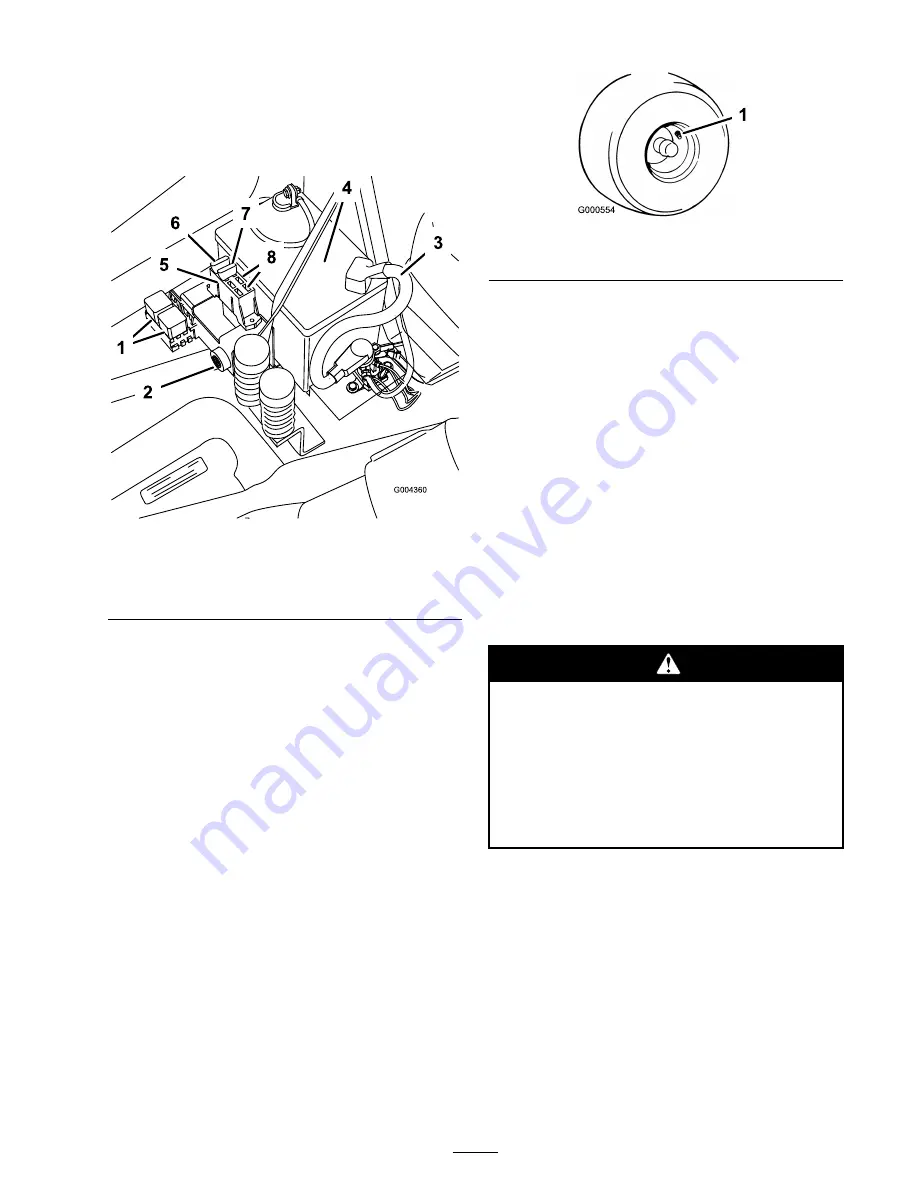
1. Raise the seat to gain access to the fuse holder
2. To replace a fuse, pull out on the fuse to
remove it (Figure 44).
Figure 44
1. Relays
5. Fuse block
2. Alarm
6. Main-30 amp
3. Positive battery cable
7. Charge circuit-25 amp
4. Battery
8. Open slots
Drive System
Maintenance
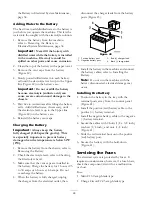
Checking the Tire Pressure
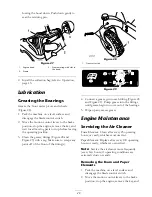
Maintain the air pressure in the front and rear
tires as specified. Uneven tire pressure can cause
uneven cut. Check the pressure at the valve
stem after every 50 operating hours or monthly,
whichever occurs first (Figure 45). Check the
tires when they are cold to get the most accurate
pressure reading.
Rear Tires: 13 psi (90 kPa)
Front Tires (castor wheels): 35 psi (139 kPa)
Figure 45
1. Valve stem
Mower Maintenance
Servicing the Cutting Blades
Maintain sharp blades throughout the cutting
season because sharp blades cut cleanly without
tearing or shredding the grass blades. Tearing and
shredding turns grass brown at the edges, which
slows growth and increases the chance of disease.
Check the cutter blades daily for sharpness, and
for any wear or damage. File down any nicks
and sharpen the blades as necessary. If a blade is
damaged or worn, replace it immediately with a
genuine Toro replacement blade. For convenient
sharpening and replacement, you may want to
keep extra blades on hand.
A worn or damaged blade can break, and a
piece of the blade could be thrown into the
operator’s or bystander’s area, resulting in
serious personal injury or death.
•
Inspect the blade periodically for wear
or damage.
•
Replace a worn or damaged blade.
Before Inspecting or Servicing the
Blades
Park the machine on a level surface, disengage the
blade control switch, and move the motion control
levers to the brake position. Stop the engine,
remove the key, and disconnect the spark plug
wire(s) from the spark plug(s).
Inspecting the Blades
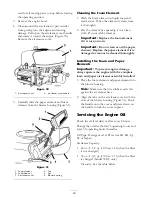
1. Inspect the cutting edges (Figure 46). If the
edges are not sharp or have nicks, remove and
37
Summary of Contents for TimeCutter ZD420
Page 8: ...Slope Chart 8 ...
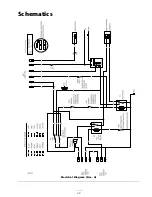
Page 49: ...Schematics Electrical Diagram Rev A 49 ...
Page 50: ......
Page 51: ......
Page 52: ......

