23
4.
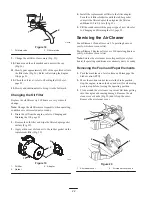
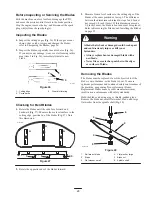
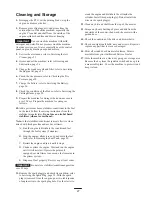
Carefully remove the air cleaner assembly and foam
element from the housing.
1
2
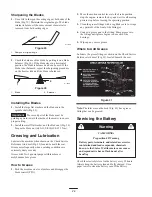
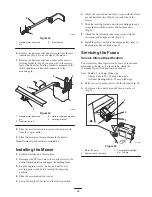
Figure 21
1. Paper element
2. Foam element
Cleaning the Foam Element
1.
Wash the foam element in liquid soap and warm water.
When the element is clean, rinse it thoroughly (Fig. 21).
2.
Dry the element by squeezing it in a clean cloth.
Important
Replace the foam element if it is torn or
worn.
3.
Saturate the element with engine oil. Remove excess oil
from the element by squeezing it in a clean cloth.
Cleaning the Paper Element:
1.
Lightly tap the element on a flat surface to remove dust
and dirt (Fig. 21).
2.
Carefully clean the rubber seal on the paper element to
prevent debris from entering the engine.
3.
Inspect the element for tears, an oily film, and damage
to the rubber seal.
Important
Never clean the paper element with
pressurized air or liquids, such as solvent, gas, or kerosene.
Replace the paper element if it is damaged or cannot be
cleaned thoroughly.
Installing the Foam and Paper Elements
Important
To prevent engine damage, always operate
the engine with the complete foam and paper air cleaner
assembly installed.
1.
Place the foam element and paper element into the
blower housing (Fig. 21).
2.
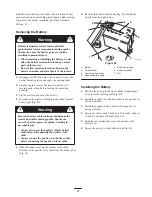
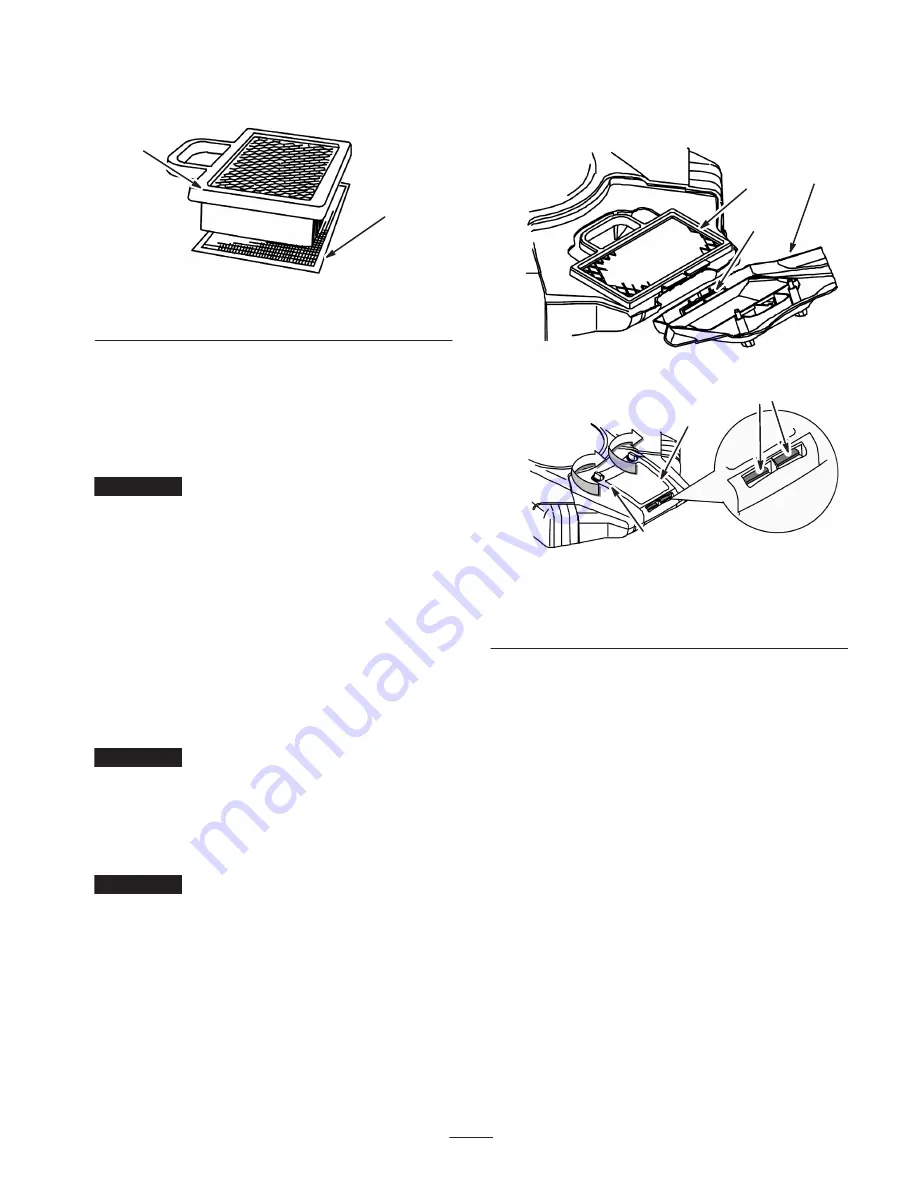
Align the tabs on the air cleaner cover with the slots of
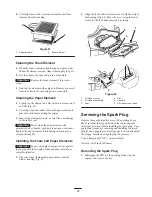
the housing (Fig. 22). Move the cover into place and
secure it with the knobs removed previously.
3
1
2
4
5
6
Figure 22
1. Air cleaner cover
2. Air cleaner assembly
3. Tabs
4. Slot
5. Housing
6. Air cleaner cover knob
Servicing the Spark Plug
Replace the spark plug after every 100 operating hours.
Make sure that the air gap between the center and side
electrodes is correct before installing the spark plug. Use a
spark plug wrench for removing and installing the spark
plug(s) and a gapping tool/feeler gauge to check and adjust
the air gap. Install a new spark plug if necessary.
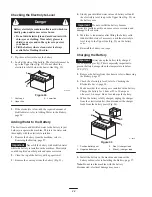
Type: Champion RC12YC (or equivalent)
Air Gap: 0.030 inch (0.76 mm)
Removing the Spark Plug
1.
Disengage the PTO, set the parking brake, stop the
engine, and remove the key.
Summary of Contents for TimeCutter ZX480
Page 6: ...6 ...
Page 7: ...7 Slope Chart ...
Page 8: ...8 ...
Page 11: ...11 107 2473 107 7399 ...
Page 41: ...41 ...
Page 42: ...42 ...
Page 43: ...43 ...

