WARNING
CALIFORNIA
Proposition 65 Warning
Use of this product may cause exposure
to chemicals known to the State of
California to cause cancer, birth defects,
or other reproductive harm.
Introduction
Read this information carefully to learn how to operate
and maintain your product properly and to avoid
injury and product damage. You are responsible for
operating the product properly and safely.
Visit
www.Toro.com
for product safety and operation
training materials, accessory information, help finding
a dealer, or to register your product.
Whenever you need service, genuine Toro parts, or
additional information, contact an Authorized Service
Dealer or Toro Customer Service and have the model
and serial numbers of your product ready.
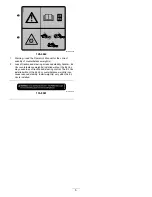
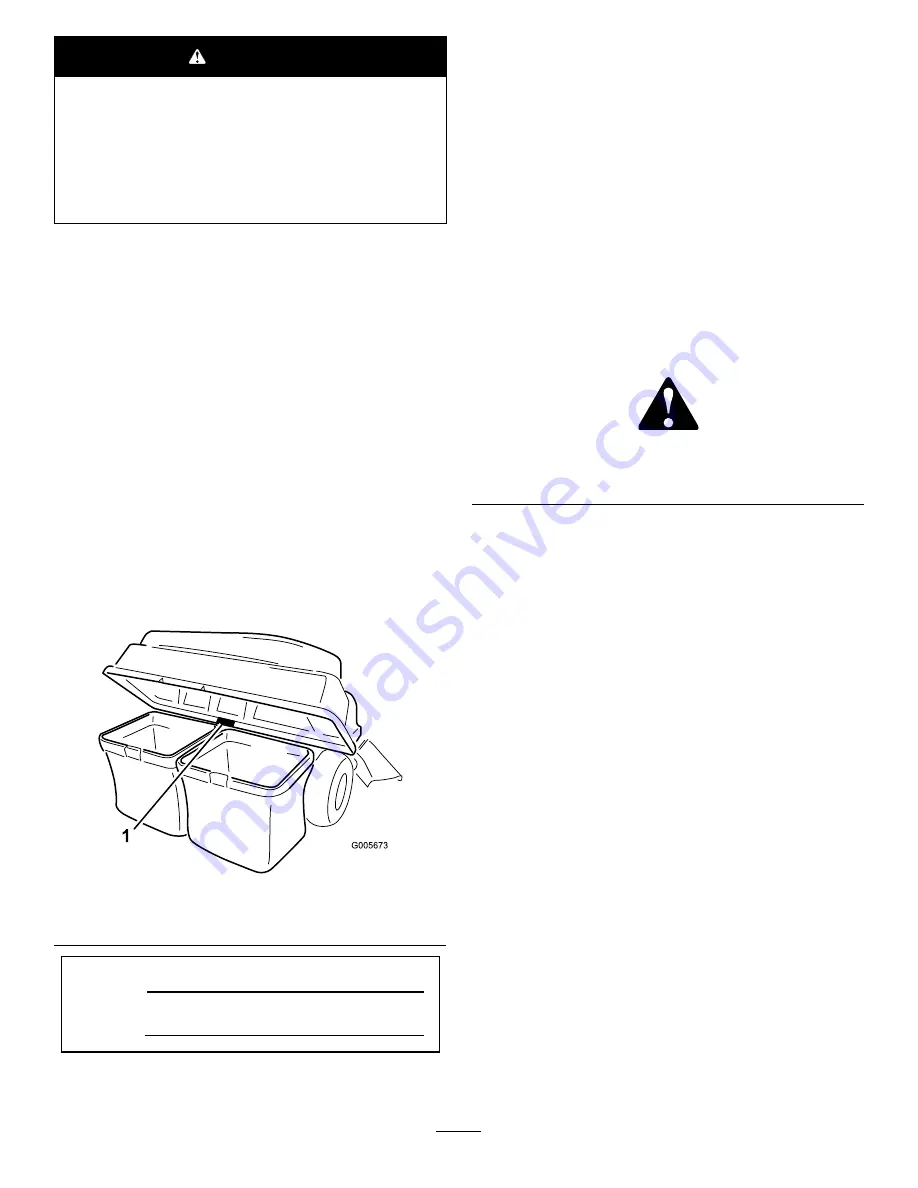
identifies the location of the model and serial numbers
on the product. Write the numbers in the space
provided.
g005673
Figure 1
1.
Model and serial number location
Model No.
Serial No.
This manual uses 2 words to highlight information.
Important
calls attention to special mechanical
information and
Note
emphasizes general information
worthy of special attention.
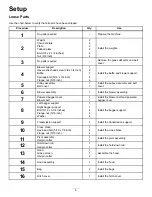
The safety-alert symbol (
) appears both in
this manual and on the machine to identify important
safety messages that you must follow to avoid
accidents. This symbol will appear with the word
Danger
,
Warning
, or
Caution
.
•
Danger
indicates an imminently hazardous
situation which, if not avoided,
will
result in death
or serious injury.
•
Warning
indicates a potentially hazardous
situation which, if not avoided,
could
result in
death or serious injury.
•
Caution
indicates a potentially hazardous situation
which, if not avoided,
may
result in minor or
moderate injury.
g000502
Figure 2
1.
Safety-alert symbol
Contents
Safety ....................................................................... 3
Safety and Instructional Decals .......................... 4
Setup ........................................................................ 6
1 Preparing the Machine..................................... 7
2 Installing the Weight Kit.................................... 8
3 Removing the Grass Deflector and Belt
Cover .............................................................. 8
4 Installing the Baffle and Blower
Support ......................................................... 10
5 Installing the Pulley Assembly, Belt Cover,
and Shoulder Bolt.......................................... 12
6 Installing the Blower Assembly....................... 13
7 Installing the Blower Belt and Powered
Bagger Cover................................................ 14
8 Installing the Bagger Support (If
Applicable) .................................................... 15
9 Installing the Transmission Support................ 16
10 Installing the Cross Brace ............................ 16
11 Installing the Pivot Assembly ........................ 18
12 Installing the Hold-Down Rod ....................... 18
13 Assembling the Hood................................... 19
14 Installing the Hood ....................................... 19
15 Installing the Bags........................................ 20
16 Installing the Hitch Cover ............................. 20
17 Installing the Discharge Tubes ..................... 21
18 Adjusting the Parking Brake ......................... 23
19 Checking the Tire Pressure .......................... 23
Operation ................................................................ 24
© 2020—The Toro® Company
8111 Lyndale Avenue South
Bloomington, MN 55420
2
Contact us at www.Toro.com.
Printed in the USA
All Rights Reserved


