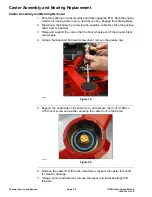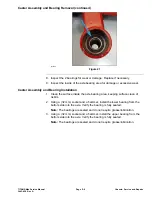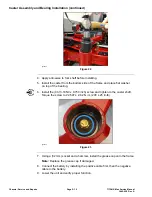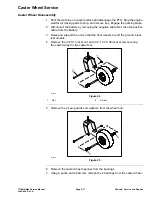
Right Console Installation
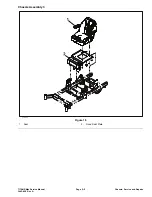
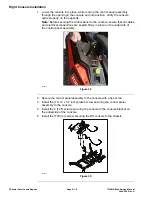
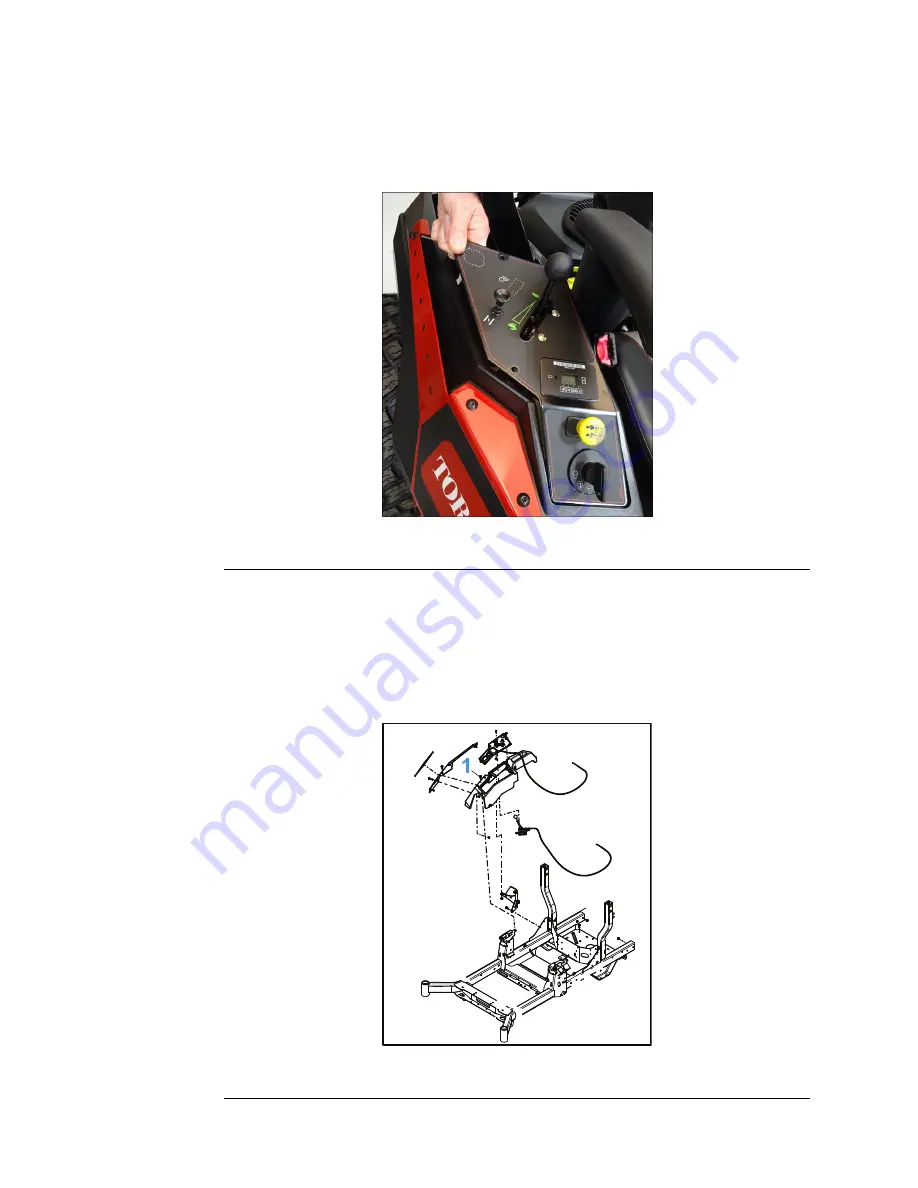
1. Lower the console into place, while moving the control panel assembly
through the opening in the console and into position. Verify the console
seats properly on the supports.
Note:
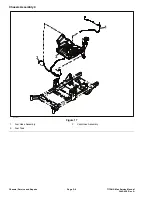
Before securing the control panel to the console, ensure that all cables
and electrical connections are seated firmly in place on the underside of
the control panel assembly.
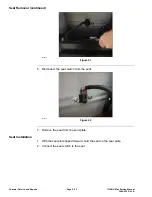
g344218
Figure 38
2. Secure the control panel assembly to the console with a hex screw.
3. Install the (10–14 x 1/2 inch) plastic screw securing the control panel
assembly to the console.
4. Install the 2 (T25) screws securing the console to the console bracket on
the underside of the console.
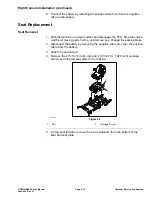
5. Install the (T30) torx screw securing the RH console to the chassis.
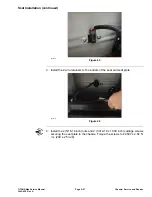
g343007
Figure 39
Chassis: Service and Repairs
Page 5–18
TITAN® Max Service Manual
3442-428 Rev A
Summary of Contents for TITAN
Page 2: ...Revision History Revision History Page 2 TITAN Max Service Manual 3442 428 Rev A ...
Page 6: ...Preface Page 6 TITAN Max Service Manual 3442 428 Rev A ...
Page 26: ...Troubleshooting General Troubleshooting Page 3 6 TITAN Max Service Manual 3442 428 Rev A ...
Page 36: ...Engine Service and Repairs Page 4 10 TITAN Max Service Manual 3442 428 Rev A ...
Page 70: ...Chassis Service and Repairs Page 5 34 TITAN Max Service Manual 3442 428 Rev A ...
Page 92: ...Mower Deck Service and Repairs Page 6 22 TITAN Max Service Manual 3442 428 Rev A ...
Page 118: ...Electrical System Service and Repairs Page 8 18 TITAN Max Service Manual 3442 428 Rev A ...
Page 121: ... Drawing Rev A Sheet 1 3442 428 Rev A Page A 3 Kohler Engine Electrical Schematic g350654 ...

