Maintenance
36
Brake
Always set the parking brake when you stop the
machine or leave it unattended. Check the brake
before each use. If the parking brake does not hold
securely, an adjustment is required.
Checking the Brake
1.
Park the machine on a level surface, disengage
the power take off (PTO), put the High–Low
range lever in “N,” set the parking brake, and
turn the ignition key to “STOP” to stop the
engine. Remove the ignition key.
2.
The rear wheels must lock and skid when you try
to push the tractor forward. Adjustment is
required if the wheels turn and do not lock; refer
to Adjusting the Brake.
Adjusting the Brake
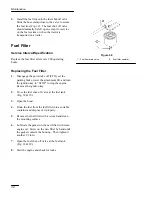
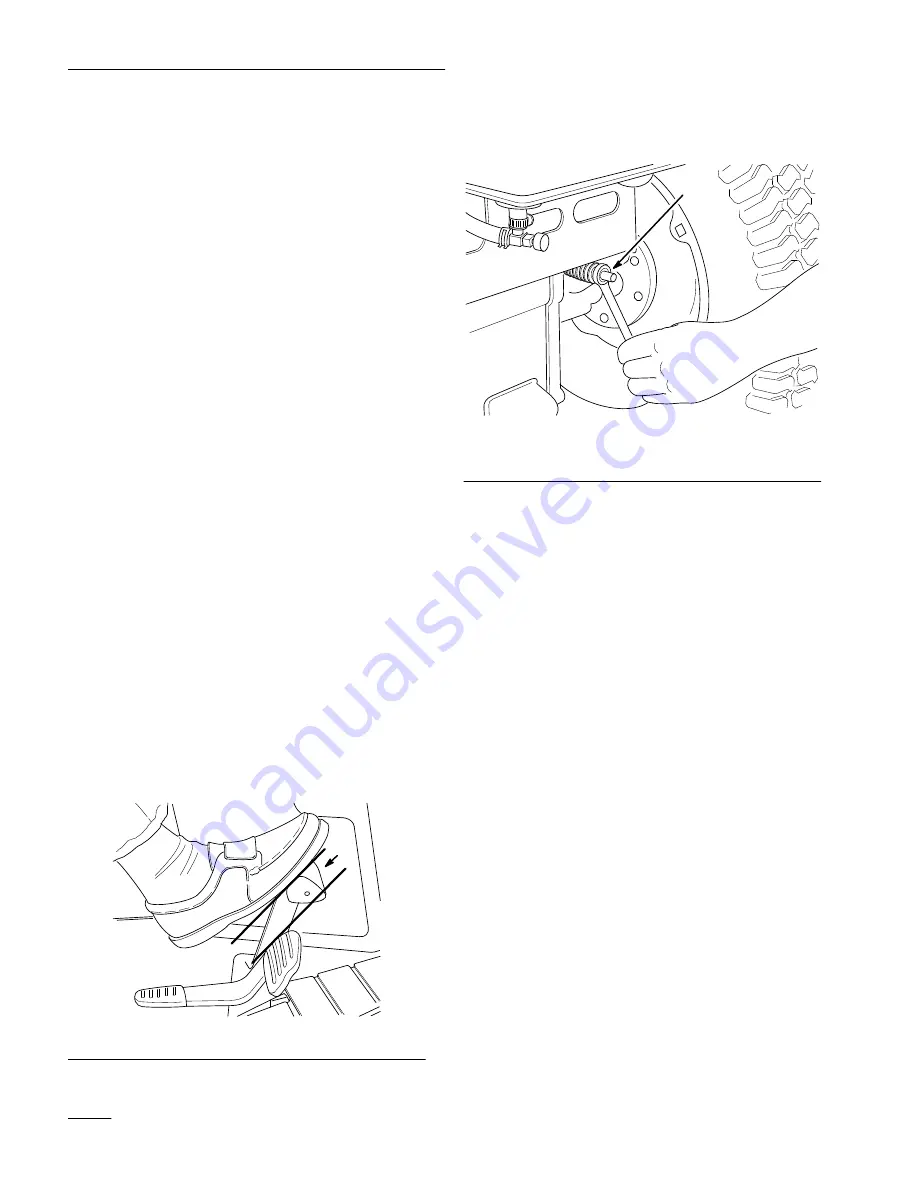
The brake adjustment is behind the left side cover
(Fig. 37). If the parking brake does not hold securely,
an adjustment is required.
1.
Check the brake before you adjust it; refer to
Checking the Brake.
2.
Place the transmission in neutral.
3.
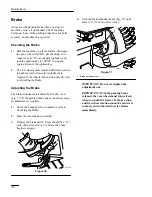
Depress the brake pedal. There should be 2” (51
mm) of free travel (Fig. 36) before the brake
begins to engage.
2”
m–3418
Figure 36
4.
Turn the brake adjustment nut (Fig. 37) until
there is 2” (51 mm) of free travel.
1
m–3417
Figure 37
1.
Brake adjustment nut
IMPORTANT: Do not overtighten the
adjustment nut.
IMPORTANT: With the parking brake
released, the rear wheels must rotate freely
when you push the tractor. If brake action
and free wheel rotation cannot be achieved,
contact your Authorized Service Dealer
immediately.
Summary of Contents for Wheel Horse 523Dxi
Page 8: ...Safety 6...
Page 9: ...Safety 7 Slope Chart Read all safety instructions on pages 3 5...
Page 10: ...8...
Page 59: ...57...


