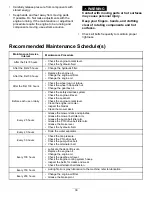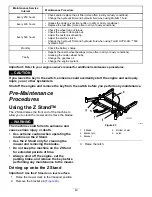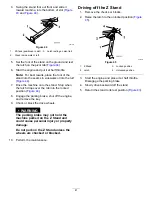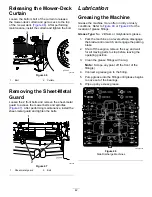
Maintenance Service
Interval
Maintenance Procedure
Every 250 hours
• Check and/or replace the air filter (more often in dirty or dusty conditions).
• Change the hydraulic filter and hydraulic fluid when using Mobil® 1 fluid.
Every 400 hours
• Grease the caster pivots (more often in dirty or dusty conditions).
• Replace the fuel filter (more often in dirty or dusty conditions).
Every 500 hours
• Check the wheel lug-nut torque.
• Check the wheel hub castle nut.
• Adjust the caster-pivot bearing.
• Adjust the electric clutch.
• Change the hydraulic filter and hydraulic fluid when using Toro® HYPR-OIL™ 500
hydraulic fluid.
Monthly
• Check the battery charge.
Yearly
• Repack the caster-wheel bearings (more often in dirty or dusty conditions).
• Greasing the caster-wheel hubs.
• Change the gearbox oil.
• Change the engine coolant.
Important:
Refer to your engine owner's manual for additional maintenance procedures.
CAUTION
If you leave the key in the switch, someone could accidently start the engine and seriously
injure you or other bystanders.
Shut off the engine and remove the key from the switch before you perform any maintenance.
Pre-Maintenance
Procedures
Using the Z Stand
TM
The Z Stand raises the front end of the machine to
allow you to clean the mower and remove the blades.
WARNING
The machine could fall onto someone and
cause serious injury or death.
•
Use extreme caution when operating the
machine on the Z Stand.
•
Use the Z Stand only for cleaning the
mower and removing the blades.
•
Do not keep the machine on the Z Stand
for extended periods of time.
•
Always shut off the engine, set the
parking brake, and remove the key before
performing any maintenance to the mower.
Driving up onto the Z Stand
Important:
Use the Z Stand on a level surface.
1.
Raise the mower deck to the transport position.
2.
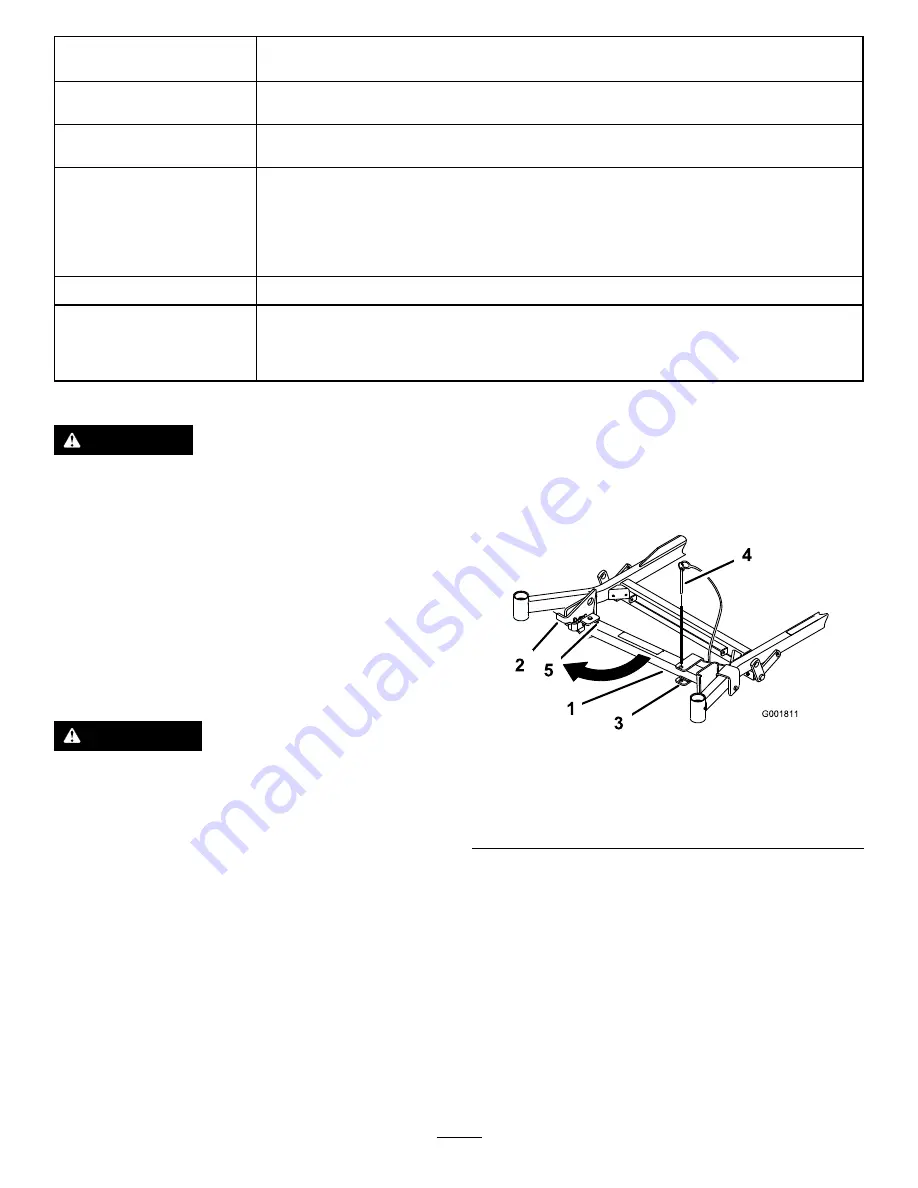
Remove the bracket pin (
g001811
Figure 43
1.
Z Stand
4.
Bottom of slot
2.
Bracket pin
5.
Latch
3.
Bracket
3.
Raise the latch.
40
Summary of Contents for Z Master Professional 7000 Series
Page 2: ......
Page 84: ...Schematics g012068 Wire Diagram Rev A 82...
Page 86: ......
Page 177: ...Schaltbilder g012068 Schaltbild Rev A 91...
Page 270: ...Sch mas g012068 Sch ma de c blage Rev A 92...
Page 271: ...Remarques...
Page 272: ...Remarques...
Page 274: ......
Page 362: ...Schema s g012068 Elektrisch schema Rev A 88...
Page 364: ......


