23
1
m–4818
2
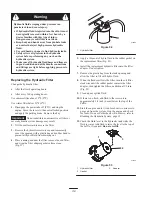
Figure 22
1.
Seat suspension knob
2.
Seat position adjustment
Pushing the Machine by Hand
Important
Always push the machine by hand. Never
tow the machine because hydraulic damage may occur.
To Push the Machine
1. Disengage the power take off (PTO) and turn the
ignition key to Off. Move the levers to the neutral
locked position and apply the parking brake.
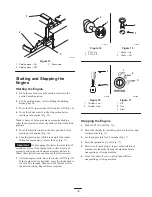
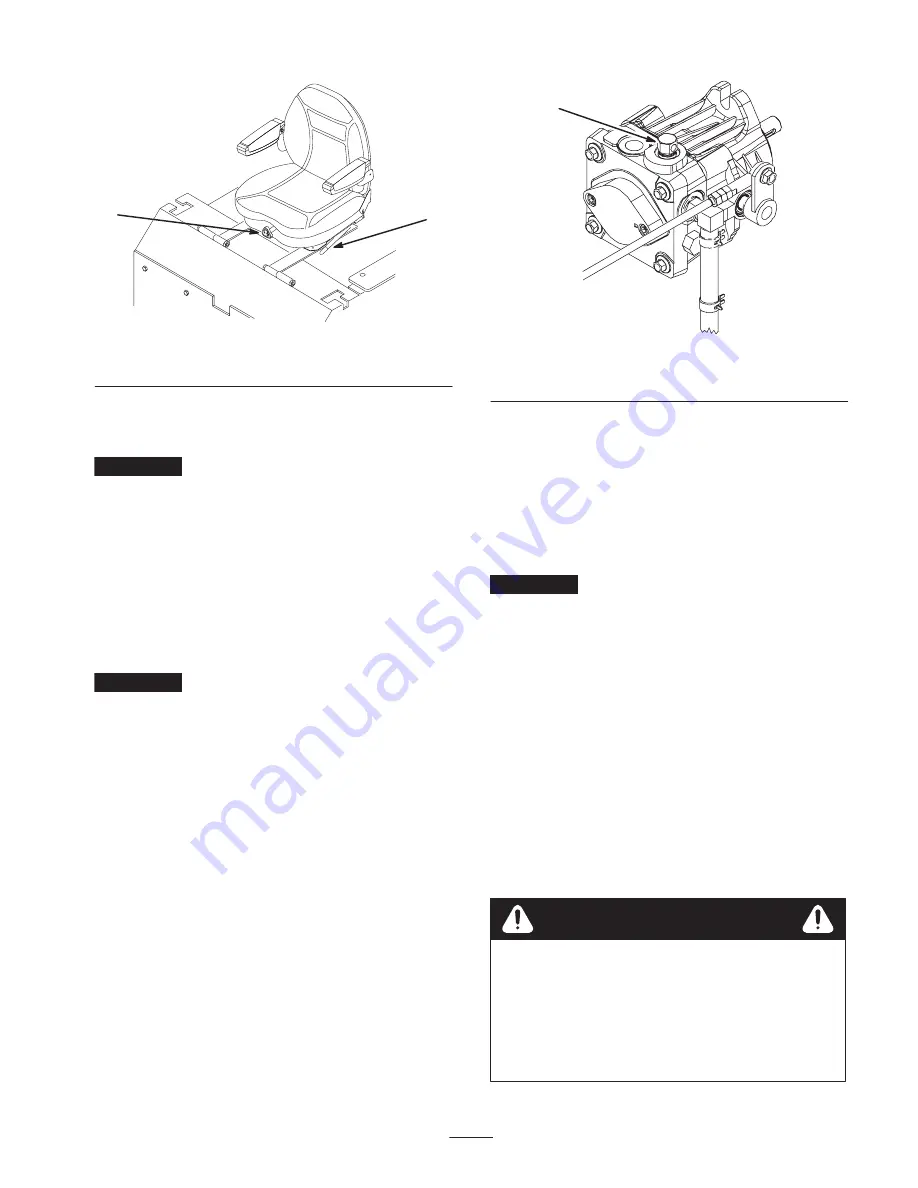
2. Rotate the by-pass valves counterclockwise 1 turn to
push. This allows hydraulic fluid to by-pass the pump
enabling the wheels to turn (Fig. 23).
Important
Do not rotate the by-pass valves more than
1 turn. This prevents the valves from coming out of the
body and causing fluid to run out.
3. Disengage the parking brake before pushing.
Changing to Machine Operation
Rotate the by-pass valves clockwise 1 turn to operate the
machine (Fig. 23).
Note: Do not over tighten the by–pass valves.
Note: The machine will not drive unless the by-pass valves
are turned in.
m–6124
1
Figure 23
1.
By-pass valve
Using a Rollover Protection
System (ROPS)
A ROPS is available and its use is recommended for areas
where there are slopes, drop–offs or water. Contact an
Authorized Service Dealer for information on obtaining
ROPS for your machine.
Important
When operating a machine with ROPS
always use the seat belt.
Transporting the Machine
Use a heavy-duty trailer or truck to transport the machine.
Ensure that the trailer or truck has all necessary lighting
and marking as required by law. Please carefully read all
the safety instructions. Knowing this information could
help you, your family, pets, or bystanders avoid injury.
To transport the machine:
•
Lock the brake and block the wheels
•
Securely fasten the machine to the trailer or truck with
straps, chains, cable, or ropes.
•
Secure a trailer to the towing vehicle with safety chains.
Driving on street or roadway without turn signals,
lights, reflective markings, or a slow moving
vehicle emblem is dangerous and can lead to
accidents causing personal injury.
Do not drive machine on a public street or
roadway.
Warning
Summary of Contents for Z287L Z Master
Page 6: ...6 Slope Chart ...
Page 7: ...7 ...
Page 12: ...12 103 2433 106 6571 106 6570 ...
Page 55: ...55 ...


