background image

6

MENU

VOL

SLEEP

MUTE

CH RTN

RECALL

VOL

+

ENTER

CH –

CH +

1

2

3

4

5

6

7

0

8

9

 –     

SET     

+

1/2

CAP/TEXT

RESET

TV/VIDEO

CT-836

POWER

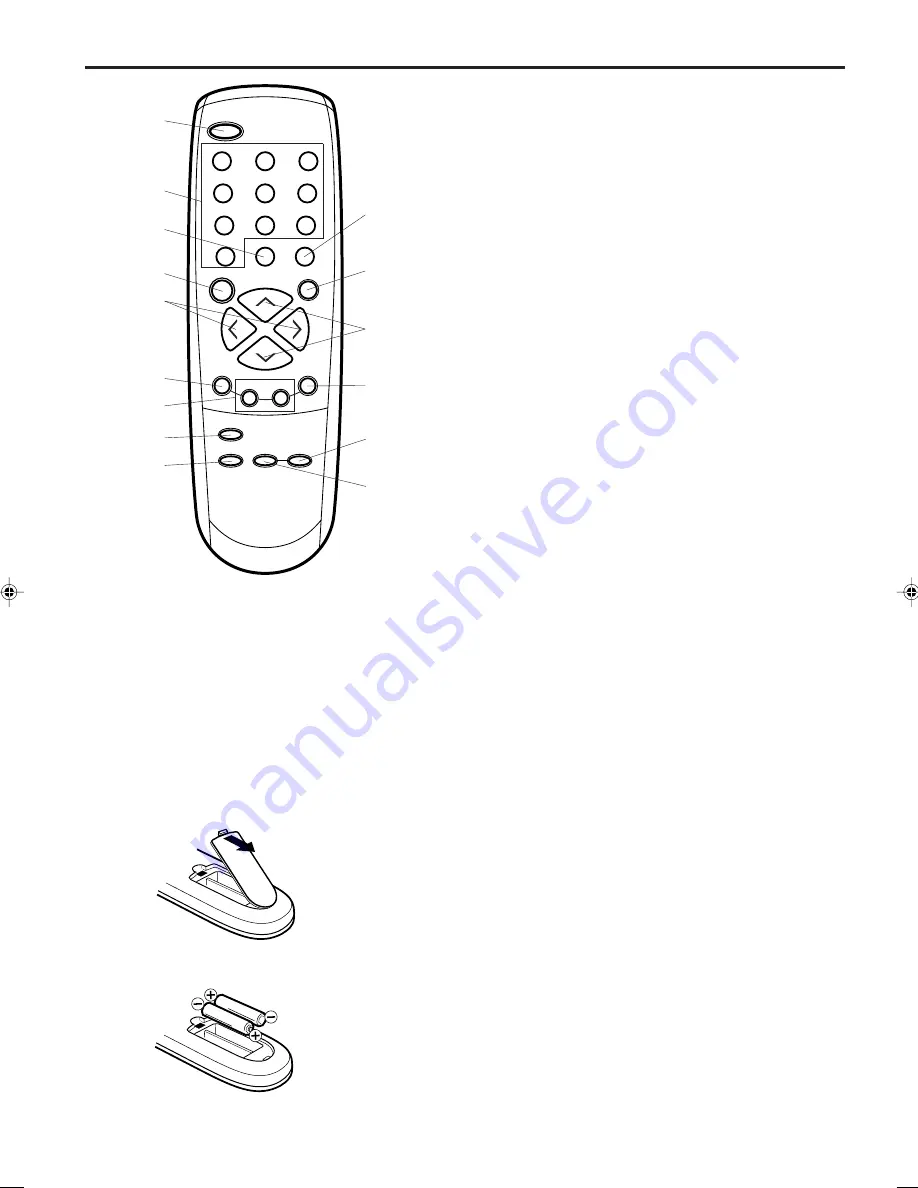
4. SLEEP Button - To set the TV to turn off after a preset

amount of time, press the SLEEP button on the remote
control. The clock will count down 10 minutes each time
the button is pressed in the order of 120, 110, 100, ······ 20,
10, 0. After the sleep time is programmed, the display will
disappear then reappear momentarily every ten minutes to
remind you the sleep timer function is operating. To
confirm the sleep time setting, press the SLEEP button
once and the remaining time will be momentarily displayed.
To cancel sleep time, press the SLEEP button repeatedly
until the display turns to 0.

5. VOL (VOLUME) + /


– Buttons - Press the + button to

increase, or the – button to decrease the volume level.

6. MENU Button - Press to display the on-screen menu

function.

7. SET + / – Buttons - Press to select the desired setting

during on-screen operations.

8. RESET Button - Press to reset the on-screen picture

adjustments to their factory preset positions.

9. TV/VIDEO Button - Switches between the TV and external

device inputs.

10. RECALL Button - When you press this button, the

channel number will appear in the upper right corner of the
screen. Press the button again to remove it from the
screen.

11. MUTE Button - To turn off the sound, press this button

once. The TV will be silenced and the word “MUTE” will
appear on the screen. The muting feature can be released
by pressing the MUTE button again or one of the VOL + or
– buttons.

12. CH (CHANNEL) + / – Buttons - Press the + button to

change to a higher numbered channel set into memory.
Press the – button to change to a lower numbered channel
set into memory.

13. ENTER Button - Press to enter or select information for

On-screen operations.

14. 1/2 Button - Switches between Channel 1 and Channel 2

in the Closed Caption mode.

15

. CAP/TEXT Button - Press to switch between normal TV

and the two Closed Caption modes (captions or text), when
available.

REMOTE CONTROL

1. Open the battery compartment cover.

2. Install two “AAA” (penlight size) batteries.

HOW TO INSTALL BATTERIES

Before using the remote control, batteries must first be installed.

3. Replace the battery compartment cover.

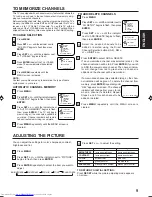
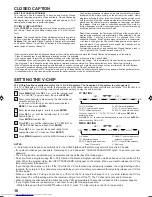
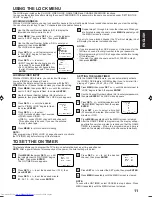
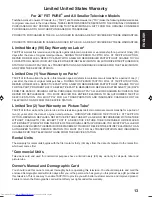
1. POWER Button - Press to turn on the TV. Press again

to turn off the TV.

2. Direct Channel Selection Buttons (0-9) - Allows direct

access to any channel.

3. CH RTN Button - Repeatedly press CH RTN to toggle

back and forth between the last two channels you tuned.

1

2

3

5

6

7

8

9

10

11

12

13

14

4

15

Use two “AAA” size penlight batteries (supplied) for the
remote control. The batteries may last approximately one
year depending on how much the remote control is used.
For best performance, it is recommended that batteries
should be replaced on a yearly basis, or when the remote
operation becomes erratic.

BATTERY PRECAUTIONS
These precautions should be followed when using batteries
in this device:
1. Use only the size and type of batteries specified.
2. Be sure to follow the correct polarity when installing the

batteries as indicated in the battery compartment.
Reversed batteries may cause damage to the device.

3. Do not mix different types of batteries together (e.g.

Alkaline and Carbon-zinc) or old batteries with fresh
ones.

4. If the remote control will not be used for a long period of

time, remove the batteries to prevent damage or injury
from possible battery leakage.

5. Do not try to recharge batteries not intended to be recharged;

they can overheat and rupture. (Follow battery
manufacturer's directions.)

  3M10501A-E P02-07

5/3/03, 12:39 PM

6

Summary of Contents for 13A23

Page 1: ...13A23 13A23W FRANÇAIS ENGLISH ESPAÑOL ENGLISH ...

Page 2: ...friends Thank you 2500 Wilson Blvd Arlington VA 22201 U S A Tel 703 907 7600 Fax 703 907 7690 www CE org CEA is the Sponsor Producer and Manager of the International CES Safety Precautions WARNING TO REDUCE THE RISK OF FIRE OR ELECTRIC SHOCK DO NOT EXPOSE THIS APPLIANCE TO RAIN OR MOISTURE Dear Customer Thank you for purchasing this Toshiba TV This manual will help you use the many exciting featur...

Page 3: ...ngs 4 Follow all instructions 5 Do not use this apparatus near water 6 Clean only with a dry cloth 7 Do not block any ventilation openings Install in accordance with the manufacturer s instructions 8 Do not install near any heat sources such as radiators heat registers stoves or other apparatus including amplifiers that produce heat 9 Do not defeat the safety purpose of the polarized or grounding ...

Page 4: ...e appear distorted or the color appear faded If this happens turn off the TV for 6 to 7 hours to allow the condensation to evaporate 30 For added protection of your TV from lightning and power surges always unplug the power cord and disconnect the antenna from the TV if you leave the TV unattended or unused for long periods of time 31 During normal use the TV may make occasional snapping or poppin...

Page 5: ...NTRAST SHARPNESS and TINT Closed Captioned Decoder Displays closed captions or text on screen when available Lock feature This feature has three functions LOCKING CHANNELS LOCKING VIDEO INPUT and SETTING THE GAME TIMER Programmable ON Timer Allows you to automatically turn on the TV at a set time FRONT BACK 1 3 4 6 8 5 1 PHONE Earphone Jack Plug an earphone or monaural headphones with a 1 8 minipl...

Page 6: ...umbered channel set into memory 13 ENTER Button Press to enter or select information for On screen operations 14 1 2 Button Switches between Channel 1 and Channel 2 in the Closed Caption mode 15 CAP TEXT Button Press to switch between normal TV and the two Closed Caption modes captions or text when available REMOTE CONTROL 1 Open the battery compartment cover 2 Install two AAA penlight size batter...

Page 7: ...r descrambler box usually channel 3 or 4 and use the converter descrambler box to select channels For Subscribers to Unscrambled Basic Cable with Scrambled Premium Channels If you subscribe to a cable service in which basic cable channels are unscrambled and premium channels require the use of a converter descrambler box you may wish to use a two set signal splitter sometimes called a two set coup...

Page 8: ... 002 Press 0 then remaining 2 digits Example to select channel 12 press 012 Press the 2 digits in order Example to select channel 36 press 36 Press the 3 digits in order Example to select channel 120 press 120 1 2 3 4 CH CHANNEL and buttons Press and release CH CHANNEL or The channel automatically stops at the next channel set into memory Press and hold the button down to change channels more quic...

Page 9: ... the channel will be memorized If a memorized channel was selected step 4 the chan nel indication will be green To delete the channel from Press MENU repeatedly until the MENU screen is cleared 6 memory press ENTER repeatedly until DEL appears on screen The channel indicator will change from green to red when a channel is deleted Repeat Steps 4 and 5 for each channel to be added or deleted MENU Ð ...

Page 10: ...s old parental guidance suggested NC 17 17 years old and above X Adult only G All ages PG Parental guidance PG 13 Parental guidance less than 13 years old CLOSED CAPTION WHAT IS CLOSED CAPTIONING This television has the capability to decode and display Closed Captioned television programs When available Closed Captioning will display text on the screen for hearing impaired viewers or it will trans...

Page 11: ... programming CH LOCK change channels before turning off the television If you want to unlock channels select ALL CLEAR in step 5 then press ENTER CH LOCK ENTER MENU CABLE INPUT ALL CLEAR If you try to tune a locked channel the TV will not display it but will display the nearest unlocked channel VIDEO Locks VIDEO channel 3 and channel 4 This option should be used if you use the antenna to play a vi...

Page 12: ...tenna connections reorient antenna Check for sources of possible interference Horizontal or diagonal bars on screen No reception above channel 13 No CATV reception Batteries are weak dead or inserted incorrectly Remote is out of range move closer to TV within 15 feet Make sure Remote is aimed at sensor Confirm there are no obstructions between the Remote and the TV Make sure the power cord is plug...

Page 13: ...TE OF ORIGINAL RETAIL PURCHASE YOU MUST PAY ALL LABOR CHARGES INVOLVED IN THE REPAIR OR REPLACEMENT YOU MUST DELIVER THE ENTIRE TELEVISION TO AN AUTHORIZED TACP THI SERVICE STATION YOU MUST PAY FOR ALL TRANSPORTATION AND INSURANCE CHARGES FOR THE TELEVISION TO AND FROM THE SERVICE STATION Limited Two 2 Year Warranty on Picture Tube TACP THI further warrant the picture tube in this television again...

Page 14: ...horized Service Station You must deliver the entire television to an Authorized TACP THI Service Station You must pay for all transportation and insurance charges for the television to and from the Service Station ALL WARRANTIES IMPLIED BY THE LAW OF ANY STATE OF THE U S A INCLUDING THE IMPLIED WARRANTIES OF MERCHANTABILITY AND FITNESS FOR A PARTICULAR PURPOSE ARE EXPRESSLY LIMITED TO THE DU RATIO...

Page 15: ...ACED AFTER NINETY 90 DAYS FROM THE DATE OF ORIGINAL RETAIL PURCHASE YOU MUST PAY ALL LABOR CHARGES INVOLVED IN THE REPAIR OR REPLACEMENT YOU MUST DELIVER THE ENTIRE TELEVISION TO AN AUTHORIZED TCL SERVICE STATION YOU MUST PAY FOR ALL TRANSPORTATION AND INSURANCE CHARGES FOR THE TELEVISION TO AND FROM THE SERVICE STATION Limited Two 2 Year Warranty on Picture Tube TCL further warrants the picture t...

Page 16: ...ALL WARRANTIES IMPLIED BY THE LAW OF ANY PROVINCE OF CANADA INCLUDING THE IMPLIED WARRAN TIES OF MERCHANTABILITY AND FITNESS FOR A PARTICULAR PURPOSE ARE EXPRESSLY LIMITED TO THE DURATION OF THE LIMITED WARRANTIES SET FORTH ABOVE WITH THE EXCEPTION OF ANY WARRANTIES IMPLIED BY THE LAW OF ANY PROVINCE OF CANADA AS HEREBY LIMITED THE FOREGOING WARRANTY IS EXCLUSIVE AND IN LIEU OF ALL OTHER WARRANTIE...

Page 17: ...17 ENGLISH ENGLISH MEMO ...

Reviews: