


72
Learning the Basics
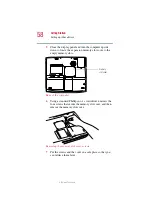
Using the keyboard
5.375 x 8.375 ver 2.1.2
❖
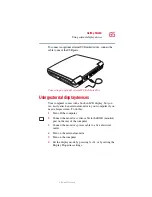
Back up your files to diskettes (or other removable
storage media) on a regular basis. Label the backup
copies clearly and store them in a safe place.
If your hard disk suddenly fails, you may lose all the data
on it unless you have a separate backup copy.
❖
Use Disk Defragmenter to conserve disk space and help
your computer perform at its optimal level.
❖
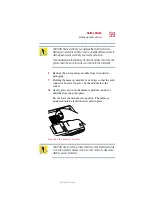
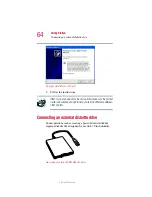
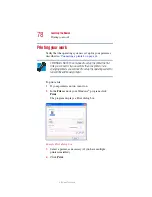
Before turning off the computer, always use the Turn Off
command (unless you want to use Standby or
Hibernation mode as described in
CAUTION: The operating system records information, such as
your desktop setup, during its turn-off procedure. If you don’t let it
turn off normally, details such as new icon positions may be lost.
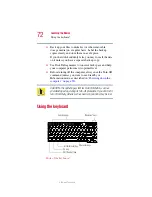
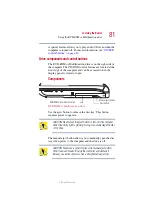
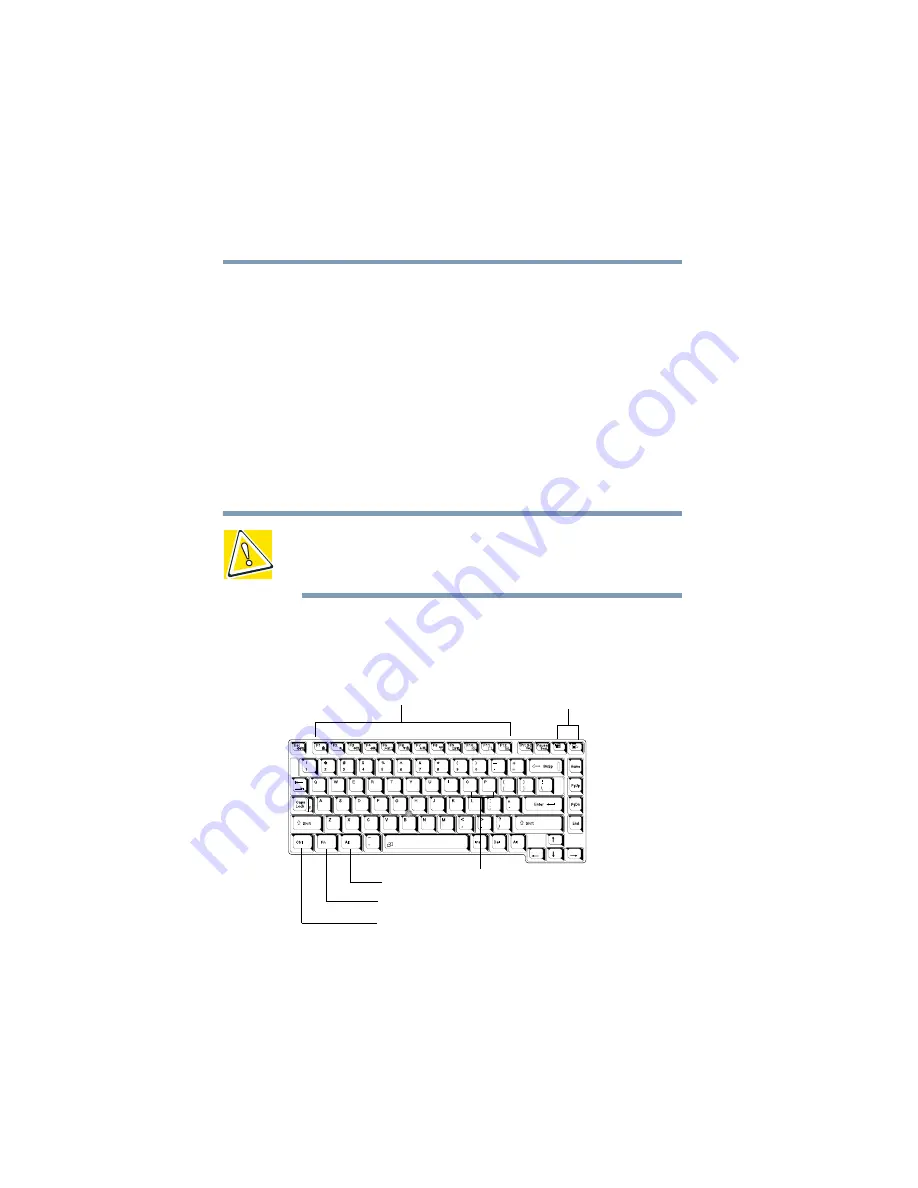
Using the keyboard
Parts of the keyboard
Function keys
Alt (Alternate) key
Ctrl (Control) key
Character keys
Windows
®
keys
Fn key


