11
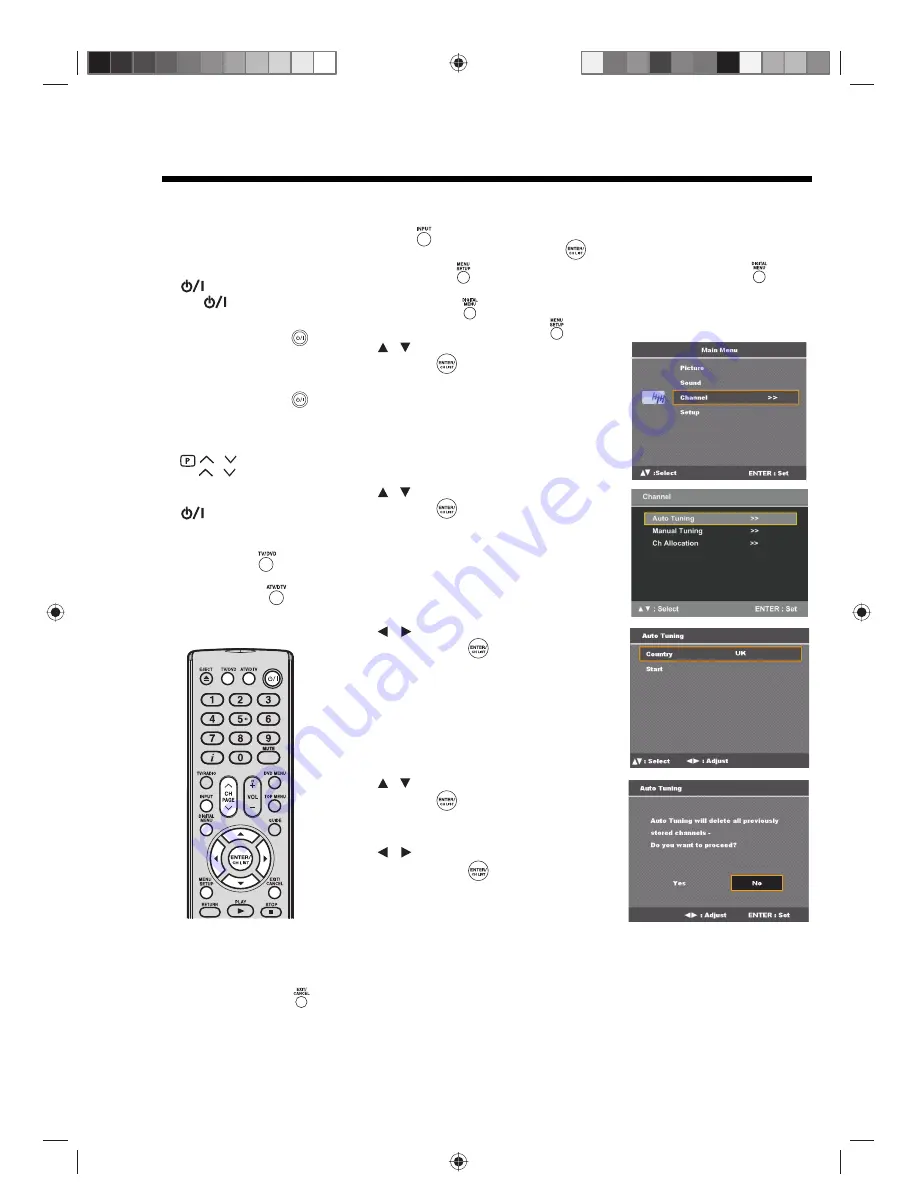
Quick guide for menu operation
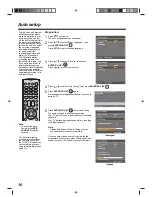
Make sure the aerial
connection and power supply
are connected as per the
description on page 9.
Preparations:
• Turn on the unit with the
button on the unit.
The
power indicator
will light up in green.
To change the unit to
standby mode, press
on the remote control.
Power indicator will
change from green to red.
To turn on the unit from
standby mode, press
on the remote control
again.
In standby mode, you can
also turn the unit on with
on the unit or
CH
on the remote
control.
To turn off the unit press
button on the unit -
to completely switch it off,
disconnect the mains
power supply.
• Press
TV/DVD
to
select the TV mode.
• Press
ATV/DTV
to
toggle between analogue
TV or digital TV mode.
Notes:
• If no buttons are pressed
after approximately 60
seconds, the Main Menu
screen disappears.
• Press
EXIT/CANCEL
to exit the Main Menu
screen.
Quick guide for menu operation
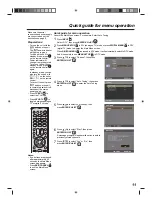
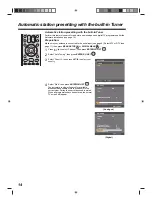
Launch the Main Menu screen. For example: Select Auto Tuning.
1
Press
INPUT
.
Select “ATV”, then press
ENTER/CH LIST
.
2
Press
MENU SETUP
in ATV (analogue TV) mode or press
DIGITAL MENU
in DTV
(digital TV) mode to display the Main Menu screen.
When
DIGITAL MENU
is pressed in ATV mode, it will automatically switch to DTV mode.
And it is possible to use
MENU SETUP
in DTV mode.
3
Press
to select “Channel“, then press
ENTER/CH LIST
.
4
Press
to select “Auto Tuning”, then press
ENTER/CH LIST
to enter the Auto Tuning
menu.
5
Press
to select your country, then
press
ENTER/CH LIST
.
6
Press
to select “Start”, then press
ENTER/CH LIST
.
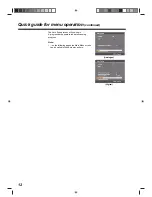
A message prompt will appear with option to delete
previously stored channels.
7
Press
to select “Yes” or “No”, then
press
ENTER/CH LIST
.
/
/
/
/
/
/
/


