24
Initial Setup
When you first turn on or reset the TV, the Initial
Setup window will appear.
1無
In the
Menu Language
field, press
t
or
u
to
select your preferred language.
2無
Press
t
or
u
to select
Time Zone Setup
and set
your desired time zone with
t
or
u
and press
.
3無
Next, the
Location
setting window will appear.
For normal home use, press
t
or
u
to select
Home
and press
.
4無
Next,
ANT/CABLE In
setup window will appear.
Press
t
or
u
to select the input source (
Cable
or
Antenna
) for the
ANT/CABLE
input on the TV.
5無
If you select
Antenna
, the
Channel Tuning Mode
setup window will appear. To tune only digital
channels, select
Digital
. To tune digital channels
preferentially over analog when entering channel
number directly, select
Auto
. For normal tuning,
select
Standard
. Press
to continue to Auto
Tuning.
6無
Press
to select
Start Scan
and continue with
the Auto Tuning.
You can stop the Initial Setup with
. However if
you do not finish the entire Initial Setup process, by
pressing
Power
/
prior to step 5 above, the Initial Setup
window will appear every time you turn on the TV.
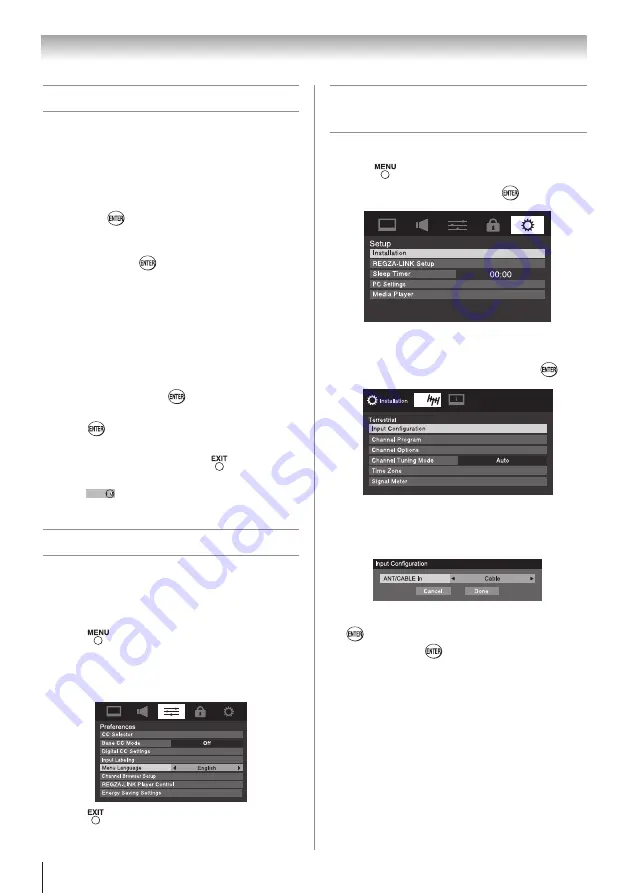
Selecting the menu language
You can choose from three different languages
(English, French, and Spanish) for the on-screen
display of menus and messages.
To select the menu language:
1無
Press
and open the
Preferences
menu,
highlight
Menu Language
.
2無
Press
t
or
u
to select your preferred menu
language.
3無
Press
to close the
Preferences
menu.
Chapter 5: Setting up your TV
Configuring the antenna input
source for the ANT/CABLE terminal
To configure the ANT/CABLE input source:
1無
Press
and open the
Setup
menu.
2無
Highlight
Installation
and press
.
3無
A new set of
Installation
menu icons will appear,
as shown below. Open the
Terrestrial
menu,
highlight
Input Configuration
, and press
.
4無
Highlight
ANT/CABLE In
and press
t
or
u
to
select the input source (
Cable
or
Antenna
) for the
ANT/CABLE
input on the TV.
5無
To save your new settings, highlight
Done
and press
. To revert to your original settings, highlight
Cancel
and press
.
(continued)
Summary of Contents for 32C110U
Page 61: ...Note ...


