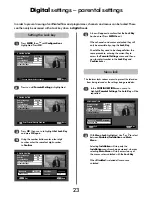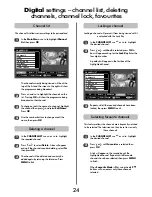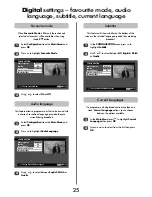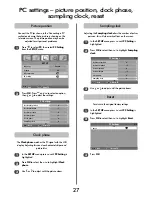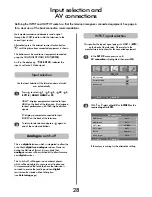
2/2
SET UP
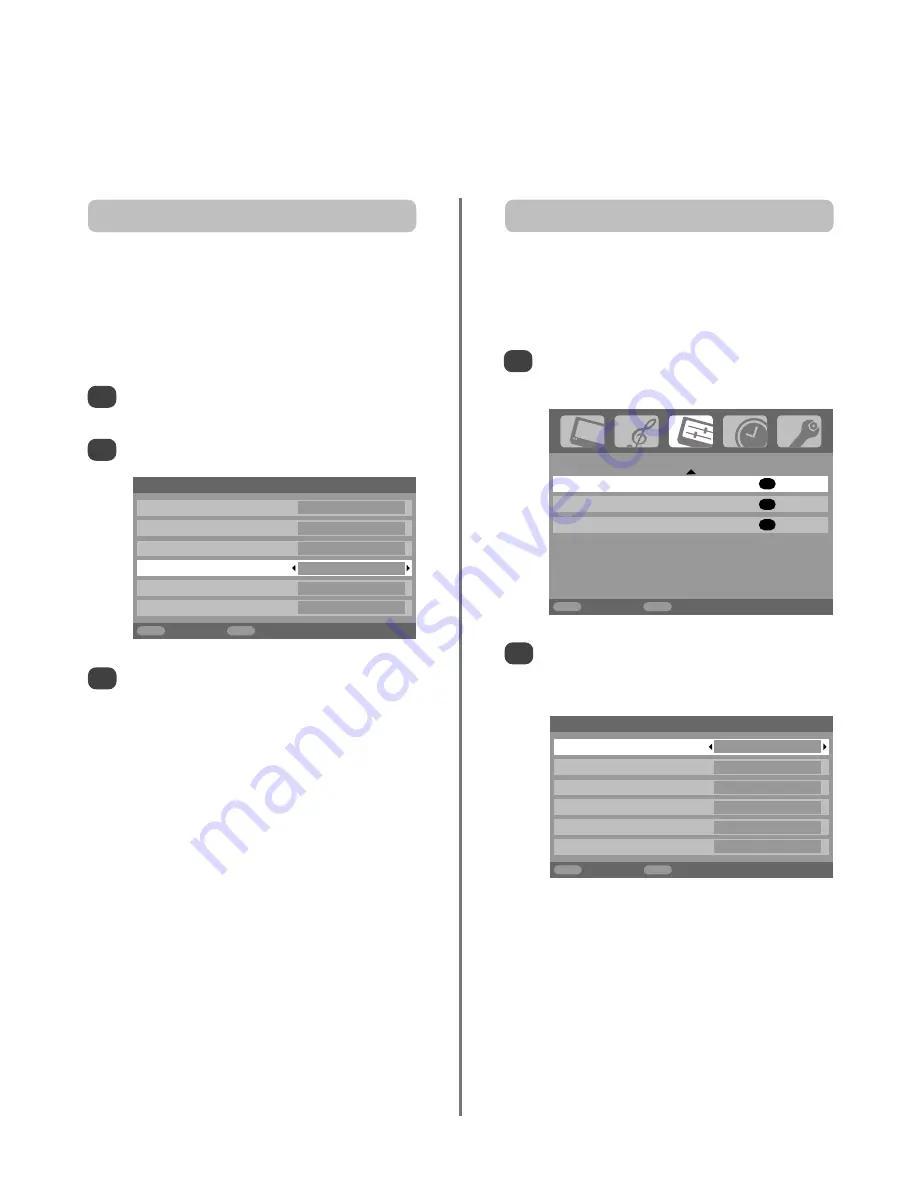
AV connection
OK
Picture position
OK
Quick Setup
OK
MENU
Back
EXIT
Watch TV
29
Input selection and
AV connections
continued
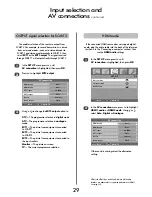
In the
SET UP
menu press
Q
until
AV connection
is highlighted, then press
OK
.
Press
Q
to highlight
EXT3 output
.
1
2
HDMI, the HDMI logo, and High-Definition Multimedia
Interface are trademarks or registered trademarks of HDMI
Licensing, LLC.
HDMI audio
If the connected HDMI source does not support digital
audio, plug the audio cable into the back of the television
(as shown in the ‘Connecting a computer’ section), then
use the
HDMI audio
settings.
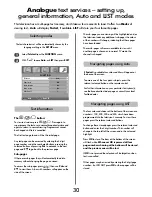
In the
AV connection
menu press
Q
to highlight
HDMI1 audio
or
HDMI2 audio
. Using
S
or
R
select
Auto.
,
Digital
or
Analogue
.
If the sound is missing select the alternative
setting.
2
Use
S
or
R
to change the
EXT3 output
option to:
DTV
= The programme selection in
digital
mode.
ATV
= The programme selection in
analogue
mode.
EXT1
= The picture from equipment connected
to SCART 1.
EXT2
= The picture from equipment connected
to SCART 2.
EXT5
= The picture from equipment connected to
the input sockets.
Monitor
= The picture on screen.
TV
= The current programme selection.
This enables selection of the source to
output
from
SCART 3. For example, to record transmissions in stereo
from a stereo decoder – connect a stereo decoder to
SCART 1 and stereo media recorder to SCART 3, then
select
EXT1
as the
EXT3 output
. The signal received
through SCART 1 will output directly through SCART 3.
OUTPUT signal selection for SCART 3
3
In the
SET UP
menu press
Q
until
AV connection
is highlighted, then press
OK
.
1
AV connection
HDMI1 audio
Auto.
HDMI2 audio
Auto.
EXT3 input
S-VIDEO
EXT3 output
EXT1
Woofer
External
Audio output
Fixed
MENU
Back
EXIT
Watch TV
AV connection
HDMI1 audio
Auto.
HDMI2 audio
Auto.
EXT3 input
S-VIDEO
EXT3 output
EXT1
Woofer
External
Audio output
Fixed
MENU
Back
EXIT
Watch TV

