

Contents/
Getting Ready
Making and
Answering Calls
Character Input
Phone Book
Pair Function
Hello
Messenger
Camera
EZweb
EZ Navi
EZ
・
FM
Limit Mode
Simple Mode
Others
Remote Auto Lock/
Troubleshooting
Index
Contents/
Getting Ready
Making and
Answering Calls
Character Input
Phone Book
Pair Function
Hello
Messenger
Camera
EZweb
EZ Navi
EZ
・
FM
Limit Mode
Simple Mode
Others
Remote Auto Lock/
Troubleshooting
Index
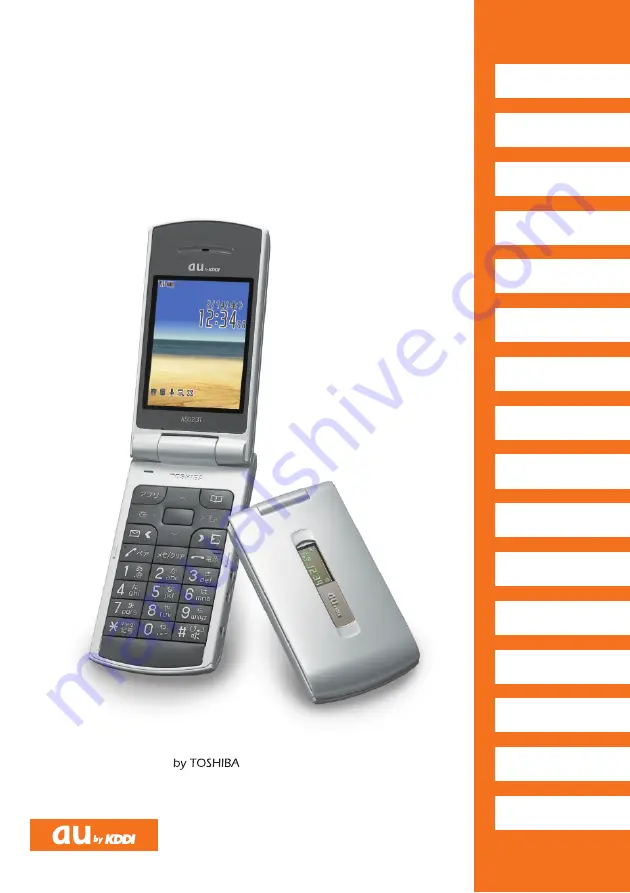
Basic
Manual
A5523T


