3. REPLACING THE IMPORTANT PARTS
EO18-33030
3.3 Replacing the Parts for B-FV4D-GH
3-44
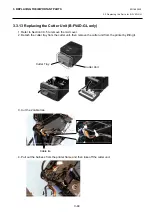
3.3.13 Replacing the Cutter Unit (B-FV4D-GL only)
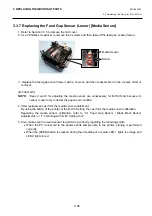
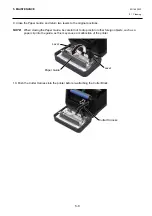
1. Refer to Section 3.3.5 to remove the mid cover.
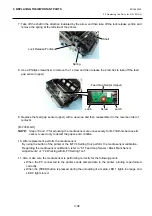
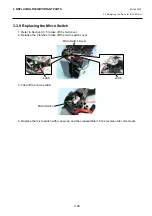
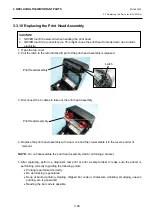
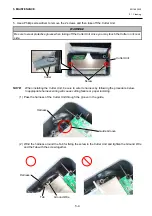
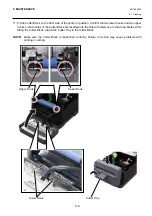
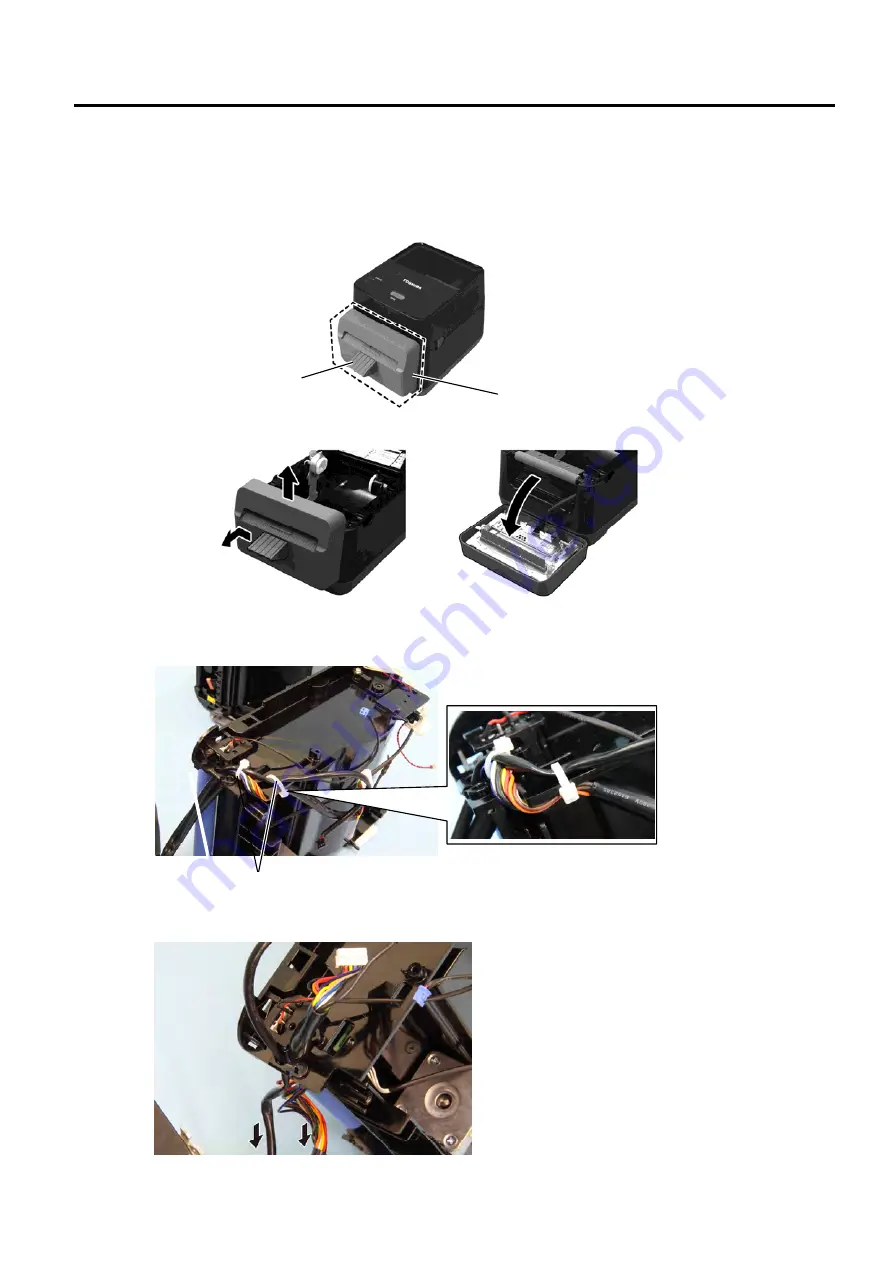
2. Detach the cutter tray from the cutter unit, then remove the cutter unit from the printer by lifting it.
3. Cut the 2 cable ties.
4. Pull out the harness from the printer frame and then take off the cutter unit.
Cutter Tray
Cutter Unit
Cable tie
Summary of Contents for B-FV4 Series
Page 41: ...2 ELECTRONICS SPECIFICATIONS EO18 33030 2 2 Main PC Board Layout 2 4 B FV4D GH B FV4D GL ...
Page 301: ...APPENDIX EO18 33030 APPENDIX Establishing a Bluetooth connection with B FV4D and B FV4T A 8 ...
Page 302: ...1 11 1 OSAKI SHINAGAWA KU TOKYO 141 8562 JAPAN E PRINTED IN JAPAN EO18 33030H ...


