6
Specifications
Interfaces
‐
54
‐
8) Return the 6 connectors to the original positions, which were removed in Step 3.
9) Fix the Bottom Cover by securing the 4 screws which were removed in Step 2.
Note: When fitting the Bottom Cover, prevent the harness from being trapped between the
covers.
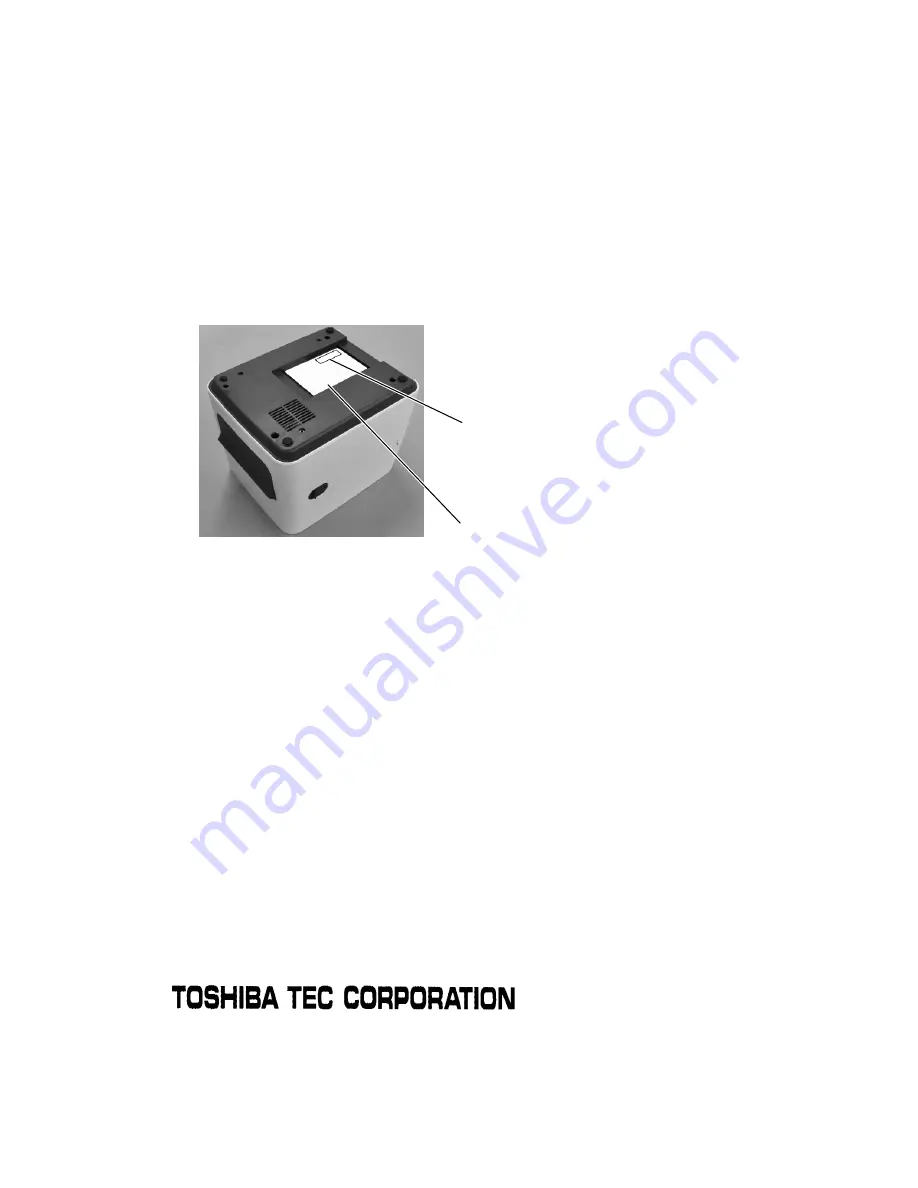
10) Peel off the backing sheet of the RF Certification Label and attach it to the position as
shown below.
Note:
Be sure not to cover the contents described on the rating label when the RF Certification Label
is attached to the upper right corner.
11) Close the Top Cover.
The installation is now completed.
©
2015
TOSHIBA
TEC
CORPORATION All
Rights
Reserved
1
‐
11
‐
1,
Osaki,
Shinagawa
‐
ku,
Tokyo
141
‐
8562,
JAPAN
RF
Certification
Label
Rating
Label
Summary of Contents for B-FV4D-GS12-QM-R
Page 13: ...1 Introduction Understanding You Printer 4 1 3 2 Back View Optional Interfaces ...
Page 14: ...1 Introduction Understanding You Printer 5 1 3 3 Interior View ...
Page 28: ...3 Printer Operation Self Test and Dump Mode 19 ...
Page 44: ...5 Troubleshooting Media Issues 35 ...
Page 51: ...6 Specifications Bar Code 42 ...


