2. PRINTER SETUP
ENGLISH VERSION EO1-33047
2.7 Setting an Operating Environment
E2-37
2.7.6 Real Time Clock Setting
While “<8>RTC SET” is displayed on the LCD Message Display, press
the
[PAUSE]
key to enter the Real Time Clock Setting Mode.
The Real Time Clock Setting Mode contains the following sub menus.
Each time the
[PAUSE]
key is pressed, the sub menus are displayed
sequentially.
(1) Date setting (Year, Month, Day)
(2) Time setting (Hour, Minute, Second)
(3) Low battery check setting
(4) RTC data renewal timing setting
(1) Date Setting
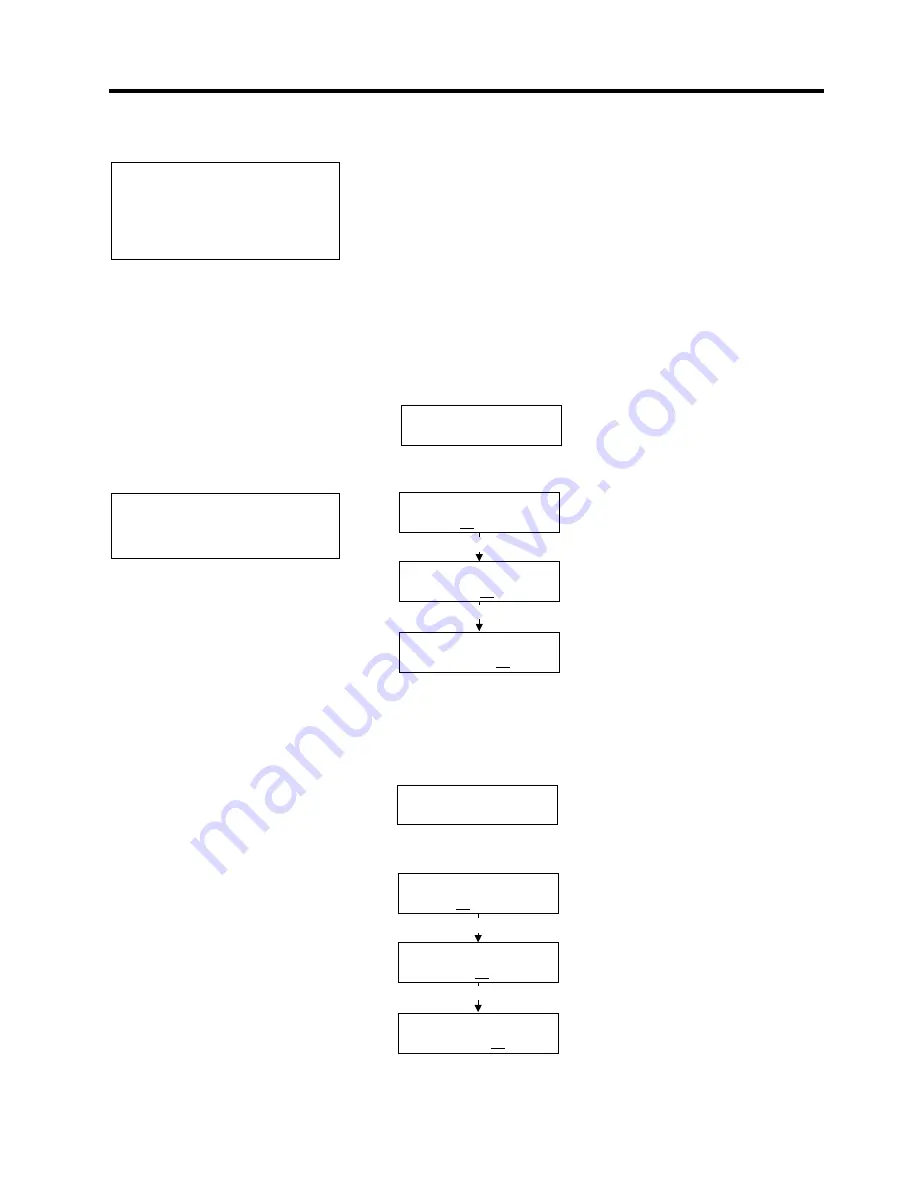
This parameter is to set the Year, Month, and Day, in order.
When “<8>RTC SET” appears, press the
[PAUSE]
key.
Press the
[PAUSE]
key to set the date.
After selecting the date, press the
[PAUSE]
key.
(2) Time Setting
This parameter is to set the Hour, Minute, and Second, in order.
Press the
[PAUSE]
key to set the time.
After selecting the time, press the
[PAUSE]
key.
<8>RTC SET
DATE 05/01/01
<8>RTC SET
DATE Y
06
/01/01
<8>RTC SET
DATE M 06/
03
/01
<8>RTC SET
DATE D 06/03/
01
[PAUSE]
[PAUSE]
NOTE:
Use the
[FEED]
or
[RESTART]
key
to set the value.
NOTE:
The Real Time Clock Setting is
effective only when an optional Real
Time Clock, B-SA704-RTC-QM-R, is
installed.
<8>RTC SET
TIME 00/00/00
<8>RTC SET
TIME H
10
/01/01
<8>RTC SET
TIME M 10/
30
/01
<8>RTC SET
TIME S 10/30/
00
[PAUSE]
[PAUSE]
Year
Month
Day
Hour
Minute
Second


