2. PRINTER SETUP
ENGLISH VERSION EO1-33057
2.8 Setting an Operating Environment
E2-25
2.8.1 Parameter Setting
(Cont.)
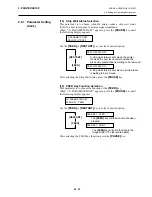
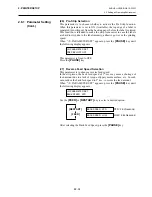
When ON is selected, pressing the
[PAUSE]
key will result that the LCD
Message Display shows the stop position fine adjustment value setting
screen.
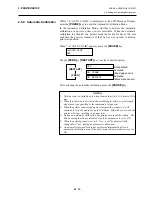
[FEED]
key: Pressing
the
[FEED]
key one time causes a –0.1mm change,
up to –5.0 mm.
[RESTART]
key: Pressing the
[RESTART]
key one time causes a +0.1mm
change, up to +5.0 mm.
After selecting an auto forward wait, press the
[PAUSE]
key.
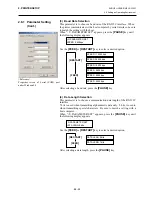
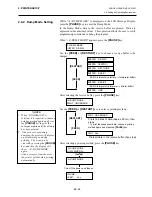
(10) Head Up Cut Selection
This parameter is to choose whether to activate the head up action in the
cut issue.
This function prevents ribbon smudges by raising the print head during a
reverse feed to the print start position.
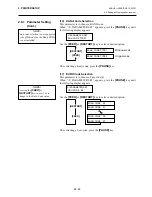
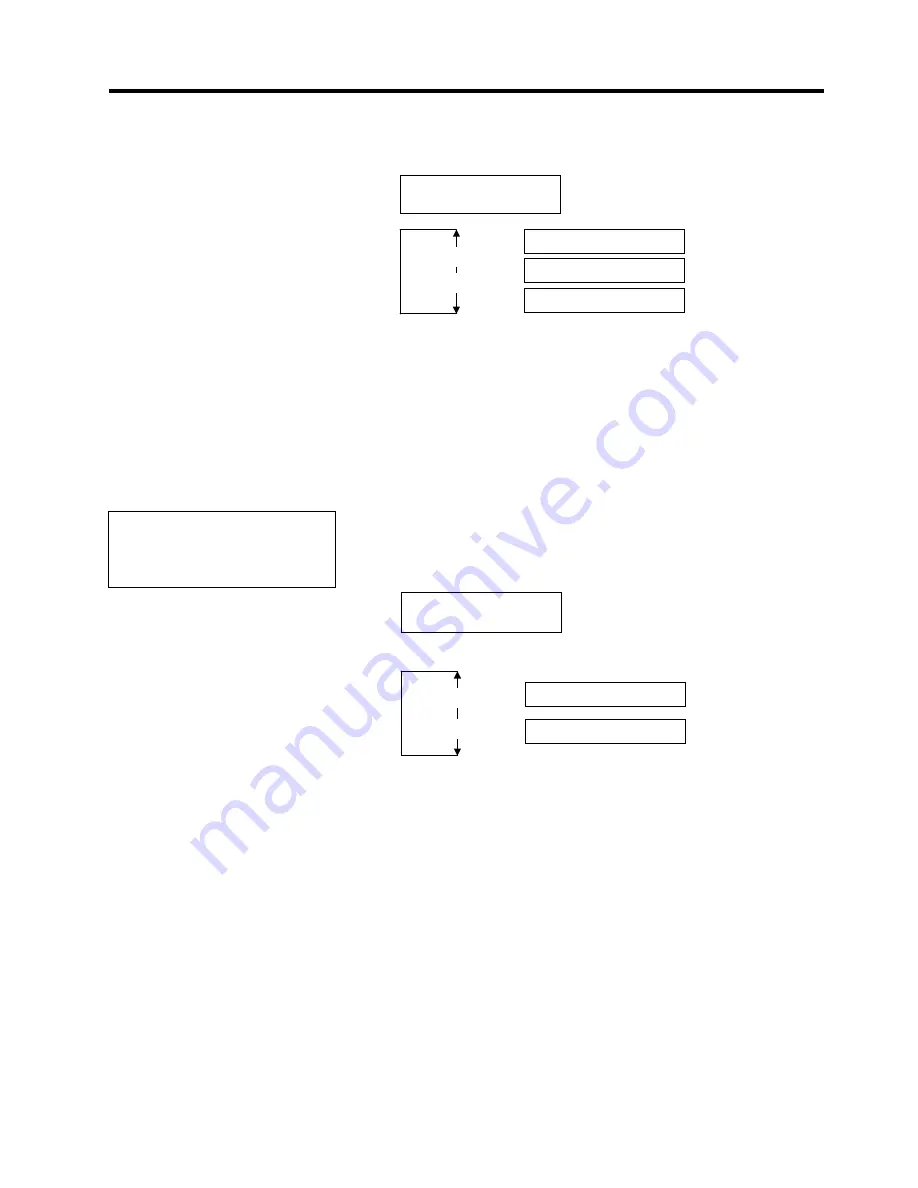
When “<2>PARAMETER SET” appears, press the
[PAUSE]
key until
the following display appears.
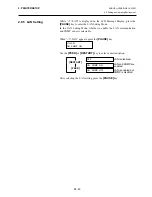
Use the
[FEED]
or
[RESTART]
key to select a desired option.
After selecting the head up action in cut issue, press the
[PAUSE]
key.
POSITION +5.0mm
POSITION +0.0mm
[RESTART]
[FEED]
POSITION -5.0mm
<2>PARAMETER SET
POSITION +0.0mm
<2>PARAMETER SET
HEAD UP CUT OFF
[RESTART]
[FEED]
HEAD UP CUT OFF
Not activated
HEAD UP CUT ON
Activated
NOTE:
The print head may not be raised
depending on the rise of the
solenoid’s temperature.

