


219
Hot Keys/TOSHIBA Cards
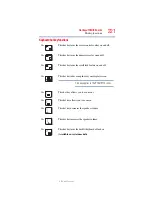
Hot key functions
5.375 x 8.375 ver 2.3
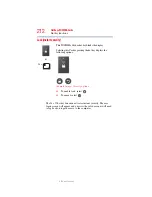
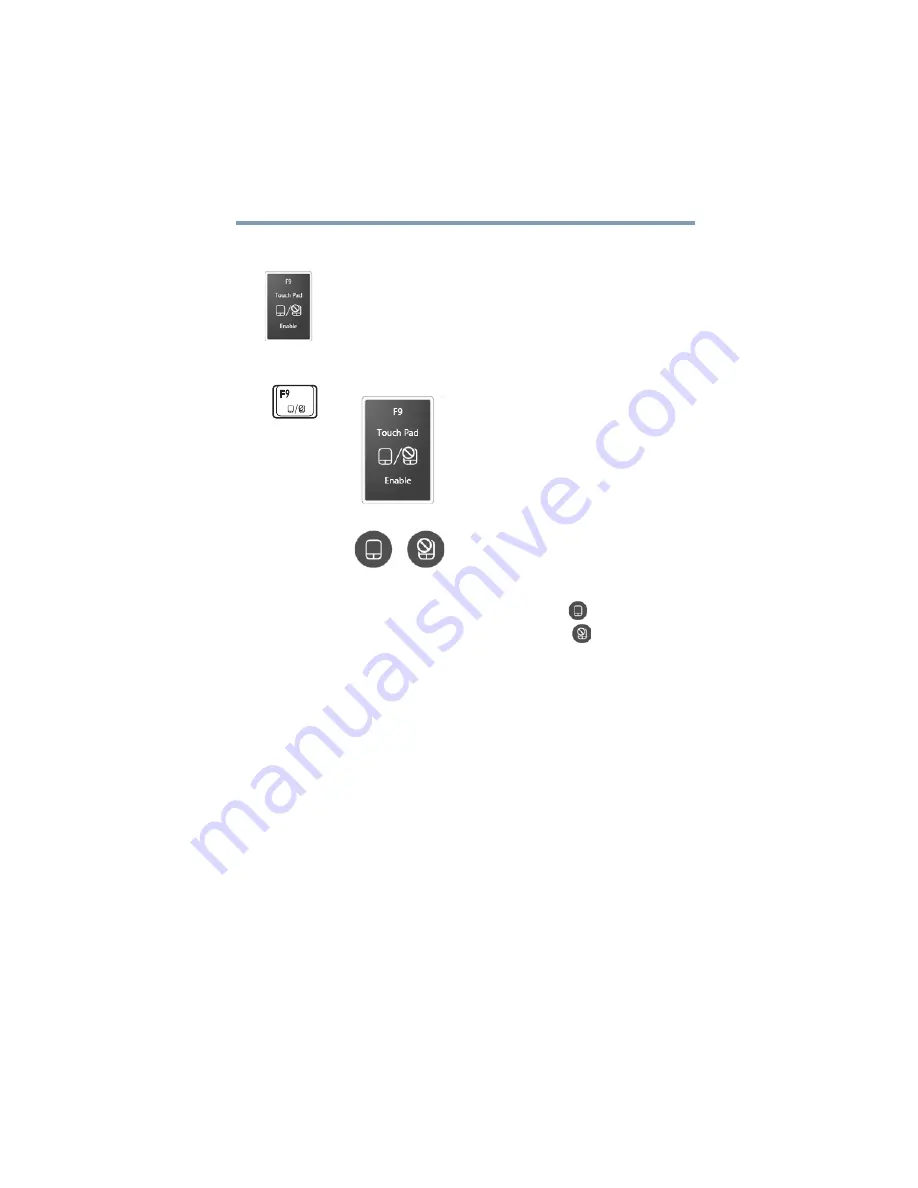
Disabling or enabling the touch pad
or
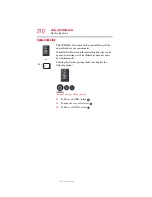
Fn +
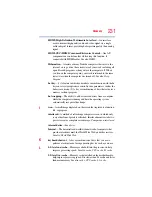
This TOSHIBA Card or hot key enables/disables the touch
pad.
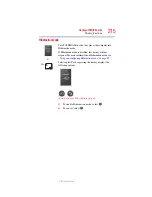
For more information on using the touch pad, see
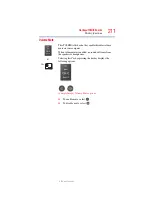
Selecting this Card or pressing the hot key displays the
following options:
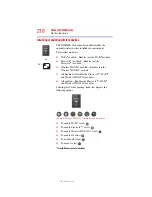
(Sample Image) Disable or Enable touch pad options
❖
To enable the touch pad, select
.
❖
To disable the touch pad, select
.


